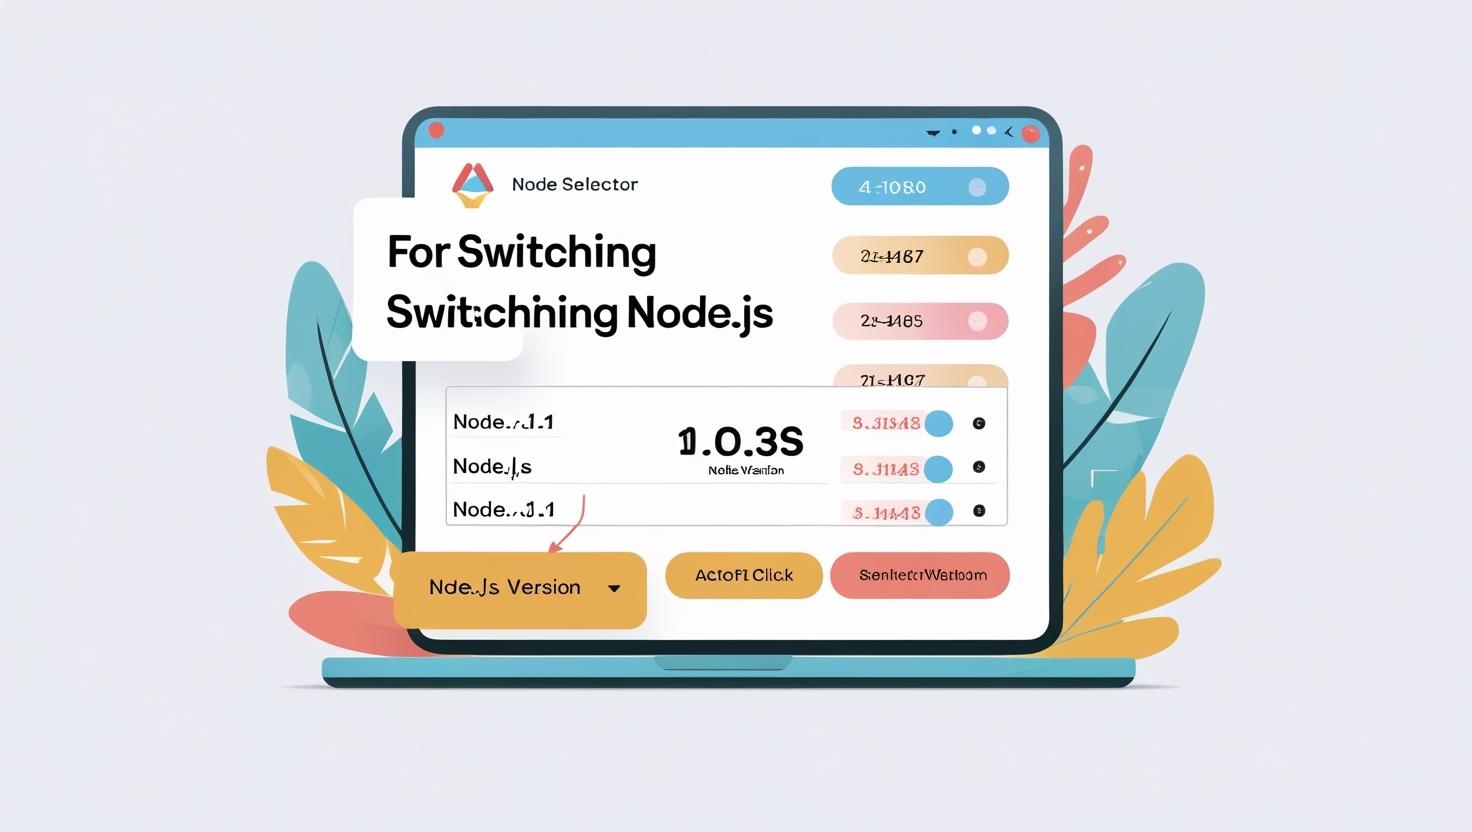
Switching Node.js Versions with cPanel’s Node Selector on Hiverift
Switching Node.js Versions with cPanel’s Node Selector on Hiverift
Why Switch Node.js Versions?
Different applications may require different Node.js versions. Switching versions allows you to ensure compatibility and access the latest features or maintain legacy support.
How to Switch Node.js Version in cPanel
- Login to your cPanel account:
- Go to yourdomain.com/cpanel
- Enter your credentials and log in.
- Navigate to
Setup Node.js ApporApplication Manager:- Use the search bar to find the Node.js setup.
- Click to open your application list.
- Edit your Node.js application:
- Find the app you want to modify.
- Click the
Editbutton.
- Choose your Node.js version:
- Look for the Node.js Version dropdown menu.
- Select the desired version from the list.
- Save and restart:
- Click
SaveorUpdateto apply changes. - Restart your application to load the new Node.js version.
- Click
Verifying the Node.js Version
After restarting your app, verify the active Node.js version by:
- Opening the Terminal or SSH into your cPanel account.
- Running the command:
node -v - The output will show the current version running for your app.
Tip: Always test your application after switching versions to ensure compatibility and functionality.
Troubleshooting
- If the version does not update, clear your browser cache and retry.
- Make sure your app is properly restarted after version change.
- Check the
package.jsonfor any Node.js version constraints.
Need Help?
Contact the Hiverift support team at dev@hiverift.com for assistance with Node.js version management.