Step-by-Step Guide to Buying Hosting on HiveRift
Step-by-Step Guide to Buying Hosting on HiveRift
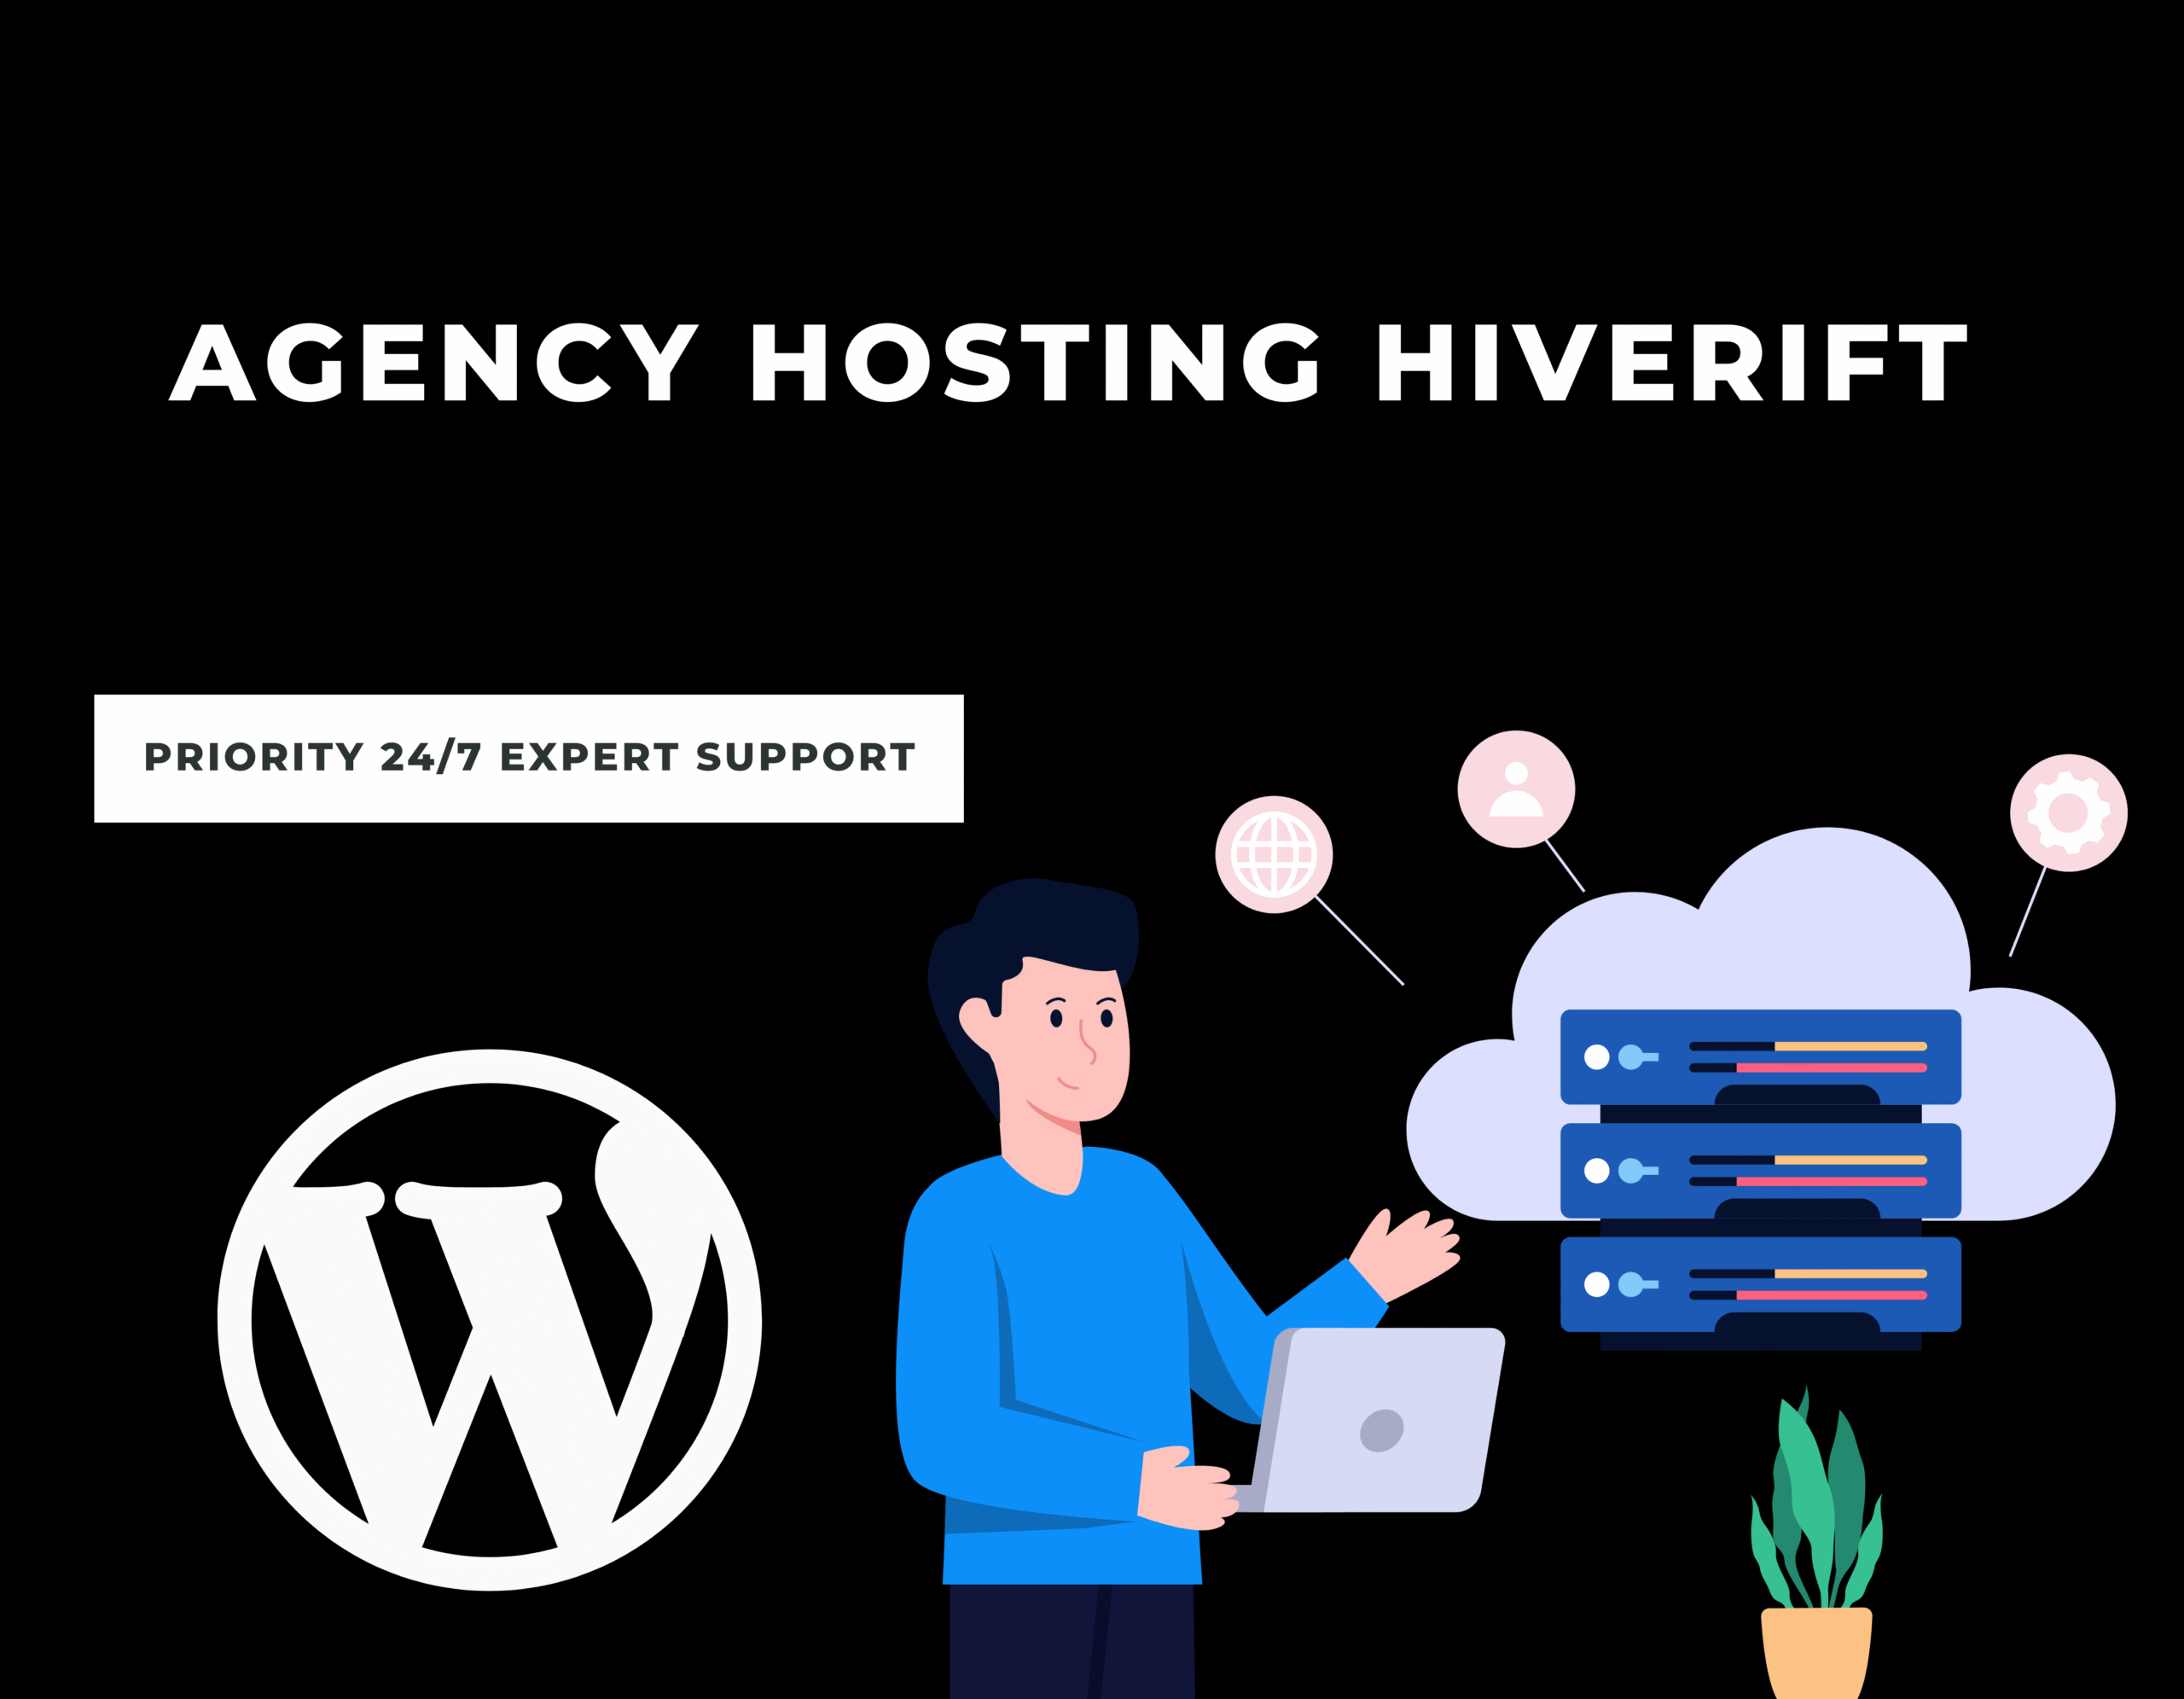
If you’re ready to launch your website, HiveRift makes it simple to purchase reliable web hosting. Follow this beginner-friendly guide to get your site online quickly.
🛒 Step 1: Visit HiveRift Hosting
Go to https://hiverift.com — HiveRift’s official hosting site.
💡 Step 2: Choose Your Hosting Plan
HiveRift offers various hosting types:
-
Shared Hosting (ideal for beginners and small sites)
-
WordPress Hosting (optimized for WordPress)
-
VPS Hosting (for more power and control)
-
Reseller Hosting (for hosting your clients’ websites)
Click View Plans to compare features, pricing, and select the plan that suits your needs.
🧾 Step 3: Register or Use an Existing Domain
-
Choose to register a new domain, transfer one, or use your existing domain.
-
Enter the domain you want to use with your hosting plan.
🛠️ Step 4: Configure Your Hosting
-
Review the plan details
-
Choose billing cycle (monthly, annually, etc.)
-
Add extras like SSL, backups, or premium support if needed
Click Continue.
👤 Step 5: Create Your Account
-
If you’re a new user, fill in your name, email, and password
-
Existing users can log in directly
💳 Step 6: Choose Payment Method
-
Select your preferred payment option (credit card, UPI, PayPal, etc.)
-
Review the invoice and total cost
-
Agree to terms and click Checkout
🚀 Step 7: Access Your Hosting Dashboard
After successful payment, you’ll receive login details via email.
Log in to your HiveRift Client Area and access cPanel to start building your website.
✅ What Happens Next?
-
Install WordPress or other CMS
-
Set up email accounts
-
Upload your website files
-
Connect your domain (if needed)
🧠 Final Tips
-
Check your inbox for your welcome email from HiveRift
-
Use HiveRift’s 24/7 support if you get stuck
-
Don’t forget to install SSL for security
Need help getting started?
👉 Contact HiveRift Support via https://hiverift.com or use live chat.