Installing and Running Node.js on Shared Hosting via cPanel
Installing and Running Node.js on Shared Hosting via cPanel
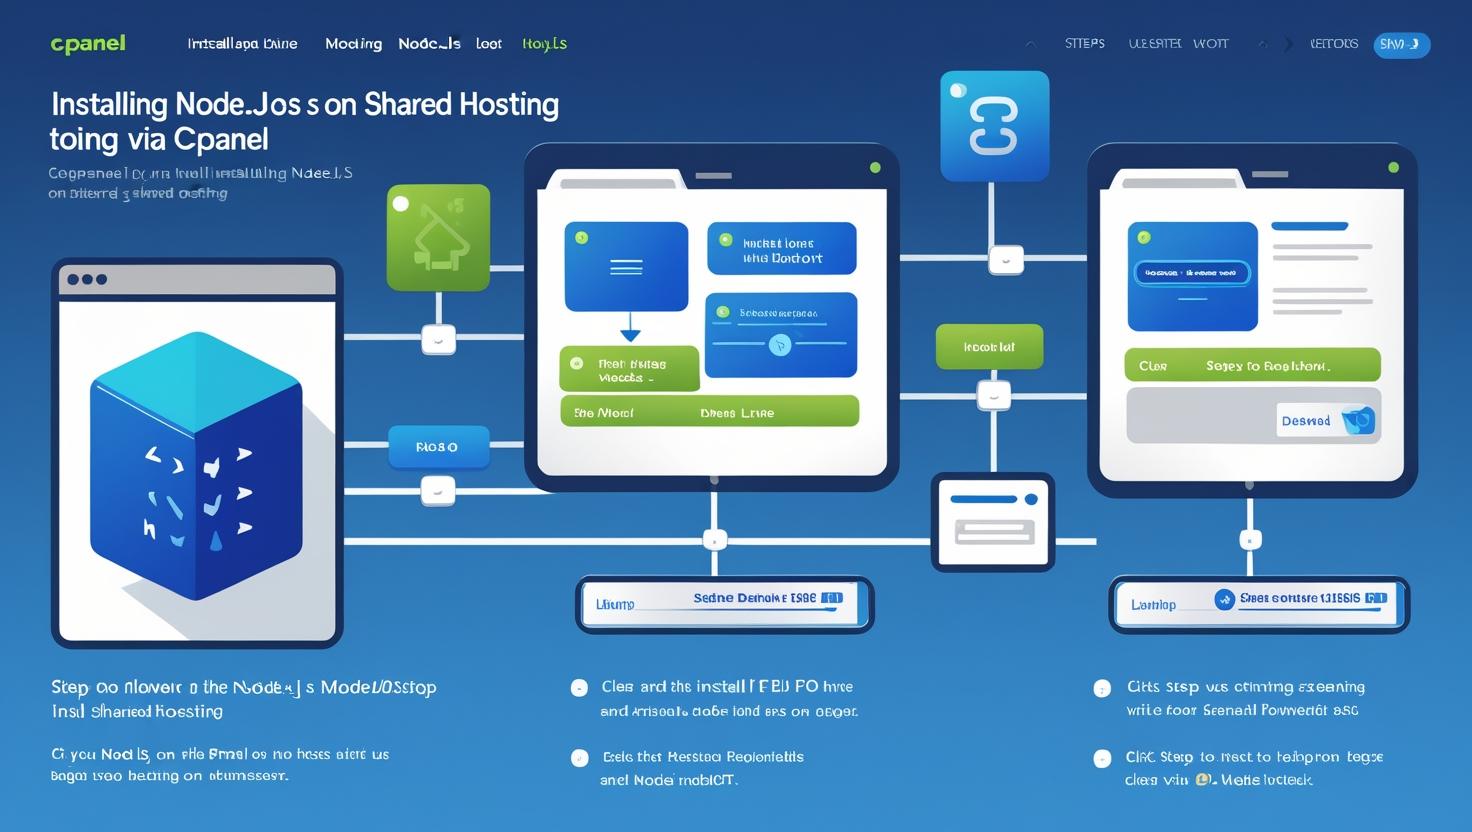
If you’re using shared hosting with cPanel and want to deploy a Node.js application, you’ll be happy to know that many providers now support Node.js through their software tools. This guide will walk you through the entire process of installing and running a Node.js app on shared hosting with cPanel access.
✅ Requirements
- A shared hosting plan that supports Node.js (check with your provider)
- Access to cPanel
- Your Node.js app files (in a zipped folder or Git repo)
- Basic knowledge of Node.js and your app’s startup file (like
server.jsorapp.js)
🔐 Step 1: Login to cPanel
- Open your browser and go to
https://yourdomain.com/cpanel - Log in using your hosting account credentials
🛠️ Step 2: Locate the Node.js App Feature
- In the cPanel dashboard, scroll to the Software section
- Click on Setup Node.js App (or a similar option depending on your host)
- Click Create Application
⚙️ Step 3: Configure Your Node.js Application
On the application creation screen, configure the following:
- Node.js Version: Choose the version your app requires
- Application Mode: Use
productionfor live sites ordevelopmentfor testing - Application Root: Name of the folder in your file system (e.g.,
myapp) - Application URL: Where your app will be accessible
- Startup File: The main file of your Node app (e.g.,
server.js)
Click Create to set up the environment.
📂 Step 4: Upload or Clone Your Project Files
Now that your app environment is created:
- Go to File Manager from cPanel
- Navigate to the folder set as your Application Root
- Upload and extract your zipped Node.js project OR use Git to clone:
git clone https://github.com/yourusername/your-repo.git📦 Step 5: Install Project Dependencies
- Return to the Node.js App interface
- Find your app and click on “Run NPM Install”
- This will install all packages listed in your
package.json
🚀 Step 6: Start Your Node.js App
- In the Node.js App section, click Restart next to your app
- Visit your Application URL (e.g.,
https://yourdomain.com/myapp) - You should see your Node.js app running live
🧪 Optional: Create a .env File for Environment Variables
- Use the File Manager or SSH to create a file called
.envin the root directory - Add your environment variables like this:
PORT=3000
DB_URI=mongodb+srv://username:password@cluster.mongodb.net/app
Make sure to use a library like dotenv in your code to load them.
🔒 Step 7: Secure with SSL (Optional but Recommended)
- In cPanel, go to SSL/TLS or AutoSSL
- Install an SSL certificate for your domain
- Ensure your app listens to HTTPS traffic properly
🛠 Troubleshooting Tips
- App not starting? Ensure your startup file is correct and your dependencies are installed
- 502 Bad Gateway? Your app might not be running on the specified port or failed to start
- Check Logs: Use cPanel’s Terminal or error log tools to debug runtime issues
📌 Conclusion
Running Node.js on shared hosting via cPanel is easier than ever with built-in tools and simplified environments. As long as your hosting provider supports Node.js, you can host modern web applications with just a few clicks. For more advanced setups, consider switching to VPS or cloud hosting, but shared hosting is a solid choice for small apps, portfolios, and APIs.