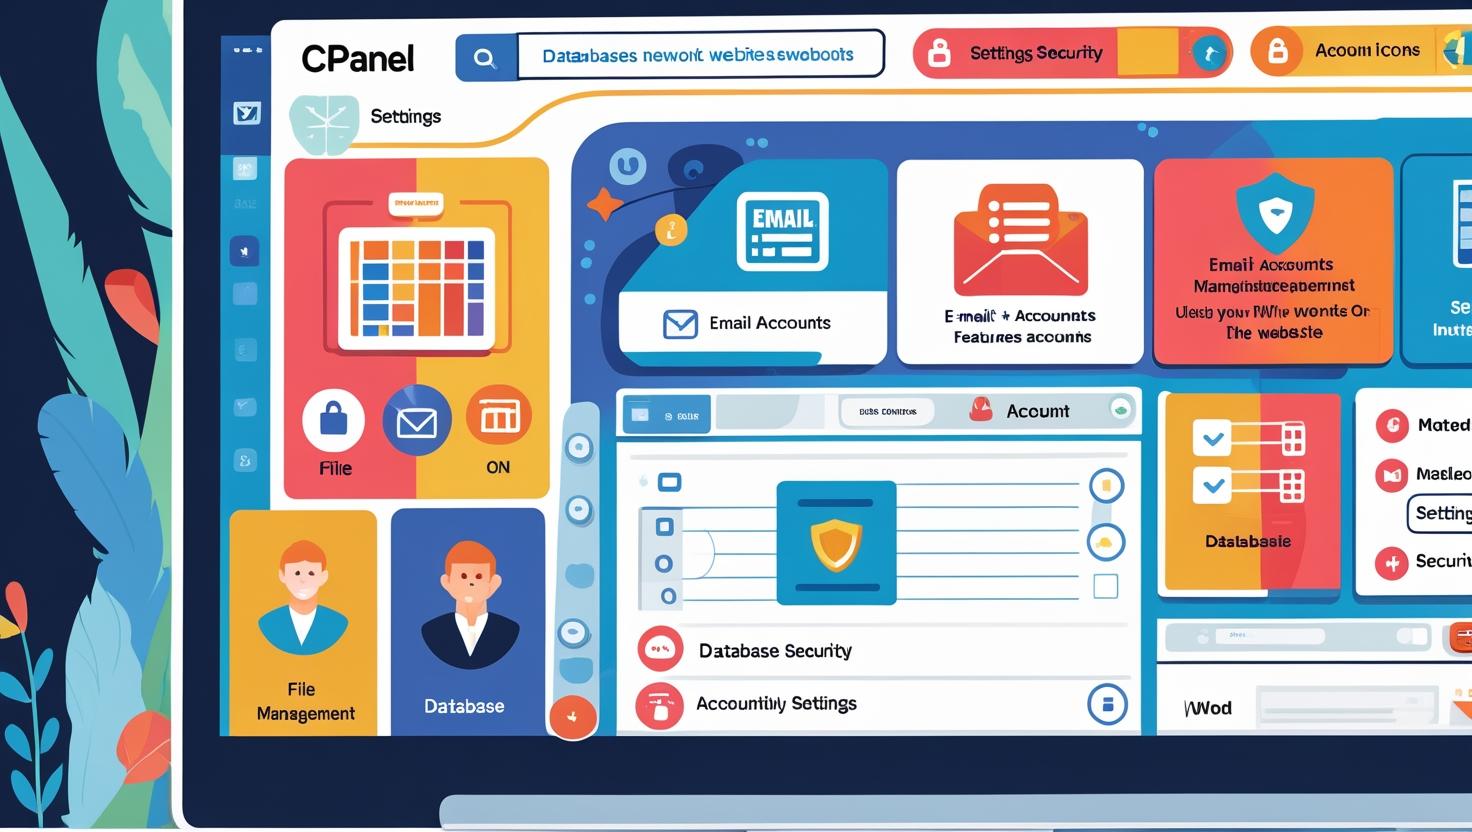
How to Manage Your Website Through cPanel
How to Manage Your Website Through cPanel
📌 Introduction
cPanel is one of the most popular web hosting control panels, designed to make website management easy, even for beginners. With a simple dashboard, you can control everything — from files and emails to backups and databases — in just a few clicks.
Here’s a beginner-friendly guide on how to manage your website through cPanel.
🧭 Step-by-Step: How to Use cPanel for Website Management
🗂️ 1. Accessing cPanel
-
Login via
yourdomain.com/cpanel -
Enter your username and password (provided by your hosting provider)
📁 2. File Management with File Manager
-
Navigate to the File Manager
-
Access your website files in the
public_htmlfolder -
Upload, edit, or delete HTML, PHP, CSS, and image files
-
No need for FTP software
📧 3. Create and Manage Email Accounts
-
Click on Email Accounts
-
Create custom email addresses like
info@yourdomain.com -
Set mailbox quota, passwords, and configure email clients
🛡️ 4. Add SSL & Secure Your Site
-
Go to SSL/TLS or Let’s Encrypt
-
Install Free SSL Certificate for HTTPS
-
Boosts security and SEO
🧰 5. Install Apps with Softaculous
-
Use Softaculous App Installer
-
1-click install WordPress, Joomla, Drupal, etc.
-
Great for beginners who don’t want to code
🗃️ 6. Manage Databases
-
Use MySQL Databases to create new databases
-
Use phpMyAdmin to view, edit, or import/export data
-
Essential for dynamic websites like WordPress
🌐 7. Manage Domains & Subdomains
-
Add new domains or create subdomains (e.g., blog.yourdomain.com)
-
Manage DNS settings, redirects, and parked domains
♻️ 8. Backup & Restore Your Website
-
Go to Backup Wizard
-
Download full or partial backups
-
Restore site files, databases, and email
✅ Conclusion
cPanel gives you complete control over your website with a user-friendly interface. Whether you’re a beginner or an experienced webmaster, learning to manage your website through cPanel will save you time, effort, and give you full control over your online presence.