How to Manage WordPress Widgets and Menus Post-Installation
How to Manage WordPress Widgets and Menus Post-Installation
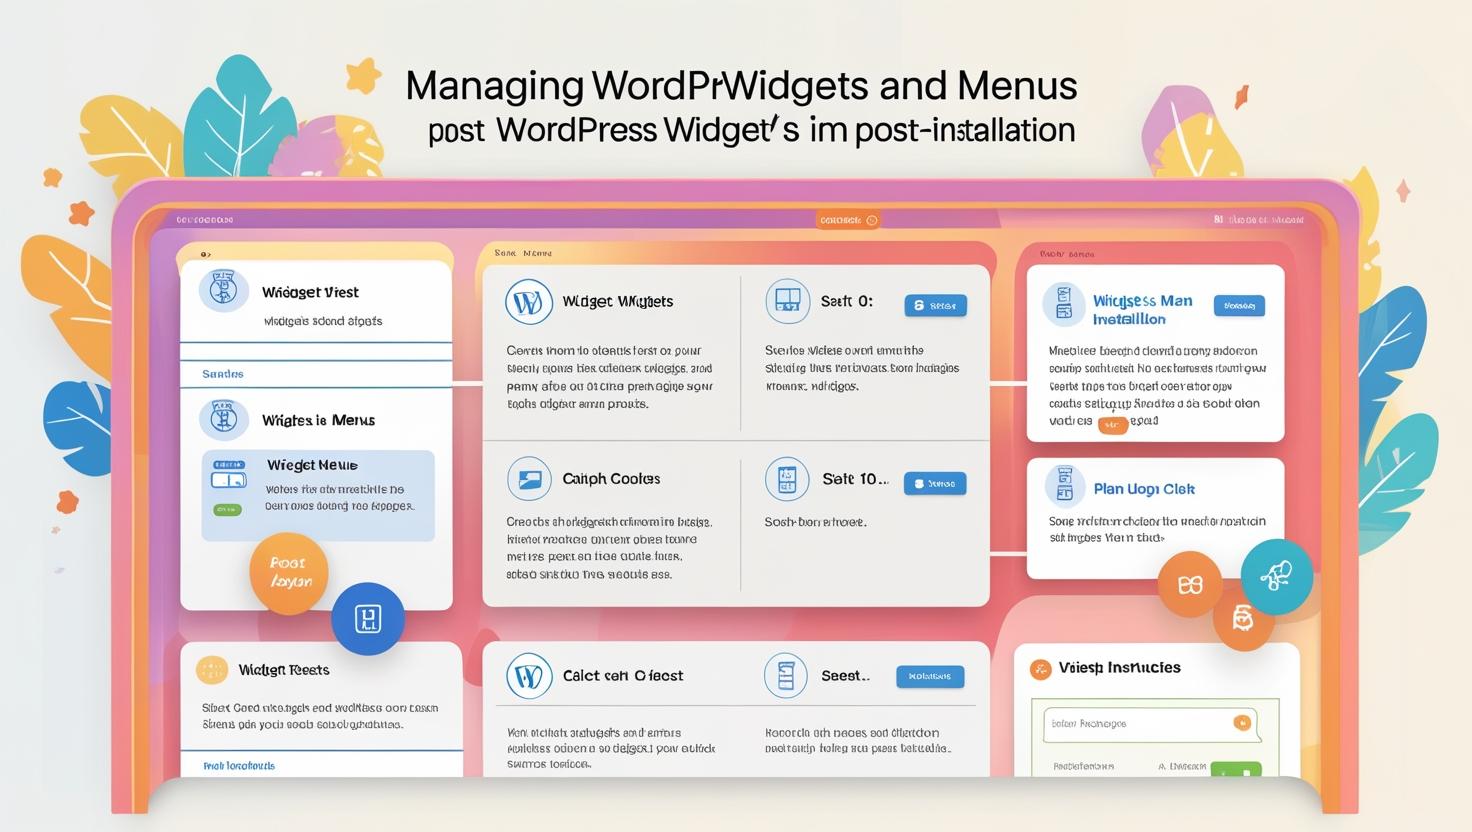
Understanding Widgets and Menus in WordPress
Widgets are blocks of content that can be added to sidebars, footers, and other widget-ready areas of your WordPress theme. Menus control your site’s navigation, helping visitors find important pages and sections.
How to Manage WordPress Widgets
- Login to Your WordPress Dashboard: Go to
yourdomain.com/wp-adminand enter your credentials. - Navigate to Widgets: In the sidebar, go to Appearance > Widgets.
- View Available Widget Areas: You will see the widget-ready areas such as Sidebar, Footer, or Header depending on your theme.
- Add Widgets: Drag and drop widgets from the available widgets list into your desired widget area.
- Configure Widgets: Click the widget title to open its settings. Customize options as needed and click Save.
- Remove Widgets: To remove a widget, drag it back to the available widgets section or click Delete.
Widgets allow you to add features like recent posts, search bars, categories, and more.
How to Manage WordPress Menus
- Go to Menus: In the dashboard sidebar, click Appearance > Menus.
- Create a New Menu: Click Create a new menu, enter a name, and click Create Menu.
- Add Menu Items: From the left side, select pages, posts, custom links, or categories to add. Click Add to Menu.
- Organize Menu Structure: Drag and drop menu items to reorder them or create sub-menus by indenting.
- Assign Menu Location: Under “Menu Settings,” choose where this menu appears (Primary, Footer, etc.).
- Save Menu: Click Save Menu to apply changes.
Menus help organize your website’s navigation and improve user experience.
Using the WordPress Customizer for Widgets and Menus
For live preview and easy management:
- Go to Appearance > Customize.
- Choose Widgets or Menus from the Customizer panel.
- Add, edit, or remove widgets and menu items while seeing changes in real-time.
- Click Publish to save.
Tips for Effective Widget and Menu Management
- Limit the number of widgets to avoid cluttering sidebars or footers.
- Use clear and descriptive menu labels for better navigation.
- Regularly update menus as you add new pages or content.
- Test your menus on mobile devices to ensure responsiveness.
Conclusion
Managing widgets and menus is essential for customizing your WordPress site’s layout and navigation. Using the WordPress dashboard or Customizer, you can easily control these elements to create a user-friendly and visually appealing website.