How to Install WordPress Using cPanel’s Softaculous Auto Installer
How to Install WordPress Using cPanel’s Softaculous Auto Installer
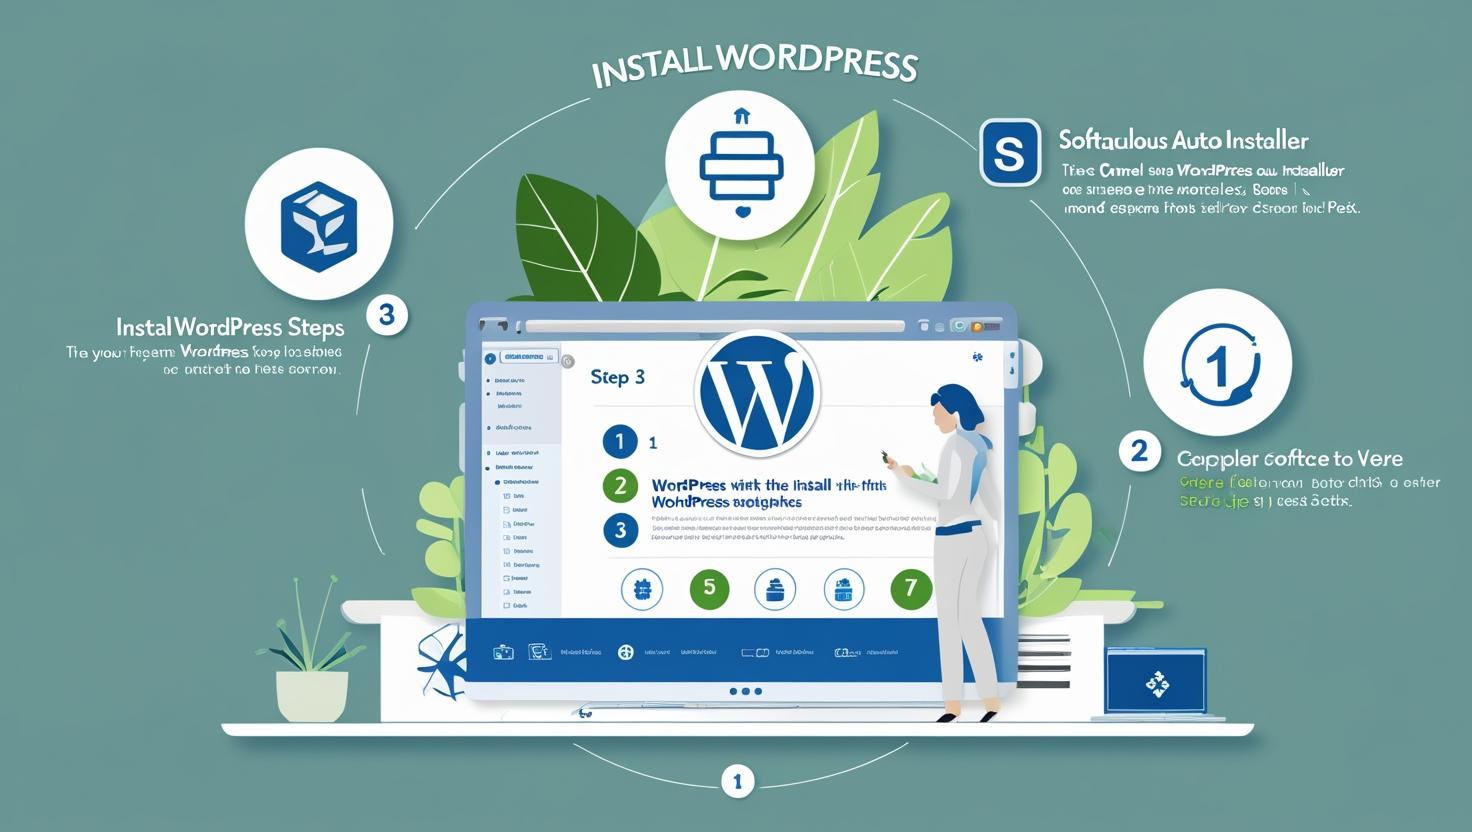
Follow this easy, step-by-step guide to quickly install WordPress on your hosting account using the Softaculous auto installer available in cPanel.
What Is Softaculous?
Softaculous is an auto-installer tool integrated into many cPanel dashboards. It allows you to install popular web applications like WordPress with just a few clicks — no technical expertise required.
Step 1: Log into Your cPanel Account
First, access your hosting control panel by logging into cPanel. You can usually do this by visiting https://yourdomain.com/cpanel or via your hosting provider’s dashboard.
Step 2: Locate Softaculous in cPanel
Once inside cPanel, scroll down to the “Softaculous Apps Installer” section. You will see icons for many applications. Click on the WordPress icon to begin the installation process.
Step 3: Start the WordPress Installation
Click the Install Now button on the WordPress overview page. This will open the installation form where you configure your WordPress setup.
Step 4: Configure WordPress Settings
- Choose Protocol: Select whether to use
http://orhttps://. If you have an SSL certificate installed, choosehttps://. - Choose Domain: Select the domain or subdomain where you want to install WordPress.
- In Directory: Leave blank to install in the root directory (e.g.,
yourdomain.com), or specify a folder name to install in a subfolder (e.g.,yourdomain.com/blog). - Site Name: Enter your website’s name (you can change this later in WordPress settings).
- Site Description: Add a short description or tagline for your site.
- Admin Username: Choose a secure username for your WordPress admin account.
- Admin Password: Create a strong password (Softaculous may generate one for you).
- Admin Email: Enter a valid email address to receive important notifications.
Step 5: Choose Language and Plugins (Optional)
Select the language for your WordPress installation. Softaculous may also offer to install recommended plugins or themes — choose as per your preference.
Step 6: Complete the Installation
Once all the settings are configured, click Install. The installation process will begin and typically completes within a few seconds.
After successful installation, you will see the WordPress login URL, admin username, and password. Save these details securely.
Step 7: Log into Your New WordPress Site
Visit https://yourdomain.com/wp-admin (or your chosen directory) and enter your admin credentials to access the WordPress dashboard.
Now you can start customizing your website, installing themes, adding plugins, and creating content.
Troubleshooting Tips
- If you don’t see Softaculous in your cPanel, contact your hosting provider to check if it’s available.
- Ensure your domain’s DNS is correctly pointed to your hosting server before installing WordPress.
- Use strong admin credentials to protect your website from unauthorized access.