How to Import Demo Data into WordPress After Theme Installation
How to Import Demo Data into WordPress After Theme Installation
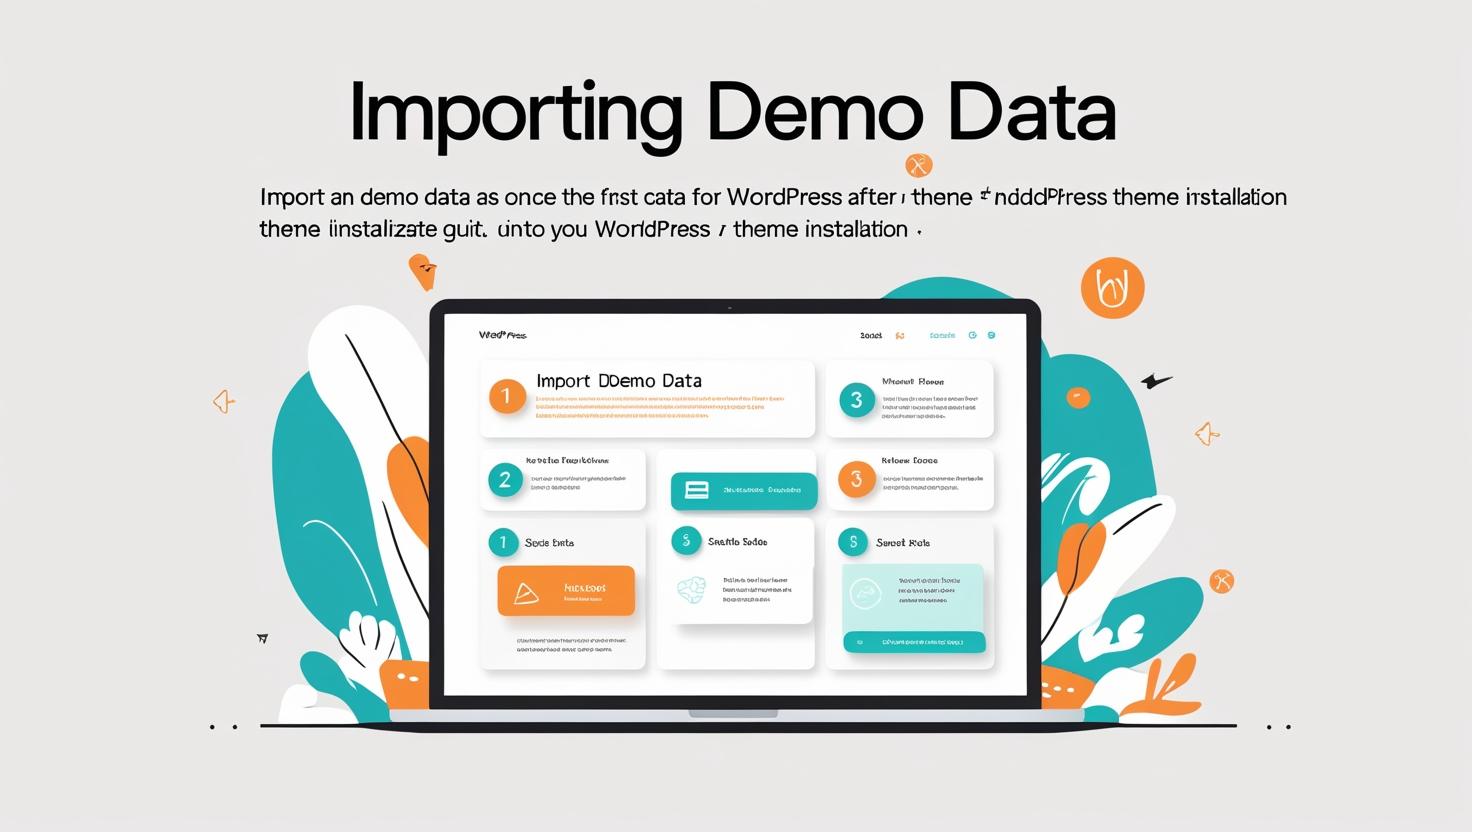
Importing demo data after installing a WordPress theme helps you quickly set up your website with pre-built layouts, pages, posts, menus, and settings. This detailed guide walks you through the process step-by-step.
What Is Demo Data?
Demo data typically includes sample pages, posts, images, menus, widgets, and theme settings that showcase how a theme looks and functions. Importing it allows you to start customizing a site that already has a structure and design in place.
Step 1: Install and Activate Your WordPress Theme
Before importing demo data, make sure your desired WordPress theme is installed and activated:
- Log in to your WordPress dashboard.
- Navigate to Appearance > Themes.
- Click Add New and upload your theme zip file or choose a theme from the repository.
- Activate the theme.
Step 2: Locate the Demo Import Feature
Most premium themes come with an integrated demo import tool or recommend a plugin for importing demo data. Common ways to find this option include:
- A dedicated Demo Import or One-Click Import menu item in the WordPress dashboard (often under Appearance or a theme-specific menu).
- A plugin recommended by the theme, such as One Click Demo Import or Theme Demo Importer.
- Instructions in the theme documentation or support site.
Step 3: Install Required Plugins (If Any)
Some themes require specific plugins to properly import demo content. You may see a notification to install these after activating the theme. Follow these steps:
- Install and activate the recommended plugins.
- Make sure the plugins are active before proceeding.
Step 4: Import the Demo Data
Once everything is set:
- Go to the demo import page in your dashboard (e.g., Appearance > Import Demo Data).
- Choose the demo version or layout you want to import, if multiple options are available.
- Click Import or Start Import.
- Wait for the process to complete — this may take several minutes depending on the size of the demo.
Important: Do not close or navigate away from the page while the import is in progress.
Step 5: Configure Your Site After Import
After the demo content imports:
- Go to Appearance > Menus and assign the imported menus to their locations (e.g., primary menu, footer menu).
- Check Settings > Reading to verify the homepage and blog pages are set correctly.
- Customize widgets via Appearance > Widgets if needed.
- Adjust theme settings and customize your site under Appearance > Customize.
Tips for a Smooth Demo Import
- Backup your site: If importing to an existing site, backup your current content as demo import may overwrite it.
- Use a clean install: Demo data works best on a fresh WordPress install.
- Check PHP limits: Some imports require higher PHP memory and execution time limits. Contact your hosting if needed.
- Consult theme docs: Always refer to your theme’s official documentation for specific instructions.