How to Host a Portfolio Website
How to Host a Portfolio Website 🎨💻 (Step-by-Step Guide)
Want to showcase your skills and work to the world? Hosting your own portfolio website is the best way to establish a professional online presence. Whether you’re a designer, developer, writer, photographer, or freelancer, this step-by-step guide will show you how to host a portfolio website easily and affordably.
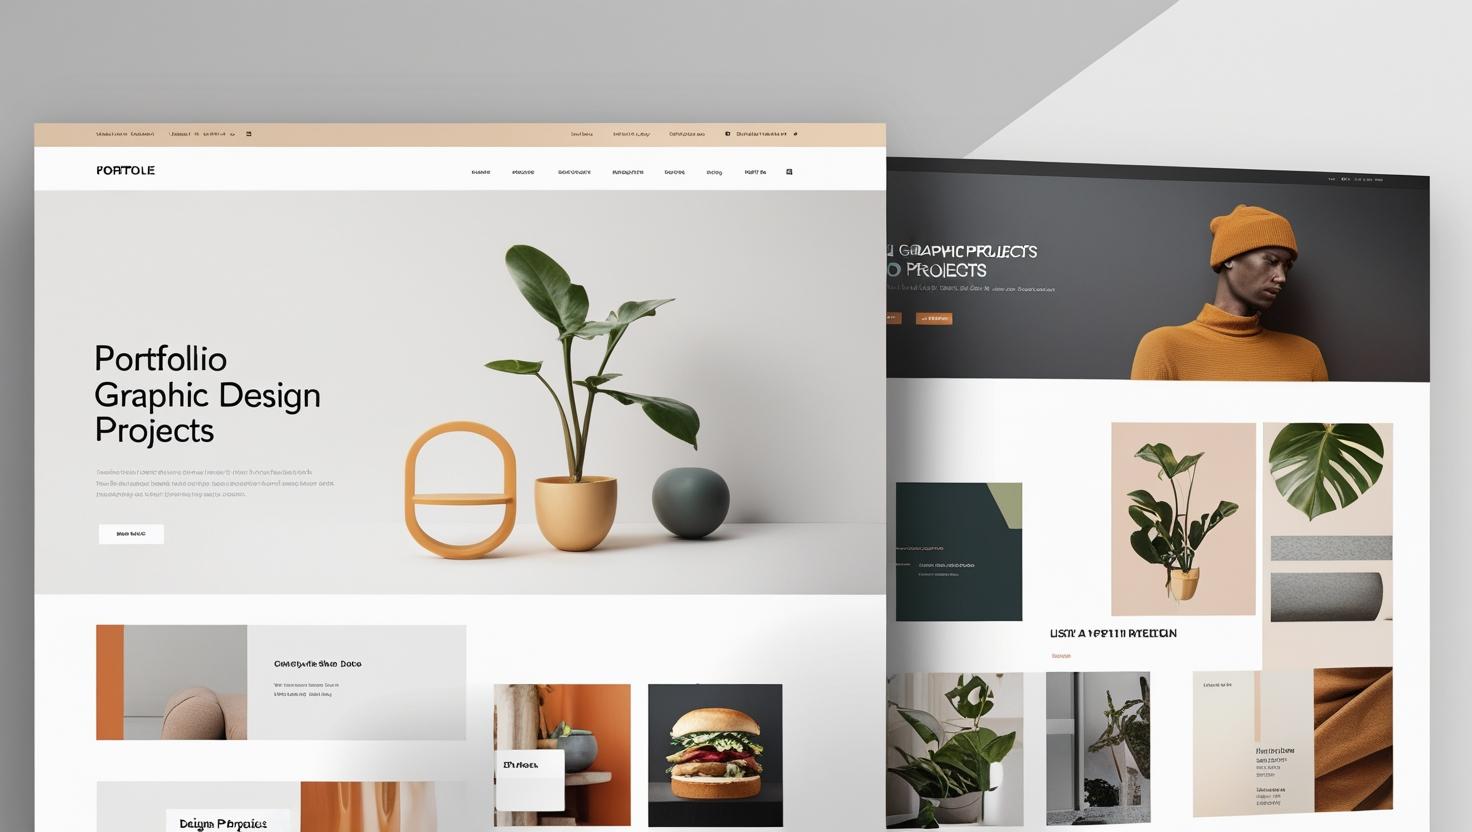
🔍 What Is a Portfolio Website?
A portfolio website is a digital space that showcases your past projects, services, achievements, testimonials, and contact details. It acts as your personal brand and helps attract clients, employers, or collaborators.
🧰 What You Need to Host a Portfolio Website
To get your portfolio live, you’ll need:
-
A domain name (e.g., yourname.com)
-
Web hosting service (shared, WordPress, or cloud hosting)
-
A website builder or CMS (like WordPress, Wix, or HTML/CSS templates)
-
Your content (bio, images, project descriptions, resume, contact info)
🛠️ How to Host Your Portfolio Website – Step-by-Step
Step 1: Choose a Domain Name 🌐
Pick a domain that reflects your brand (e.g., johnsmithdesigns.com or artbyemma.com). Use platforms like GoDaddy, Namecheap, or your hosting provider to register your domain.
Step 2: Select a Hosting Plan 💽
Choose a hosting provider that offers:
-
99.9% uptime
-
Easy WordPress or site builder integration
-
Fast speed & security features
Recommended for portfolios:
-
Shared Hosting (for beginners)
-
Managed WordPress Hosting
-
Cloud Hosting (for scalability)
Popular providers: Hostinger, Bluehost, SiteGround, or Namecheap.
Step 3: Connect Domain to Hosting 🔗
If domain and hosting are from different providers, update your DNS records in the domain panel to point to your hosting nameservers.
Step 4: Install a CMS or Website Builder 🧱
-
WordPress (most flexible & SEO-friendly)
-
Wix / Squarespace (drag-and-drop ease)
-
Custom HTML/CSS (for developers)
Install your platform with one click via cPanel or the host’s dashboard.
Step 5: Design and Customize 🎨
Choose a template or theme that matches your style and profession. Customize colors, fonts, layout, and sections:
-
Home / Introduction
-
Portfolio / Projects
-
About Me / Resume
-
Contact Page (with form)
Step 6: Upload Content 📷✍️
Add your best work with high-quality images, case studies, descriptions, testimonials, and links to live projects (if available).
Step 7: Optimize for SEO & Mobile 📱
-
Add alt text to images
-
Use proper H1, H2 tags
-
Ensure mobile responsiveness
-
Submit sitemap to Google Search Console
Step 8: Launch Your Site 🚀
Once satisfied, test your website and make it live. Share the link on LinkedIn, social media, and resumes!
💡 Bonus Tips for a Great Portfolio Website
-
Keep it clean and easy to navigate
-
Show your personality & style
-
Include measurable results or client feedback
-
Keep updating with new work regularly
-
Link to your social profiles