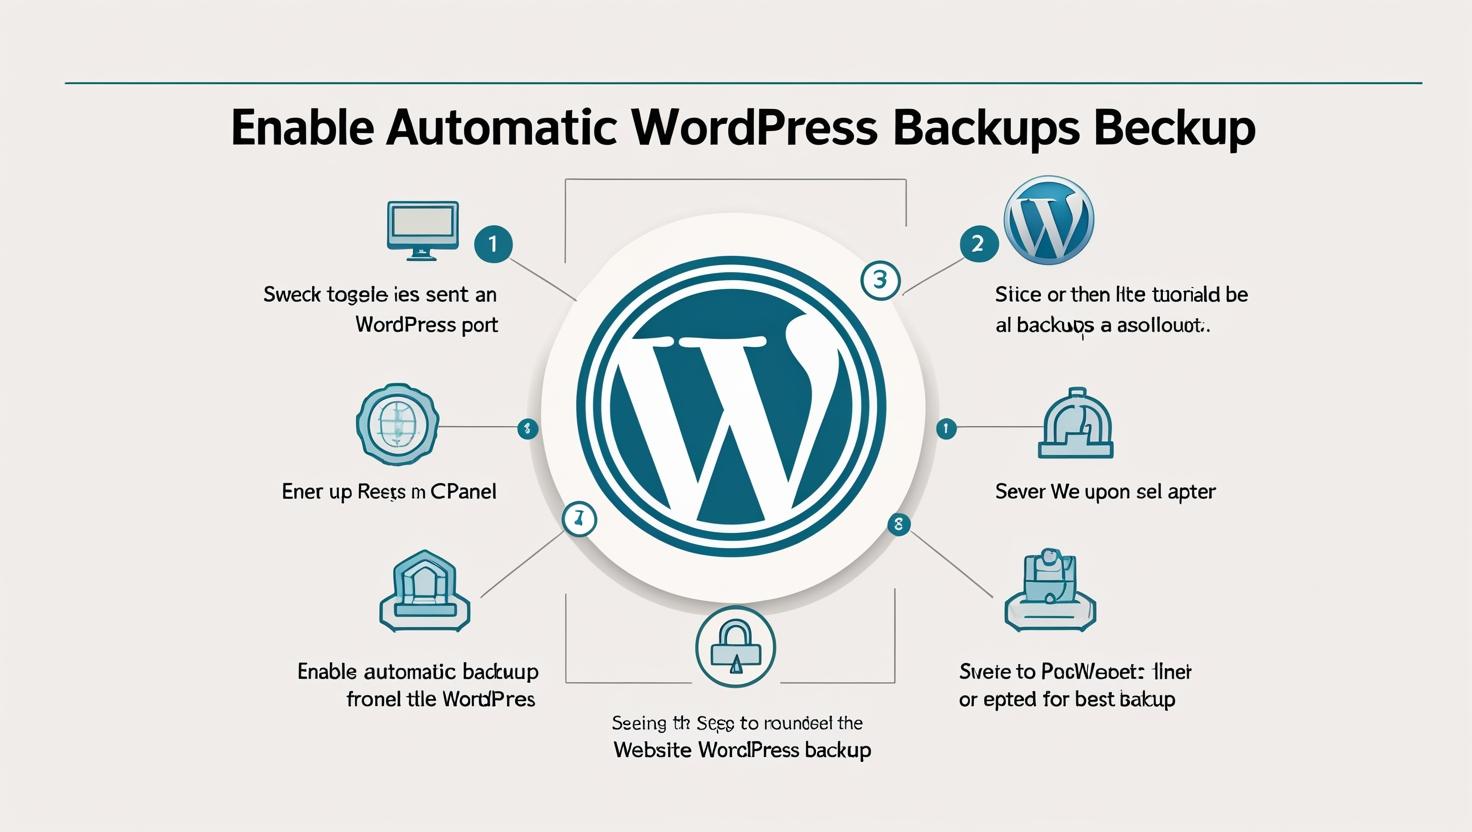
How to Enable Automatic WordPress Backups via cPanel
How to Enable Automatic WordPress Backups via cPanel
Why Automatic Backups Are Important
- Prevents data loss from malware, server issues, or human error
- Makes it easy to restore your site to a previous working state
- Essential before updates or major changes to themes/plugins
Method 1: Use JetBackup for Automatic Backups
- Login to your cPanel account provided by Hiverift.
- Locate and click on the JetBackup section.
- Select Backup Jobs or Full Backups.
- Choose your backup schedule (daily, weekly, or monthly).
- Set the number of backups you want to retain.
- Save the settings to start automatic backups.
Note: JetBackup availability depends on your hosting plan.
Method 2: Enable Auto Backups via Softaculous
- In cPanel, go to Softaculous Apps Installer.
- Click on WordPress > Installations.
- Click the Edit icon next to your WordPress site.
- Scroll to Automated Backups and select a schedule (e.g., daily or weekly).
- Set backup rotation (how many backups to keep).
- Save changes to enable auto backups.
Alternative: WordPress Backup Plugins
If your hosting plan doesn’t support JetBackup or Softaculous, you can use plugins:
- UpdraftPlus – Backup to Dropbox, Google Drive, etc.
- BackupBuddy – Scheduled backups and easy site migrations
- BackWPup – Automate backup jobs and store on cloud
Install from the WordPress dashboard and configure automatic scheduling.
Restoring Your WordPress Site
- Use JetBackup > Restore to roll back your website to a chosen backup.
- Or use Softaculous > Installations > Restore option for your site.
- Follow on-screen instructions to complete the restoration.
Tips for Managing WordPress Backups
- Keep offsite copies (Google Drive, Dropbox, etc.) for extra safety.
- Monitor email notifications to know when backups succeed or fail.
- Always perform a manual backup before major updates.