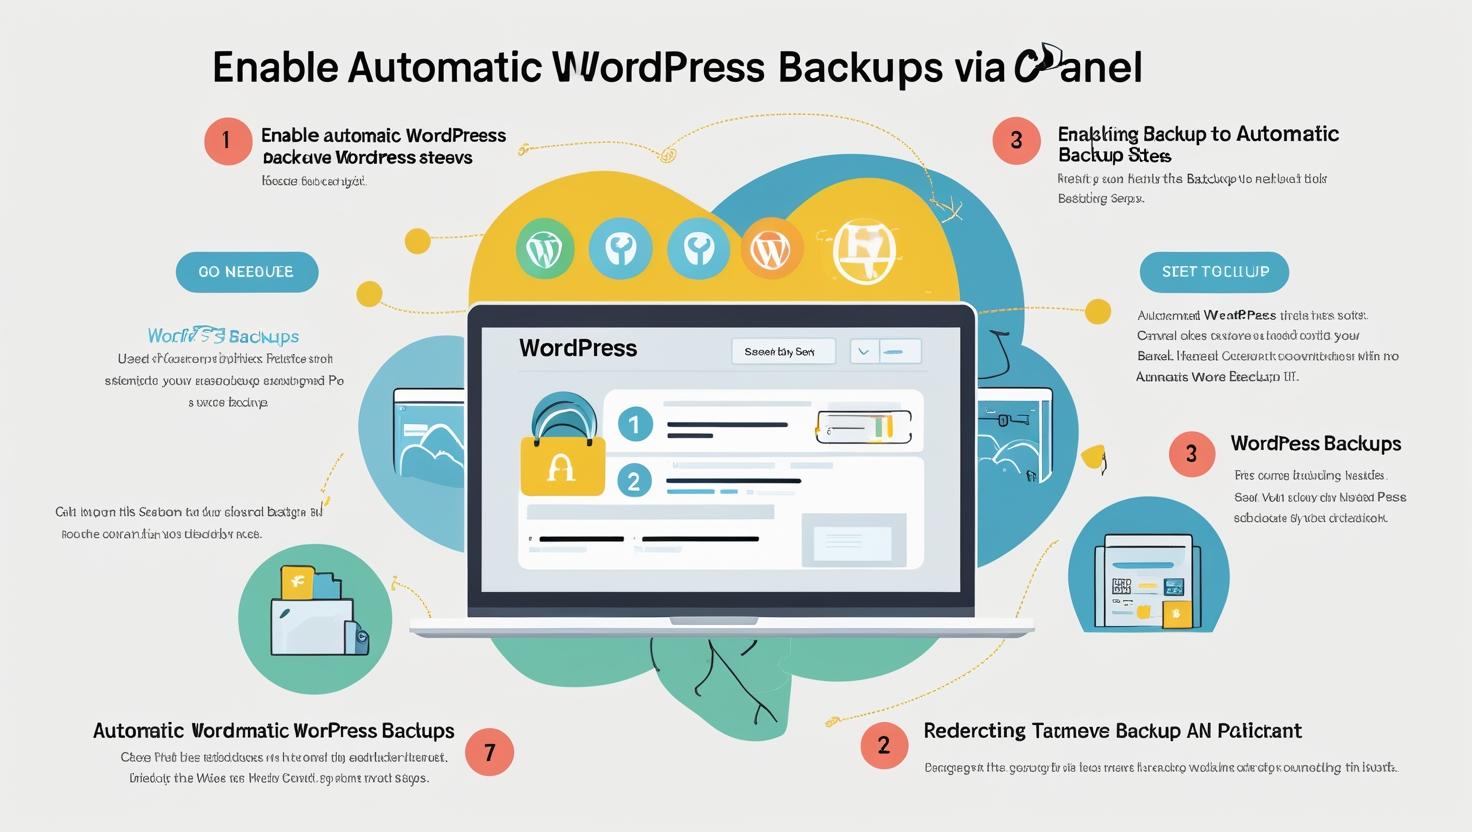
How to Enable Automatic WordPress Backups via cPanel
How to Enable Automatic WordPress Backups via cPanel
Why Enable Automatic Backups?
- Prevents data loss from hacks, server crashes, or accidental deletion.
- Makes it easy to restore your site to a previous working state.
- Essential for WordPress updates and plugin/theme changes.
Option 1: Use JetBackup (If Available in Your cPanel)
- Log in to your cPanel account.
- Scroll down to the JetBackup section.
- Click on Full Backups or Backup Jobs.
- Set up your backup schedule (daily, weekly, monthly) based on your needs.
- Choose backup retention (how many backups you want to keep).
- Enable automatic backups and save the configuration.
Note: JetBackup settings may vary slightly depending on your hosting provider.
Option 2: Enable Automatic Backups via Softaculous
When you install WordPress using Softaculous, you can set up auto backups:
- Log in to cPanel.
- Go to Softaculous Apps Installer and click on WordPress.
- Under “Current Installations,” find your site and click the pencil icon (Edit).
- Scroll to the “Backup Location” and “Automated Backups” settings.
- Set backups to occur daily, weekly, or monthly.
- Choose the number of backup copies to retain (usually 2–4).
- Save changes.
Option 3: Use WordPress Backup Plugins (Bonus Tip)
If your host does not provide automatic backup tools, you can install a plugin:
- UpdraftPlus – Schedule cloud backups (Google Drive, Dropbox, etc.)
- BackupBuddy – Full backups with email notifications
- BlogVault – Real-time backups and easy restores
Install the plugin from the WordPress dashboard and configure automatic schedules.
How to Restore from a Backup (Optional Step)
If you need to restore your website:
- Use JetBackup > Restore option to revert to a selected backup.
- Or use Softaculous > WordPress > Restore icon next to your installation.
- Confirm restore and wait until it completes.
Best Practices
- Always keep at least one recent backup stored offsite (Google Drive, Dropbox, etc.).
- Test the restore function after major changes to ensure backups work properly.
- Set automated emails to notify you when backups complete or fail.