How to Create Staging Sites for WordPress Using cPanel
How to Create Staging Sites for WordPress Using cPanel
🚀 What is a Staging Site?
A staging site is a clone of your live website where you can safely test updates, new features, or designs without affecting your production site.
🔧 Method 1: Use cPanel’s Built-in WordPress Manager (If Available)
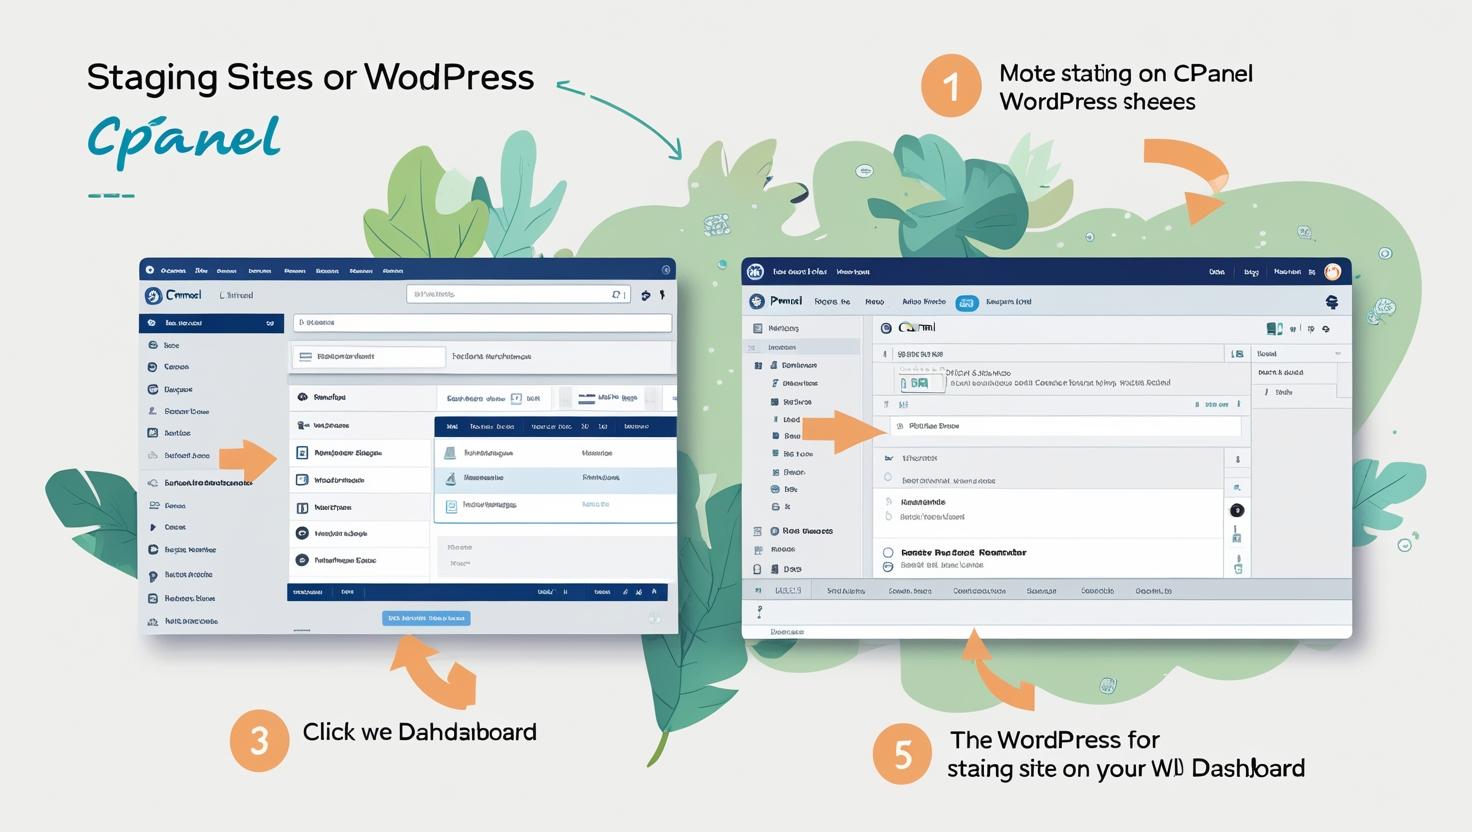
Step 1: Log in to cPanel
Visit yourdomain.com/cpanel and enter your login credentials.
Step 2: Open WordPress Toolkit or Softaculous
Look for either:
- WordPress Toolkit (modern hosts)
- Softaculous Apps Installer → WordPress
Step 3: Select Your Installation
Find your active WordPress installation and click on the Staging or Create Staging option.
Step 4: Configure Staging Settings
- Choose a staging folder (e.g.,
staging) - Click Create and wait for the cloning process
Some tools offer automatic synchronization from staging to live—great for pushing updates.
🛠 Method 2: Manually Create a WordPress Staging Site via File Manager + phpMyAdmin
Step 1: Create a Subdomain
- In cPanel, go to Subdomains
- Create a subdomain like
staging.yourdomain.com
Step 2: Copy Files to Subdomain
- Open File Manager
- Copy all files from
public_htmlto the new subdomain folder (e.g.,public_html/staging)
Step 3: Export and Import the Database
- Open phpMyAdmin
- Export your current database (SQL format)
- Create a new database and user in cPanel
- Import the SQL file into the new staging database
Step 4: Update wp-config.php
Edit the wp-config.php file in the staging folder:
define('DB_NAME', 'your_staging_db');
define('DB_USER', 'your_staging_user');
define('DB_PASSWORD', 'your_password');
define('DB_HOST', 'localhost');
Step 5: Update Site URLs
- Go to the staging database in phpMyAdmin
- Open the
wp_optionstable - Update
siteurlandhomefields to your new subdomain URL
Be careful not to overwrite your live database or files during this process.
🔒 Secure Your Staging Site
- Add password protection via cPanel → Directory Privacy
- Block search engines with a
robots.txt:User-agent: * Disallow: /
✅ Final Thoughts
Creating a WordPress staging site using cPanel allows you to test and develop safely. Whether using cPanel tools or doing it manually, always back up your site before making changes.
Need expert help setting up a staging environment? Our team at Hiverift is here to assist you.