How to Create a Portfolio Website Using WordPress and Manage Files via cPanel
Create a Portfolio Website Using WordPress and Manage Files via cPanel
Why Choose WordPress for Your Portfolio Website?
WordPress is a versatile and user-friendly platform perfect for building a portfolio site. It offers thousands of customizable themes and plugins to showcase your work beautifully without needing to code.
Step 1: Set Up Hosting and Install WordPress
- Purchase a domain name and hosting plan from a reliable provider like Hiverift Hosting.
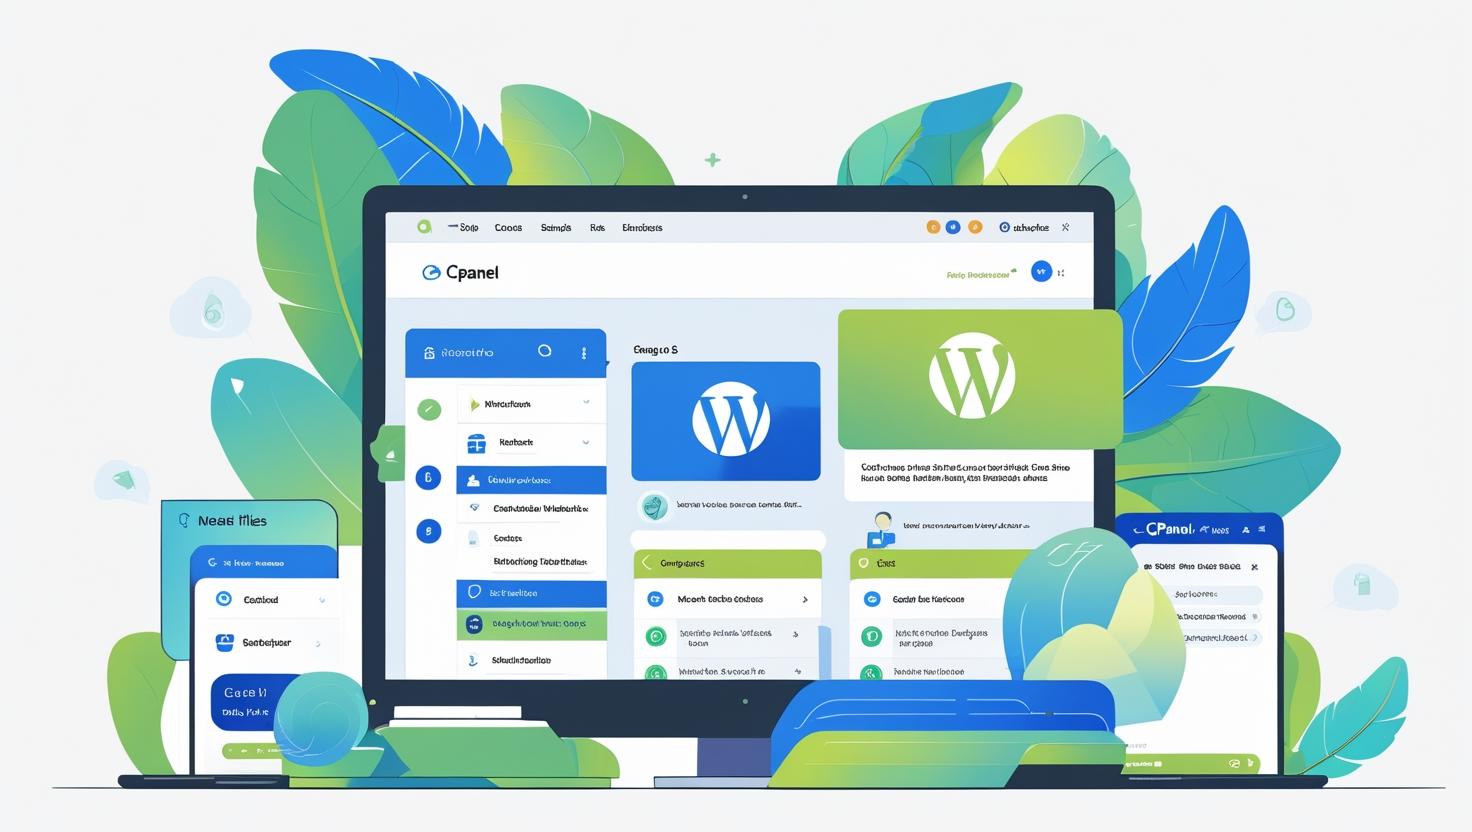
- Access your hosting control panel (cPanel).
- Use the Softaculous auto-installer in cPanel to install WordPress in just a few clicks.
- Once installed, log in to your WordPress dashboard at
yourdomain.com/wp-admin.
Step 2: Choose and Install a Portfolio Theme
Select a portfolio-specific theme to best display your work. Popular free and premium options include:
- Astra – lightweight and customizable
- OceanWP – perfect for creative portfolios
- Neve – clean design with portfolio demos
- Portfolio Press – specifically designed for portfolios
To install a theme:
- Go to Appearance > Themes > Add New in your WordPress dashboard.
- Search for your chosen theme, click Install, then Activate.
Step 3: Customize Your Portfolio Website
- Create pages such as Home, About Me, Portfolio, and Contact.
- Use the WordPress Customizer or page builder plugins like Elementor to design your pages.
- Upload your work samples in galleries or portfolio sections using built-in blocks or plugins like Envira Gallery.
Step 4: Manage Your WordPress Files Using cPanel File Manager
cPanel’s File Manager lets you manage your website files easily without FTP. Here’s how to use it:
- Log in to your cPanel account provided by your hosting provider.
- Click on File Manager under the Files section.
- Navigate to the
public_htmlfolder (or the folder where WordPress is installed). - Here, you can upload, download, delete, or edit files such as themes, plugins, and uploads.
- To upload a theme or plugin manually, simply upload the ZIP file and extract it in the appropriate directory (e.g.,
wp-content/themesfor themes).
Step 5: Upload Media and Backup Your Site
You can upload large files directly via cPanel if needed, especially useful when WordPress upload limits apply.
- Use File Manager to upload images, videos, or PDFs directly into the
wp-content/uploadsfolder. - Regularly backup your WordPress site by compressing your
public_htmlfolder and exporting your database from phpMyAdmin.
Step 6: Secure Your Portfolio Website
- Use cPanel to enable SSL (via AutoSSL) to secure your website.
- Keep WordPress, themes, and plugins updated for security and performance.
- Set correct file permissions using File Manager to protect sensitive files.
Conclusion
Building a portfolio website with WordPress is simple and powerful. With the addition of cPanel’s File Manager, you can easily manage your website files and keep your site running smoothly. Start showcasing your work to the world today!