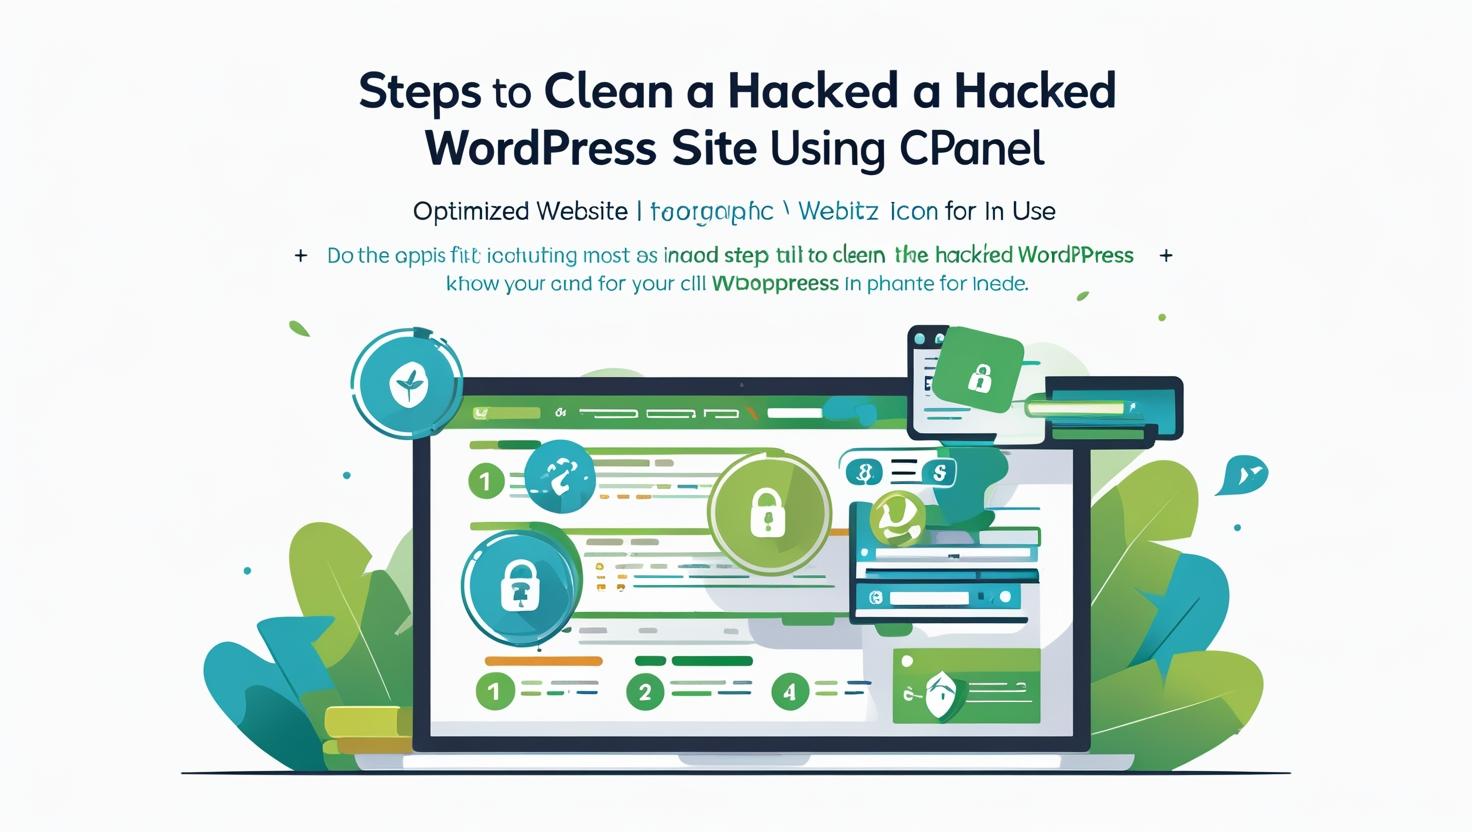
How to Clean a Hacked WordPress Site Using cPanel
How to Clean a Hacked WordPress Site Using cPanel
Signs Your WordPress Site May Be Hacked
- Website is redirected to unknown pages
- Unwanted popups or ads
- Google marks your site as “Not Secure” or “This site may be hacked”
- Unfamiliar users or files in your installation
- Slow performance or unexpected traffic
Step 1: Backup Your Website Immediately
Before making any changes, create a full backup of your website via cPanel:
- Log in to cPanel.
- Go to Files > Backup.
- Click Download a Full Website Backup and store it securely on your computer.
Step 2: Scan Files Using Malware Scanner (if available)
Some hosts (like Hiverift) include malware scanning tools:
- Log in to cPanel.
- Navigate to Virus Scanner or ImunifyAV under Security.
- Run a full scan on your
public_htmldirectory. - Quarantine or delete infected files as suggested.
Step 3: Manually Review and Delete Suspicious Files
- Go to File Manager in cPanel.
- Navigate to
public_htmlor your WordPress folder. - Look for unfamiliar PHP files in root,
wp-content,uploads, andthemes/plugins. - Delete any suspicious files, but do so carefully if you’re unsure. Cross-reference with a fresh WordPress installation if needed.
Step 4: Reinstall WordPress Core Files
To ensure no core file is compromised:
- Download a clean copy of WordPress from wordpress.org.
- Extract the files locally.
- Upload all folders and files (except
wp-content) using File Manager or FTP to overwrite the hacked ones.
Step 5: Reset All Passwords
Reset the following credentials immediately:
- WordPress Admin Users
- cPanel & Hosting Account
- MySQL Database Password (can be changed via cPanel > MySQL Databases)
- FTP accounts
Step 6: Check and Clean Database via phpMyAdmin
- In cPanel, open phpMyAdmin.
- Select your WordPress database.
- Review tables like
wp_users,wp_options, andwp_postsfor strange content, base64 code, or unauthorized admin users. - Delete malicious entries or restore from a known-clean backup.
Step 7: Install a Security Plugin
Once the site is clean, log in to your WordPress admin and install one of these plugins:
- Wordfence Security
- iThemes Security
- MalCare Security
Run a fresh scan and activate firewall features.
Step 8: Submit Your Site for Google Review
If your site was blacklisted by Google or shows malware warnings:
- Sign in to Google Search Console.
- Select your property and go to Security Issues.
- Request a review once you confirm the hack has been cleaned.
Prevent Future Hacks
- Keep WordPress, plugins, and themes up to date
- Use strong passwords and two-factor authentication
- Install a reliable security plugin
- Backup your website regularly using cPanel or plugins
- Use trusted themes/plugins only