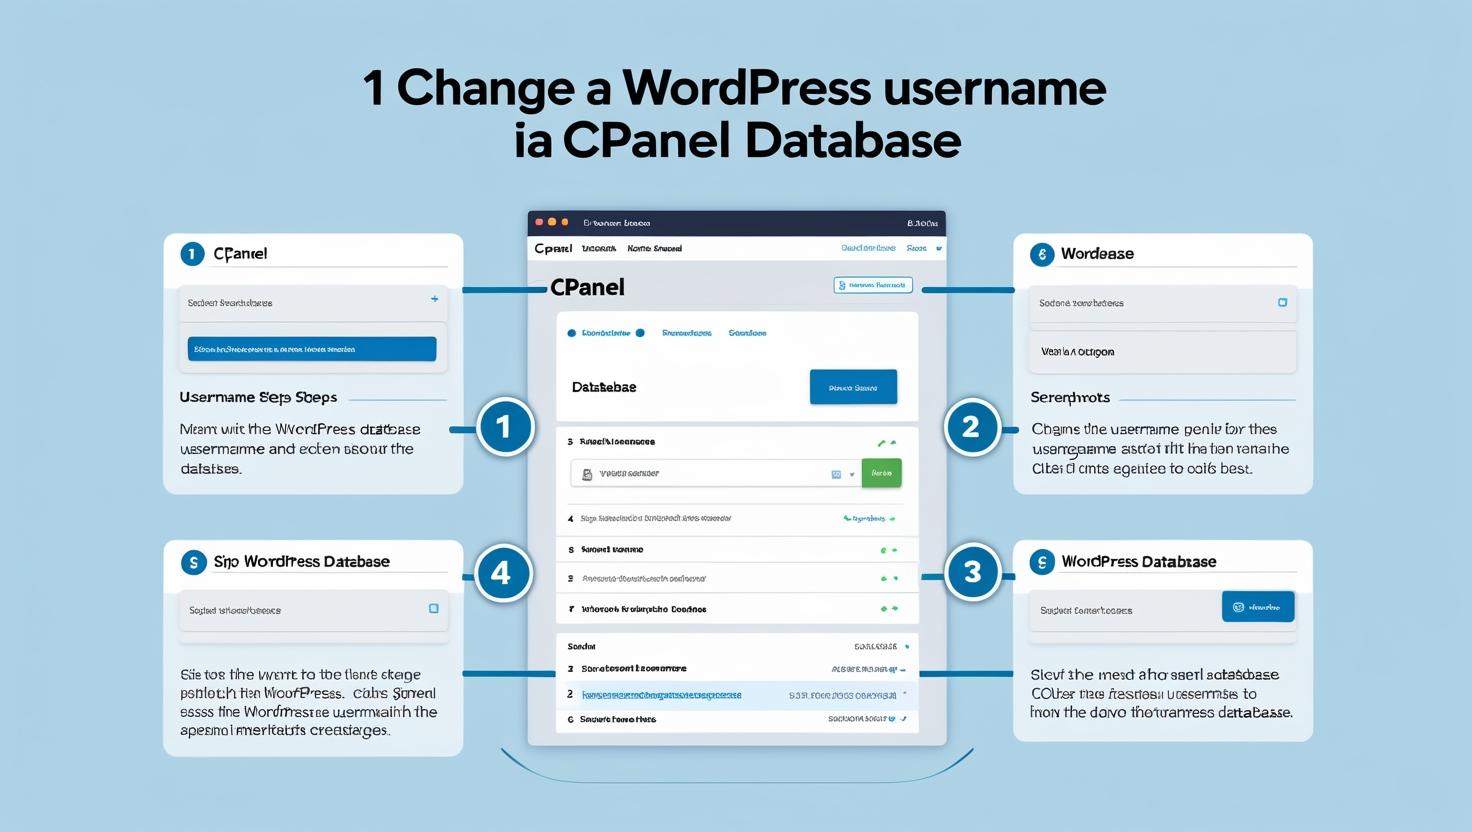
How to Change WordPress Username via cPanel Database
How to Change WordPress Username via cPanel Database
If you want to change your WordPress username but WordPress does not allow direct username edits, you can do it safely through the cPanel database using phpMyAdmin. This guide will show you how.
Before You Begin
- Make sure you have access to your cPanel account.
- Know the database name used by your WordPress installation (found in
wp-config.php). - Backup your database before making any changes to avoid accidental data loss.
Step 1: Log into cPanel
Navigate to your cPanel login page, typically at https://yourdomain.com/cpanel, and enter your credentials.
Step 2: Open phpMyAdmin
Under the Databases section, click on phpMyAdmin to open the database management tool.
Step 3: Select Your WordPress Database
From the left sidebar, locate and select the database used by your WordPress site. You can confirm the database name in your WordPress wp-config.php file under the DB_NAME entry.
Step 4: Find the Users Table
Look for the table ending with _users (commonly wp_users) and click on it to view all user accounts.
Step 5: Edit Your WordPress Username
- Locate the user whose username you want to change.
- Click the Edit button (pencil icon) next to that user record.
- In the
user_loginfield, replace the current username with your new desired username. - Scroll down and click Go to save the changes.
Step 6: Verify the Change
Go to your WordPress login page (https://yourdomain.com/wp-login.php) and log in using the new username and your existing password.
Important Considerations
- Changing usernames in the database does not affect your user permissions or content ownership.
- Always backup your database before editing to prevent accidental data loss.
- If you have caching or security plugins, clear their caches to ensure changes are reflected immediately.