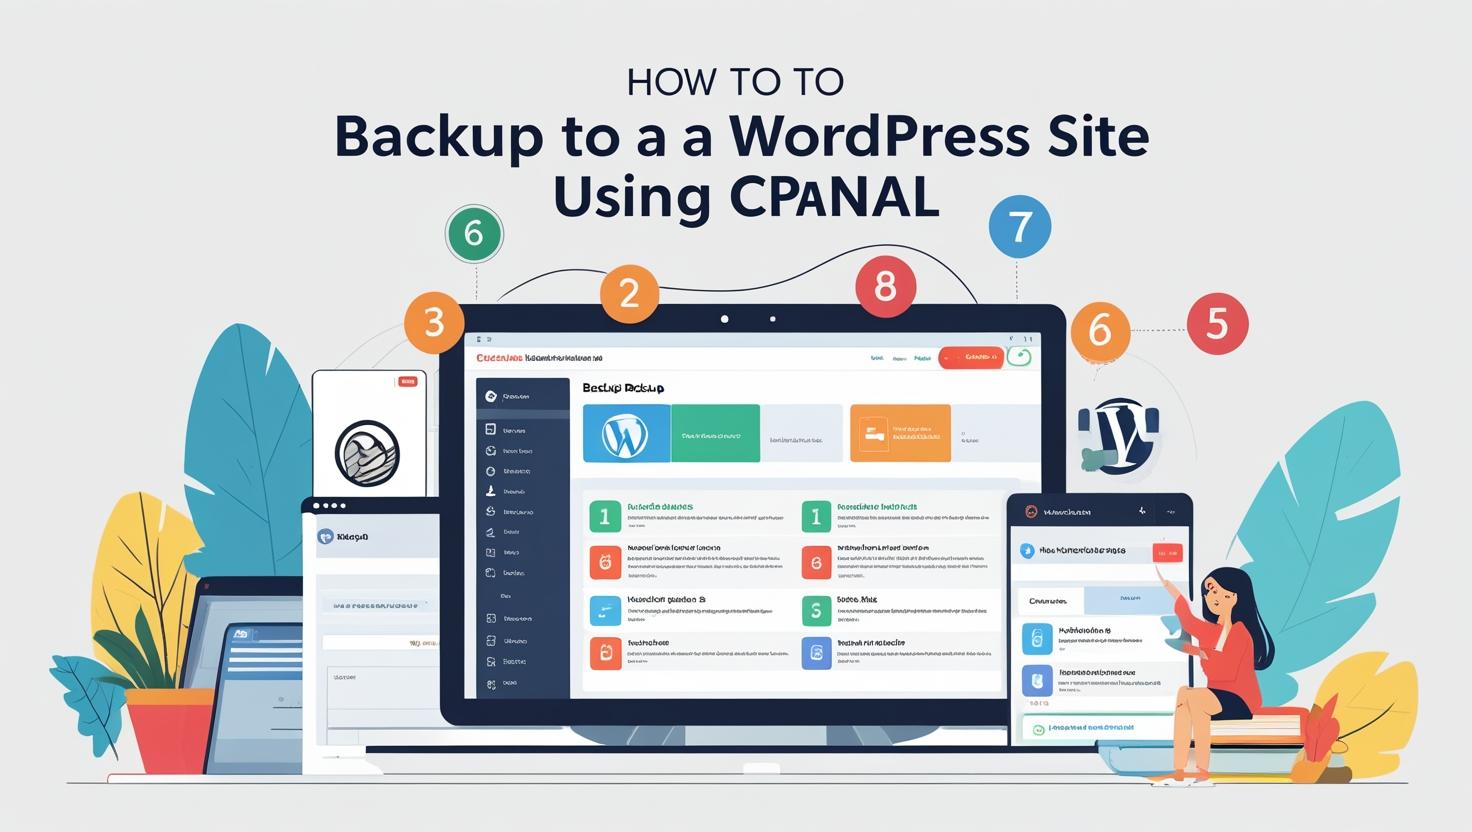
How to Backup Your WordPress Site Using cPanel
How to Backup Your WordPress Site Using cPanel
Why Backup Your WordPress Site?
Your WordPress site consists of two main components:
- Website files: Themes, plugins, media uploads, and WordPress core files.
- Database: All your posts, pages, comments, settings, and user information.
A backup ensures you can restore your site quickly if anything goes wrong.
Step 1: Log into Your cPanel Account
Open your browser and visit https://yourdomain.com/cpanel or use your hosting provider’s login link. Enter your username and password to sign in.
Step 2: Navigate to the Backup Section
Once logged in, scroll to the Files section and click on Backup or Backup Wizard, depending on your cPanel theme.
Step 3: Create a Full Backup (Recommended)
- Click on Download a Full Website Backup (or similar wording).
- Select the backup destination (usually Home Directory).
- Enter your email address if you want to be notified when the backup completes.
- Click Generate Backup.
The backup process may take several minutes. Once done, you will find a compressed backup file (.tar.gz) in your home directory which you can download via File Manager or FTP.
Step 4: Create Partial Backups
If you prefer, you can back up website files and databases separately.
- Download Home Directory: Click this option to download all WordPress files and folders.
- Download MySQL Databases: Click to view your databases and download a backup of the WordPress database (.sql file).
Step 5: Back Up Using File Manager (Optional)
You can manually compress your WordPress directory using File Manager:
- Go to File Manager in cPanel.
- Navigate to the
public_htmlfolder or your WordPress installation directory. - Select all files and folders.
- Click Compress in the top toolbar and choose Zip Archive.
- Download the compressed file for safekeeping.
Step 6: Restore Your Backup
To restore your website from a backup:
- Go to the Backup section in cPanel.
- Use the Restore a Home Directory Backup or Restore MySQL Databases options to upload your backup files.
- Alternatively, use File Manager to upload and extract your website files manually.
Be sure to restore both files and databases for a complete recovery.
Best Practices for WordPress Backups
- Backup your site regularly — ideally before major updates or changes.
- Store backups securely off-site, such as on your computer or cloud storage.
- Test your backups periodically by restoring them on a staging server.