How to Secure WordPress Files Using cPanel Settings

How to Secure WordPress Files Using cPanel Settings
May 26, 2025

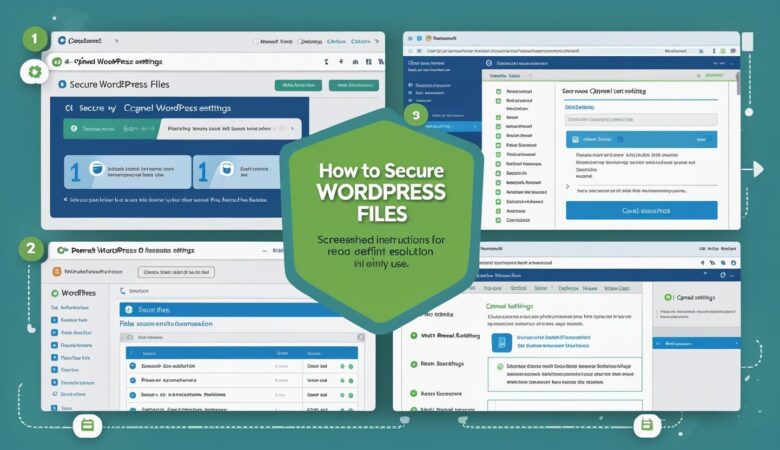
How to Secure WordPress Files Using cPanel Settings Keeping your WordPress files secure is essential to protect your website from hackers, malware, and unauthorized access. In this guide, we’ll show you how to use cPanel tools to lock down your WordPress files and improve your site’s overall security. Why File Security Matters in WordPress WordPress websites are frequent targets for cyberattacks. By securing core files such as wp-config.php and directories like wp-content, you reduce the risk of data breaches, defacement, or site takeover. Step 1: Log In to Your cPanel Account Access your cPanel dashboard by visiting https://yourdomain.com/cpanel and logging in with your hosting credentials. Step 2: Use File Manager to Set Correct File Permissions Navigate to File Manager under the Files section. Go to the root directory of your WordPress installation (usually public_html). Right-click important files like wp-config.php and select Permissions. Set file permissions as follows: wp-config.php – 400 or 440 Other PHP files – 644 Folders – 755 Click Change Permissions. Step 3: Protect wp-config.php Using .htaccess This file contains your database credentials and must be kept secure. You can restrict access via .htaccess: In File Manager, open the public_html folder. Find and edit the .htaccess file. If it’s not visible, enable “Show Hidden Files”. Add the following code at the bottom of the file: # Protect wp-config.php <files wp-config.php> order allow,deny deny from all </files> Save and close the file. Step 4: Disable Directory Browsing Prevent visitors from browsing your website directories by adding this line to your .htaccess file: Options -Indexes Step 5: Password-Protect wp-admin Directory Add an extra layer of security to your admin area: In cPanel, go to Directory Privacy (or Password Protect Directories). Navigate to /public_html/wp-admin. Click Edit, then check “Password protect this directory.” Set a name and create a username and password. Step 6: Disable PHP Execution in wp-content/uploads Hackers often target this directory to upload malicious PHP files. To prevent this: In File Manager, go to /wp-content/uploads. Click + File to create a new file named .htaccess. Add the following code: <Files *.php> deny from all </Files> Save and close the file. Step 7: Monitor and Update Regularly Keep WordPress, plugins, and themes up to date. Use security plugins like Wordfence or iThemes Security. Regularly scan your site for malware using cPanel’s tools or external scanners. Securing your WordPress files via cPanel is a critical step in keeping your website safe from threats. With a few configuration changes and good maintenance habits, you can significantly reduce the risk of attacks.
How to Troubleshoot Theme Conflicts Using cPanel Access
May 25, 2025

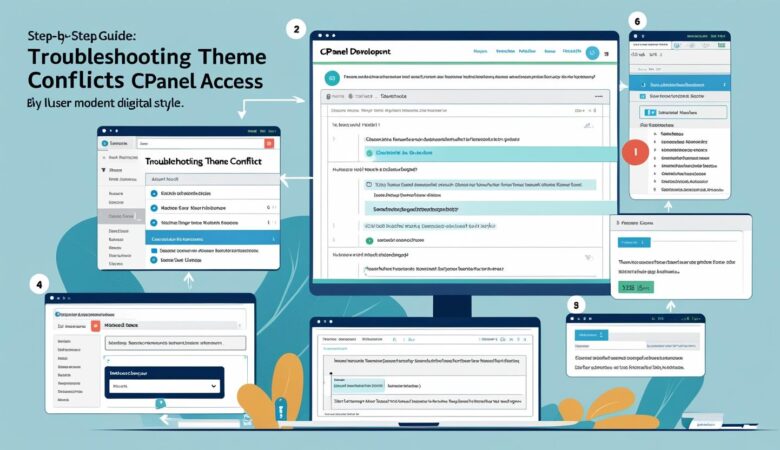
  How to Troubleshoot Theme Conflicts Using cPanel Access Theme conflicts in WordPress can cause display issues, errors, or site crashes. If you cannot access your WordPress dashboard, cPanel offers powerful tools to diagnose and fix these problems. This detailed guide shows you how to troubleshoot theme conflicts using cPanel. What Is a Theme Conflict? A theme conflict occurs when your active WordPress theme conflicts with plugins, WordPress core, or server settings. This can result in broken layouts, white screens, or error messages. When to Use cPanel for Troubleshooting If your WordPress dashboard is inaccessible due to a theme issue, cPanel gives you file-level control to disable the theme or plugins and fix the problem without needing WordPress admin access. Step 1: Log in to cPanel Access your hosting control panel by navigating to https://yourdomain.com/cpanel and entering your username and password. Step 2: Open File Manager From the cPanel dashboard, click on File Manager under the Files section to manage your website files. Step 3: Navigate to Your WordPress Themes Folder Locate your active theme folder at: public_html/wp-content/themes/active-theme-folder Note: Replace active-theme-folder with the folder name of your currently active theme. Step 4: Disable the Active Theme To disable the active theme and force WordPress to revert to a default theme (like Twenty Twenty-Three), rename the active theme folder: Right-click the theme folder and select Rename. Add -disabled or another suffix to the folder name, e.g., mytheme-disabled. WordPress will automatically activate a default theme if the current one is missing. Step 5: Check Your Website Visit your website to see if the issue is resolved. If the site loads correctly, the problem was with the theme. Step 6: Troubleshoot Plugins (Optional) If disabling the theme doesn’t fix the issue, plugins might be causing conflicts: Navigate to the plugins folder at public_html/wp-content/plugins/. Rename the plugins folder to something like plugins-disabled to deactivate all plugins. Check your site again. If resolved, rename the folder back to plugins and deactivate plugins one-by-one from the dashboard to find the culprit. Step 7: Restore the Theme Folder Name Once you’ve identified and fixed the problem, rename your theme folder back to its original name to reactivate it. Additional Tips Backup before changes: Always create a backup of your site before renaming folders or editing files. Check error logs: Review server error logs via cPanel for clues. Contact support: Reach out to your hosting or theme support if problems persist. Using cPanel to troubleshoot theme conflicts empowers you to fix WordPress issues even without dashboard access. Follow these steps carefully to restore your website’s functionality.

How to Import Demo Data into WordPress After Theme Installation
May 25, 2025

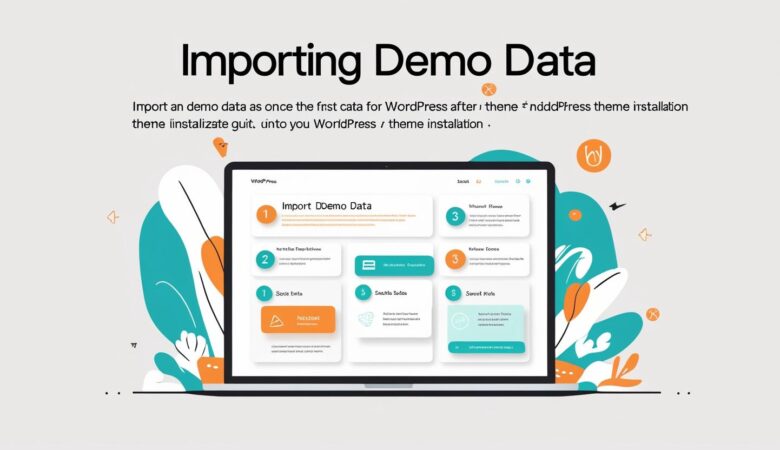
How to Import Demo Data into WordPress After Theme Installation Importing demo data after installing a WordPress theme helps you quickly set up your website with pre-built layouts, pages, posts, menus, and settings. This detailed guide walks you through the process step-by-step. What Is Demo Data? Demo data typically includes sample pages, posts, images, menus, widgets, and theme settings that showcase how a theme looks and functions. Importing it allows you to start customizing a site that already has a structure and design in place. Step 1: Install and Activate Your WordPress Theme Before importing demo data, make sure your desired WordPress theme is installed and activated: Log in to your WordPress dashboard. Navigate to Appearance > Themes. Click Add New and upload your theme zip file or choose a theme from the repository. Activate the theme. Step 2: Locate the Demo Import Feature Most premium themes come with an integrated demo import tool or recommend a plugin for importing demo data. Common ways to find this option include: A dedicated Demo Import or One-Click Import menu item in the WordPress dashboard (often under Appearance or a theme-specific menu). A plugin recommended by the theme, such as One Click Demo Import or Theme Demo Importer. Instructions in the theme documentation or support site. Step 3: Install Required Plugins (If Any) Some themes require specific plugins to properly import demo content. You may see a notification to install these after activating the theme. Follow these steps: Install and activate the recommended plugins. Make sure the plugins are active before proceeding. Step 4: Import the Demo Data Once everything is set: Go to the demo import page in your dashboard (e.g., Appearance > Import Demo Data). Choose the demo version or layout you want to import, if multiple options are available. Click Import or Start Import. Wait for the process to complete — this may take several minutes depending on the size of the demo. Important: Do not close or navigate away from the page while the import is in progress. Step 5: Configure Your Site After Import After the demo content imports: Go to Appearance > Menus and assign the imported menus to their locations (e.g., primary menu, footer menu). Check Settings > Reading to verify the homepage and blog pages are set correctly. Customize widgets via Appearance > Widgets if needed. Adjust theme settings and customize your site under Appearance > Customize. Tips for a Smooth Demo Import Backup your site: If importing to an existing site, backup your current content as demo import may overwrite it. Use a clean install: Demo data works best on a fresh WordPress install. Check PHP limits: Some imports require higher PHP memory and execution time limits. Contact your hosting if needed. Consult theme docs: Always refer to your theme’s official documentation for specific instructions. Importing demo data is an excellent way to jumpstart your WordPress website design and layout. After importing, you can easily customize content to make the site truly your own.

How to Customize Your WordPress Child Theme Files Using cPanel File Manager
May 25, 2025

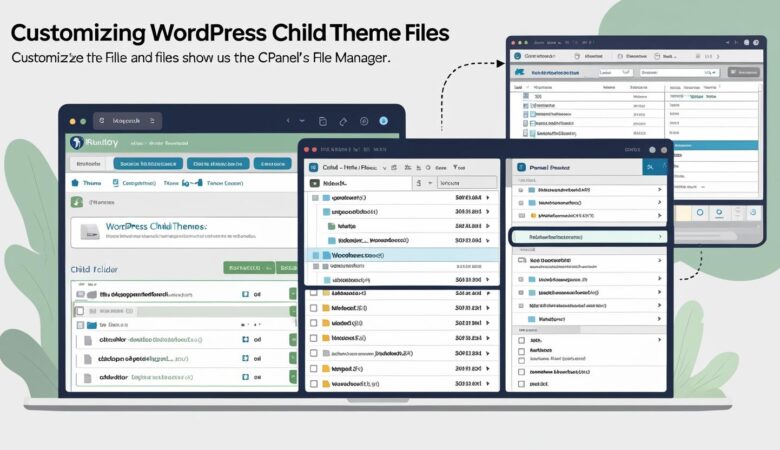
  How to Customize Your WordPress Child Theme Files Using cPanel File Manager Customizing your WordPress child theme lets you safely modify your site’s appearance and functionality without affecting the parent theme. This guide walks you through editing child theme files using cPanel’s File Manager. Why Customize a Child Theme? A child theme inherits everything from the parent theme but allows you to safely add or override styles, templates, and PHP functions. Editing the child theme ensures your changes won’t be lost during parent theme updates. Step 1: Log in to cPanel Access your cPanel by navigating to https://yourdomain.com/cpanel and entering your username and password. Step 2: Open File Manager From the cPanel dashboard, locate and click on File Manager under the Files section. Step 3: Navigate to Your Child Theme Directory In File Manager, browse to the WordPress themes folder: public_html/wp-content/themes/your-child-theme/ Replace your-child-theme with the actual name of your child theme folder. Step 4: Edit the Stylesheet (style.css) Your child theme’s style.css controls the appearance. To make design changes: Right-click style.css and select Edit. Modify or add CSS rules to customize fonts, colors, layouts, etc. Save your changes. Example: To change the site background color, add: body { background-color: #f0f0f0; } Step 5: Modify Template Files You can override parent theme templates by copying the file into your child theme folder and editing it: Find the template file in the parent theme folder (e.g., header.php or footer.php). Copy that file into your child theme folder. Edit it as needed via File Manager. Note: Be cautious editing PHP files. Backup before making changes. Step 6: Customize functions.php Add custom PHP functions to your child theme’s functions.php: Right-click functions.php and choose Edit. Add your custom code snippets to extend functionality. Save the file and check your site for errors. Example: Add this to disable WordPress emoji scripts: <?php remove_action(‘wp_head’, ‘print_emoji_detection_script’, 7); remove_action(‘wp_print_styles’, ‘print_emoji_styles’); ?> Step 7: Test Your Changes After saving edits, visit your website to verify the changes appear correctly. If there’s an error, revert the changes or restore from a backup. Best Practices for Child Theme Customization Backup: Always backup files before editing. Use a staging site: Test changes on a development or staging environment. Comment your code: Add comments for clarity. Keep it minimal: Only override what you need to reduce complexity. By customizing your WordPress child theme via cPanel File Manager, you maintain a safe and organized workflow for site development. For more help, contact your hosting support or consult WordPress documentation.

What Is the Difference Between a Main Theme and Child Theme in WordPress?
May 25, 2025

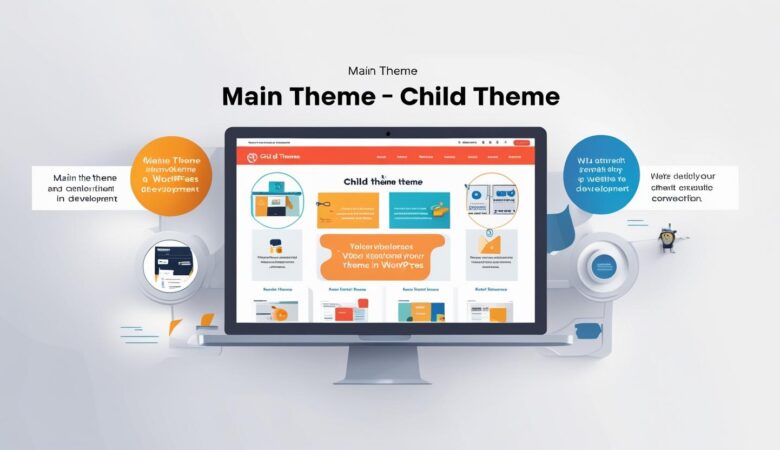
What Is the Difference Between a Main Theme and Child Theme in WordPress? Choosing the right theme setup is crucial for customizing your WordPress site effectively. This guide explains the difference between a main (parent) theme and a child theme, their roles, and why you might use one or the other. What Is a Main (Parent) Theme? The main theme, also called the parent theme, is the original WordPress theme that contains all the core design files, templates, styles, and functionality. It controls how your website looks and behaves. Includes all necessary PHP, CSS, JavaScript files. Provides the core layout, design, and features. Can be installed and activated directly in WordPress. Example: Twenty Twenty-Three, Astra, OceanWP. What Is a Child Theme? A child theme is a separate theme that inherits its appearance and functionality from a parent theme but allows you to customize or extend the design safely. Depends on the parent theme to work properly. Contains only the files that you want to change or add. Prevents loss of customizations when the parent theme updates. Must declare the parent theme in its style.css file. Key Differences Between Main and Child Themes Aspect Main (Parent) Theme Child Theme Functionality Contains all core files, templates, and styles. Inherits functionality from parent theme; adds or overrides files. Customization Editing can be overwritten by updates. Customizations are preserved during parent theme updates. Dependencies Standalone theme. Depends on the parent theme to function. Use Case Use as-is or with minor modifications. Use for extensive customization or development. Update Safety Updates may override custom changes. Customizations remain safe during updates. When to Use a Child Theme You want to customize your site’s design or functionality extensively. You want to keep your customizations safe during theme updates. You prefer a clean, maintainable approach to theme development. How to Identify If You’re Using a Child Theme In your WordPress dashboard under Appearance > Themes, child themes usually have a name that references the parent theme (e.g., “Twenty Twenty-Three Child”). You can also check the style.css file for the Template line which shows the parent theme’s folder name. Summary The main (parent) theme is the foundation of your website’s design and functionality, while the child theme is a safe way to customize and extend that foundation without risking loss of changes. Using a child theme is a best practice for WordPress customization.

What Is a WordPress Child Theme and How to Create One Using cPanel
May 25, 2025

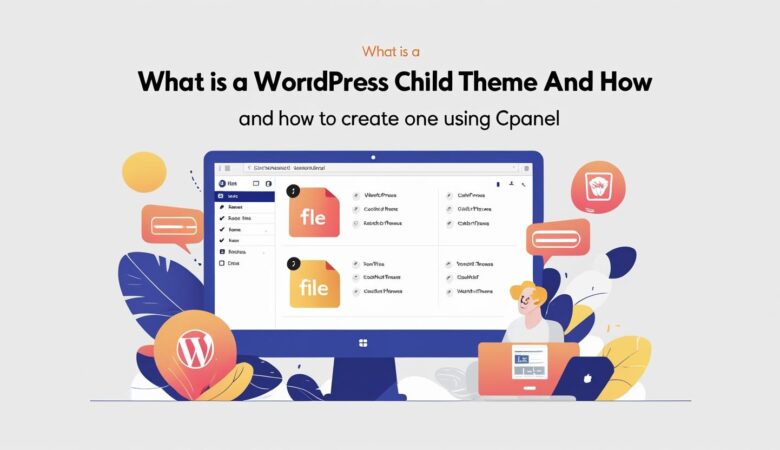
  What Is a WordPress Child Theme and How to Create One Using cPanel WordPress child themes allow you to customize your website safely without losing changes when the parent theme updates. This guide explains what child themes are and how to create one manually using cPanel. What Is a WordPress Child Theme? A child theme is a separate theme that inherits the functionality and styling of a parent theme. It lets you modify or add to the parent theme’s features without altering the original files. This way, when the parent theme gets updated, your customizations remain intact. Safe updates: Preserve customizations when the parent theme updates. Easy maintenance: Separate your changes from the core theme files. Extend functionality: Add custom CSS, PHP, templates, or scripts. When Should You Use a Child Theme? If you plan to: Customize your theme’s design or layout. Add new features or modify existing ones. Ensure your changes don’t get overwritten by theme updates. How to Create a WordPress Child Theme Using cPanel Follow these simple steps to create your child theme manually: Step 1: Log in to Your cPanel Account Visit https://yourdomain.com/cpanel and enter your login credentials. Step 2: Open File Manager In cPanel dashboard, click on File Manager under the Files section. Step 3: Navigate to the Themes Directory Go to your WordPress installation directory, then open public_html/wp-content/themes/. Step 4: Create a New Folder for the Child Theme Click + Folder and name it something like parenttheme-child (replace parenttheme with the actual parent theme name). Step 5: Create the style.css File Inside your new child theme folder, click + File and name it style.css. Edit the style.css file and add the following header (replace with your parent theme details): /* Theme Name: ParentTheme Child Theme URI: http://example.com/parenttheme-child Description: Child theme for the ParentTheme Author: Your Name Author URI: http://example.com Template: parenttheme Version: 1.0.0 */ /* Import parent theme styles */ @import url(“../parenttheme/style.css”); Step 6: Create the functions.php File Create another file named functions.php in the child theme folder. Edit it and add this code to enqueue the parent theme stylesheet properly: <?php function child_theme_enqueue_styles() { wp_enqueue_style(‘parent-style’, get_template_directory_uri() . ‘/style.css’); } add_action(‘wp_enqueue_scripts’, ‘child_theme_enqueue_styles’); ?> Step 7: Activate Your Child Theme Log in to your WordPress admin dashboard at https://yourdomain.com/wp-admin: Go to Appearance > Themes. You should see your new child theme listed. Click Activate to enable the child theme. Step 8: Customize Your Child Theme Now you can safely add custom CSS, templates, or PHP functions in your child theme folder without affecting the parent theme. Benefits of Using a Child Theme Keep your customizations safe during updates. Easy to revert changes by switching themes. Organized and clean approach to theme customization. Creating a WordPress child theme using cPanel is a straightforward way to customize your site safely and effectively. Always remember to backup before making changes.  

How to Delete Unused WordPress Themes and Plugins via cPanel
May 25, 2025

  How to Delete Unused WordPress Themes and Plugins via cPanel Removing unused themes and plugins from your WordPress site is essential for security, speed, and overall website health. This guide explains how to safely delete them manually using cPanel. Why Delete Unused Themes and Plugins? Security: Old themes and plugins can have vulnerabilities that hackers exploit. Performance: Removing unnecessary files reduces server clutter and can improve site speed. Maintenance: Keeping your WordPress installation clean makes updates easier and avoids conflicts. Important Note Before Deleting Always backup your website before deleting themes or plugins to avoid accidental loss of data or functionality. Step 1: Log in to Your cPanel Account Go to https://yourdomain.com/cpanel and enter your username and password to access the control panel. Step 2: Open File Manager In the cPanel dashboard, click on File Manager under the Files section. Step 3: Navigate to WordPress Themes or Plugins Folder For themes: Open public_html/wp-content/themes/ For plugins: Open public_html/wp-content/plugins/ Step 4: Identify Unused Themes and Plugins Check which themes and plugins are not active or needed. You can verify the active theme and plugins in your WordPress dashboard under Appearance > Themes and Plugins > Installed Plugins. Step 5: Delete the Unused Theme or Plugin Folder In File Manager, right-click the folder of the unused theme or plugin. Select Delete. Confirm deletion and choose to skip the trash (permanent delete) if you want to free up space immediately. Note: Make sure you do NOT delete the active theme or any plugin currently in use. Step 6: Verify Deletion in WordPress Log in to your WordPress admin dashboard and check that the deleted themes or plugins no longer appear under the respective sections. Tips for Safe Cleanup Deactivate plugins in WordPress dashboard before deleting their folders via cPanel. Do not delete the default WordPress themes (e.g., Twenty Twenty-Three) unless you are certain. Regularly review and clean up unused themes and plugins to maintain optimal site health. Deleting unused themes and plugins via cPanel helps keep your WordPress website secure, fast, and easy to manage.

How to Update WordPress Themes and Plugins via cPanel
May 25, 2025

  How to Update WordPress Themes and Plugins via cPanel Keeping your WordPress themes and plugins updated is crucial for security, performance, and compatibility. If you cannot update them via the WordPress dashboard, this guide will help you manually update themes and plugins using cPanel File Manager. Why Update Themes and Plugins via cPanel? Manual updates through cPanel are useful when: Your WordPress dashboard is inaccessible or showing errors. Automatic or dashboard updates fail due to server restrictions. You have premium or custom themes/plugins that require manual updating. Step 1: Download the Latest Theme or Plugin Version Get the newest version of your theme or plugin from the developer’s website, marketplace, or repository. It will usually come as a ZIP file. Step 2: Backup Your Website Before making any changes, backup your WordPress site completely to avoid data loss in case something goes wrong. Step 3: Log in to cPanel Access your hosting control panel by visiting https://yourdomain.com/cpanel and entering your login credentials. Step 4: Open File Manager and Navigate to the Correct Folder In the cPanel dashboard, click File Manager. Then: For themes: Navigate to public_html/wp-content/themes/ For plugins: Navigate to public_html/wp-content/plugins/ Step 5: Upload and Extract the Updated Files Click the Upload button. Select the updated theme or plugin ZIP file. After upload completes, go back to the themes or plugins folder. Right-click the ZIP file and choose Extract to unpack the files. Overwrite existing files if prompted to replace the old version. Delete the ZIP file after extraction to save space. Step 6: Verify the Update in WordPress Dashboard Log in to your WordPress admin area (https://yourdomain.com/wp-admin) and: Go to Appearance > Themes to check the updated theme version. Go to Plugins > Installed Plugins to confirm the plugin update. Test your website functionality to ensure everything works properly. Tips and Precautions Always backup before making updates. If possible, test updates on a staging environment before applying them live. Make sure the uploaded files belong to the correct theme or plugin folder. Clear your browser cache after updating to see changes immediately. Manually updating WordPress themes and plugins via cPanel gives you control and helps resolve update issues quickly, ensuring your website stays secure and efficient.

How to Install WordPress Plugins Manually Using cPanel
May 25, 2025

  How to Install WordPress Plugins Manually Using cPanel When the WordPress dashboard plugin installer is not working or you need to upload a plugin manually, cPanel File Manager provides an easy alternative. This guide will show you how to install and activate WordPress plugins using cPanel. Why Install Plugins Manually via cPanel? Manual plugin installation via cPanel is helpful when: Your hosting restricts plugin uploads via WordPress dashboard. You need to upload a premium or custom plugin not available in the WordPress repository. The WordPress dashboard is inaccessible or malfunctioning. Step 1: Download the Plugin ZIP File Download the plugin ZIP archive from a trusted source, such as the WordPress Plugin Directory, a premium plugin vendor, or a developer. Step 2: Log in to Your cPanel Account Access your hosting control panel by going to https://yourdomain.com/cpanel and entering your credentials. Step 3: Open File Manager From the cPanel dashboard, click on File Manager under the Files section. Step 4: Navigate to the Plugins Folder In File Manager, go to the WordPress installation directory (usually public_html), then open wp-content/plugins/. Step 5: Upload the Plugin ZIP File Click the Upload button in the toolbar. Select the plugin ZIP file you downloaded earlier and upload it. After upload completes, return to the plugins folder. Right-click the ZIP file and choose Extract to unpack the plugin files. Delete the ZIP file after extraction to save space. Step 6: Activate the Plugin in WordPress To activate the uploaded plugin: Log in to your WordPress admin dashboard (https://yourdomain.com/wp-admin). Navigate to Plugins > Installed Plugins. Find the plugin you just uploaded in the list. Click Activate to enable the plugin on your website. Troubleshooting Tips Ensure the extracted plugin folder contains the main plugin PHP file. If the plugin does not appear, clear your browser cache and refresh the plugins page. Double-check that the plugin files are uploaded inside the correct wp-content/plugins/ directory. Using cPanel File Manager to install WordPress plugins manually offers a reliable way to manage your plugins when dashboard uploads are unavailable.

How to Upload and Activate a WordPress Theme from cPanel
May 25, 2025

  How to Upload and Activate a WordPress Theme from cPanel Uploading and activating a WordPress theme via cPanel is a useful way to install themes manually, especially when the WordPress dashboard upload option is limited or unavailable. Follow this detailed guide to get your theme up and running quickly. Why Use cPanel to Upload WordPress Themes? Sometimes the WordPress dashboard upload tool can be restricted by hosting server settings, file size limits, or plugin conflicts. Using cPanel File Manager allows you to bypass these issues by directly uploading theme files to your server. Step 1: Download Your WordPress Theme Obtain the theme ZIP file from a trusted source, such as the official WordPress theme repository, a premium theme marketplace, or your theme developer. Step 2: Log in to Your cPanel Account Access your hosting control panel at https://yourdomain.com/cpanel and enter your username and password to log in. Step 3: Open File Manager In the cPanel dashboard, find the Files section and click on File Manager. Step 4: Navigate to Your WordPress Themes Folder Within File Manager, navigate to the directory where WordPress is installed. Usually, this is public_html. Then go to wp-content/themes/. Step 5: Upload the Theme ZIP File Click the Upload button in the File Manager toolbar. Select the theme ZIP file you downloaded in Step 1 and upload it. Once the upload completes, go back to the themes folder. Right-click on the uploaded ZIP file and choose Extract to unzip the theme files into the folder. Step 6: Activate the Theme in WordPress Now that the theme files are uploaded, activate the theme: Log in to your WordPress admin dashboard (https://yourdomain.com/wp-admin). Go to Appearance > Themes. You should see the newly uploaded theme listed there. Click Activate to apply the theme to your website. Tips and Troubleshooting Make sure the extracted theme folder contains the style.css file—this is required for WordPress to recognize the theme. If the theme doesn’t show up in the dashboard, clear your browser cache and refresh the page. Double-check that you uploaded the files to the correct wp-content/themes/ directory. Using cPanel to upload and activate WordPress themes gives you full control over your website files and helps avoid common upload restrictions.

Build Your Website with HiveRift

From professional business to enterprise, we’ve got you covered!

©2025, Hosting. All Rights Reserved by KhatuShyam Technologies

HiveRift
Privacy Overview

This website uses cookies so that we can provide you with the best user experience possible. Cookie information is stored in your browser and performs functions such as recognising you when you return to our website and helping our team to understand which sections of the website you find most interesting and useful.