How to Migrate WordPress Websites Between Hosting Accounts Using cPanel

How to Migrate WordPress Websites Between Hosting Accounts Using cPanel
May 26, 2025

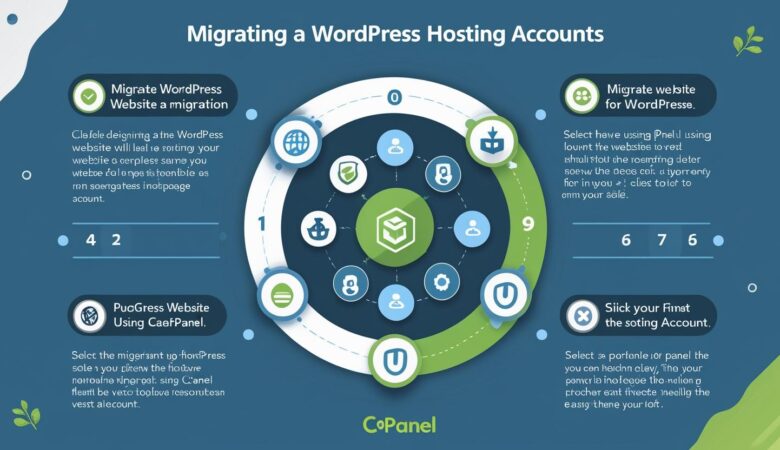
How to Migrate WordPress Websites Between Hosting Accounts Using cPanel A step-by-step tutorial to help you smoothly transfer your WordPress site from one hosting provider to another using cPanel. Why Migrate Your WordPress Site? You may want to migrate your WordPress website to a new hosting provider for better performance, pricing, customer support, or features. Using cPanel tools, this migration process can be done easily without technical hassles. Prerequisites Before Migration Access to cPanel on both old and new hosting accounts FTP client or File Manager access Database access via phpMyAdmin Basic understanding of WordPress file structure and database Step 1: Backup WordPress Files from Old Hosting Log in to your old hosting cPanel. Open File Manager and navigate to your WordPress root directory (usually public_html). Select all WordPress files and folders (including wp-content, wp-admin, and wp-includes). Compress the files into a ZIP archive by clicking Compress from the File Manager toolbar. Download the ZIP file to your local computer. Step 2: Export the WordPress Database In your old cPanel, open phpMyAdmin. Select your WordPress database from the list on the left. Click the Export tab at the top. Choose the Quick export method and format as SQL. Click Go to download the database export file. Step 3: Upload WordPress Files to New Hosting Log in to your new hosting cPanel. Go to File Manager and open the root folder where WordPress will be installed (e.g., public_html). Upload the ZIP archive you downloaded earlier. Extract the ZIP file to restore all WordPress files. Step 4: Create a New Database and User on New Hosting In your new cPanel, go to MySQL® Databases. Create a new database for your WordPress site. Create a new MySQL user and assign it a strong password. Assign the user to the database with All Privileges. Note down the database name, username, and password for later. Step 5: Import the Database on New Hosting Open phpMyAdmin in the new hosting cPanel. Select the new database you created. Click the Import tab. Choose the SQL file exported from the old hosting. Click Go to import the database. Step 6: Update wp-config.php with New Database Details In File Manager on the new host, open the wp-config.php file. Locate these lines: define(‘DB_NAME’, ‘old_database_name’); define(‘DB_USER’, ‘old_database_user’); define(‘DB_PASSWORD’, ‘old_password’); Replace the old database name, username, and password with the new details created on the new host. Save the file. Step 7: Test Your Website on the New Host Visit your website URL to check if it loads correctly. Clear your browser cache if needed. If everything looks good, your WordPress migration is complete! Troubleshooting Tips If you see database connection errors, double-check wp-config.php database credentials. Check that the domain DNS is pointed to the new hosting server. Make sure all files were extracted properly in the new host’s File Manager. Clear your browser and WordPress cache to see updated content. Conclusion Migrating your WordPress website using cPanel is straightforward when you follow these steps carefully. Always create backups before starting, and take your time to verify everything works after migration. Hiverift Hosting. For support, visit Hiverift Support.  
How to Enable Debug Mode in WordPress via cPanel wp-config.php File
May 26, 2025

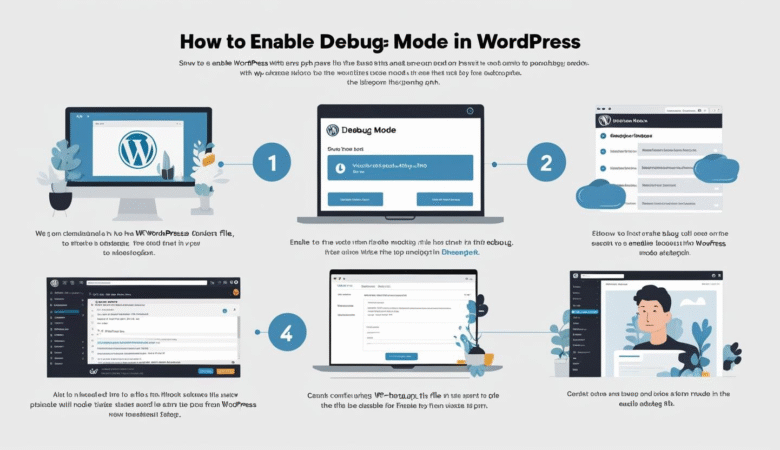
How to Enable Debug Mode in WordPress via cPanel wp-config.php File A step-by-step guide to turning on WordPress debug mode by editing the wp-config.php file using cPanel’s File Manager. What Is WordPress Debug Mode? WordPress debug mode helps developers and site administrators troubleshoot issues by displaying PHP errors, warnings, and notices directly on your website or saving them to a debug log file. This mode is essential when fixing plugin conflicts, theme issues, or other errors. Why Enable Debug Mode? Identify and fix PHP errors and warnings Help debug plugin or theme conflicts Improve site stability and performance Generate debug logs for detailed analysis Step 1: Log into cPanel Access your hosting cPanel by visiting https://yourdomain.com/cpanel or through your hosting provider’s dashboard. Step 2: Open File Manager Once logged in, locate and open File Manager under the Files section. Navigate to the root folder of your WordPress installation, typically public_html or a subfolder if installed in a subdirectory. Step 3: Edit wp-config.php File Locate the wp-config.php file in the root WordPress directory. Right-click the file and choose Edit or select the file and click the Edit button from the top menu. In the editor, look for the line that says: define(‘WP_DEBUG’, false); or if it doesn’t exist, prepare to add it. Change the line to enable debug mode by setting it to true: define(‘WP_DEBUG’, true); To log errors to a file instead of showing them on the website, add the following lines below it: define(‘WP_DEBUG_LOG’, true); define(‘WP_DEBUG_DISPLAY’, false); @ini_set(‘display_errors’, 0); This will save errors to a debug.log file inside the wp-content folder without displaying errors to visitors. Save the changes and close the editor. Step 4: Check Debug Logs If you enabled WP_DEBUG_LOG, navigate to the wp-content folder and open the debug.log file to review error messages and notices generated by WordPress. Step 5: Disable Debug Mode After Troubleshooting For security and performance reasons, it’s important to disable debug mode once you have fixed the issues by setting WP_DEBUG back to false: define(‘WP_DEBUG’, false); Troubleshooting Tips If you don’t see the wp-config.php file, ensure you are in the correct directory. Make a backup of wp-config.php before editing to avoid accidental site issues. If you encounter permission issues, contact your hosting provider. Conclusion Enabling debug mode via cPanel is a powerful way to diagnose and fix WordPress problems. Always remember to turn off debugging after use to keep your site secure and optimized. Hiverift Hosting. Need help? Contact Support

How to Use cPanel to Increase WordPress Upload Size Limits
May 26, 2025

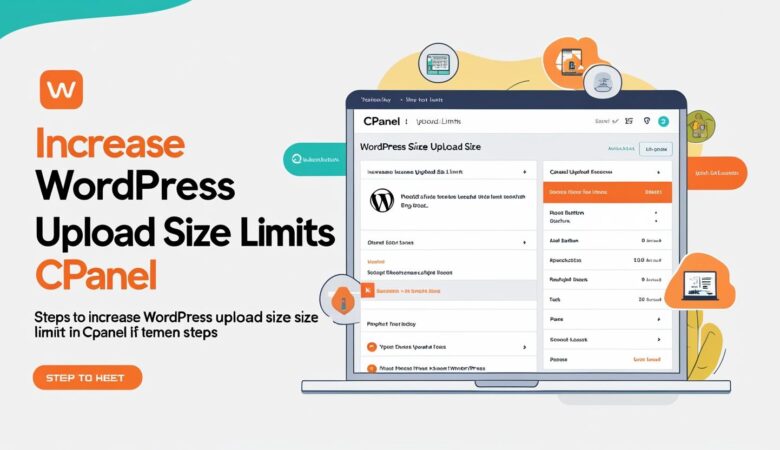
How to Use cPanel to Increase WordPress Upload Size Limits Step-by-step tutorial on how to raise the maximum upload file size for WordPress through cPanel settings. Why Increase WordPress Upload Size Limits? By default, WordPress has a file upload size limit that can be quite low (e.g., 2MB or 8MB), which can restrict uploading large media files, themes, or plugins. Increasing this limit allows you to upload bigger files without errors. Methods to Increase Upload Size via cPanel There are several ways to increase the upload size limit. The most common methods using cPanel include editing the php.ini file, using .htaccess, or modifying wp-config.php. Step 1: Check Your Current Upload Size Limit Login to your WordPress dashboard. Go to Media > Add New. Check the maximum upload file size shown below the upload box. Step 2: Increase Upload Size via cPanel’s MultiPHP INI Editor Login to your hosting cPanel. Find the MultiPHP INI Editor under the Software section. Select your domain from the dropdown. Locate and edit the following settings: upload_max_filesize – increase to desired size (e.g., 64M) post_max_size – increase to match or exceed upload_max_filesize (e.g., 64M) memory_limit – set to a higher value if necessary (e.g., 128M) Click Apply or Save to update the settings. Step 3: Increase Upload Size by Editing php.ini (if MultiPHP INI Editor isn’t available) In cPanel, open the File Manager. Navigate to the root folder of your WordPress installation, usually public_html. Look for a php.ini file. If not present, create a new file and name it php.ini. Edit the file and add or update the following lines: upload_max_filesize = 64M post_max_size = 64M memory_limit = 128M Save the changes. Step 4: Update .htaccess File (Alternative Method) In cPanel File Manager, locate and edit the .htaccess file in your WordPress root directory. Add the following lines at the top or bottom: php_value upload_max_filesize 64M php_value post_max_size 64M php_value memory_limit 128M Save the file. Note: This method works only if your server uses Apache and allows overriding PHP settings via .htaccess. Step 5: Edit wp-config.php to Increase Memory Limit (Optional) In the File Manager, open wp-config.php located in the root WordPress folder. Add this line before the /* That’s all, stop editing! Happy blogging. */ comment: define(‘WP_MEMORY_LIMIT’, ‘128M’); Save changes. Step 6: Verify Changes Return to your WordPress dashboard, go to Media > Add New, and check if the upload size limit has increased. Troubleshooting Tips If limits don’t update, clear your browser cache and WordPress cache plugins. Contact your hosting provider if the changes are not taking effect—some hosts restrict these settings. Ensure there are no conflicting settings in other php.ini or .user.ini files. Conclusion Using cPanel to increase your WordPress upload size limits is a straightforward process that allows you to upload larger files such as themes, plugins, and media without errors. By adjusting PHP settings through cPanel tools, you ensure your website remains flexible and functional. Hiverift Hosting. Need help? Contact Support  

Build Your Website with HiveRift

From professional business to enterprise, we’ve got you covered!

©2025, Hosting. All Rights Reserved by KhatuShyam Technologies

HiveRift
Privacy Overview

This website uses cookies so that we can provide you with the best user experience possible. Cookie information is stored in your browser and performs functions such as recognising you when you return to our website and helping our team to understand which sections of the website you find most interesting and useful.