How to Troubleshoot Theme Conflicts Using cPanel Access

How to Troubleshoot Theme Conflicts Using cPanel Access
May 25, 2025

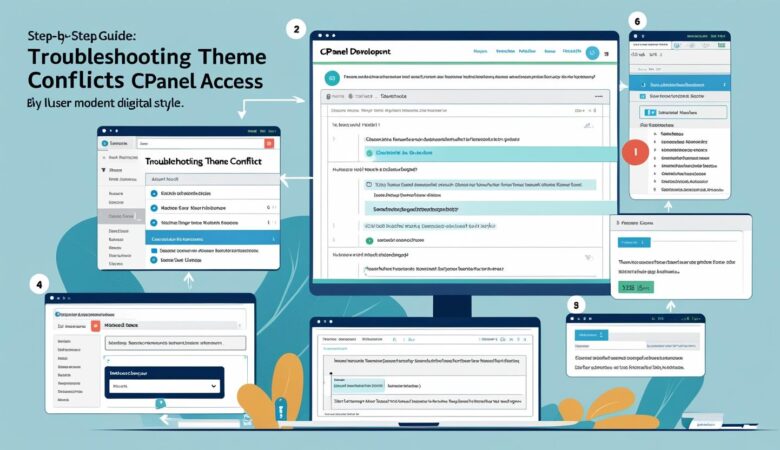
  How to Troubleshoot Theme Conflicts Using cPanel Access Theme conflicts in WordPress can cause display issues, errors, or site crashes. If you cannot access your WordPress dashboard, cPanel offers powerful tools to diagnose and fix these problems. This detailed guide shows you how to troubleshoot theme conflicts using cPanel. What Is a Theme Conflict? A theme conflict occurs when your active WordPress theme conflicts with plugins, WordPress core, or server settings. This can result in broken layouts, white screens, or error messages. When to Use cPanel for Troubleshooting If your WordPress dashboard is inaccessible due to a theme issue, cPanel gives you file-level control to disable the theme or plugins and fix the problem without needing WordPress admin access. Step 1: Log in to cPanel Access your hosting control panel by navigating to https://yourdomain.com/cpanel and entering your username and password. Step 2: Open File Manager From the cPanel dashboard, click on File Manager under the Files section to manage your website files. Step 3: Navigate to Your WordPress Themes Folder Locate your active theme folder at: public_html/wp-content/themes/active-theme-folder Note: Replace active-theme-folder with the folder name of your currently active theme. Step 4: Disable the Active Theme To disable the active theme and force WordPress to revert to a default theme (like Twenty Twenty-Three), rename the active theme folder: Right-click the theme folder and select Rename. Add -disabled or another suffix to the folder name, e.g., mytheme-disabled. WordPress will automatically activate a default theme if the current one is missing. Step 5: Check Your Website Visit your website to see if the issue is resolved. If the site loads correctly, the problem was with the theme. Step 6: Troubleshoot Plugins (Optional) If disabling the theme doesn’t fix the issue, plugins might be causing conflicts: Navigate to the plugins folder at public_html/wp-content/plugins/. Rename the plugins folder to something like plugins-disabled to deactivate all plugins. Check your site again. If resolved, rename the folder back to plugins and deactivate plugins one-by-one from the dashboard to find the culprit. Step 7: Restore the Theme Folder Name Once you’ve identified and fixed the problem, rename your theme folder back to its original name to reactivate it. Additional Tips Backup before changes: Always create a backup of your site before renaming folders or editing files. Check error logs: Review server error logs via cPanel for clues. Contact support: Reach out to your hosting or theme support if problems persist. Using cPanel to troubleshoot theme conflicts empowers you to fix WordPress issues even without dashboard access. Follow these steps carefully to restore your website’s functionality.
How to Import Demo Data into WordPress After Theme Installation
May 25, 2025

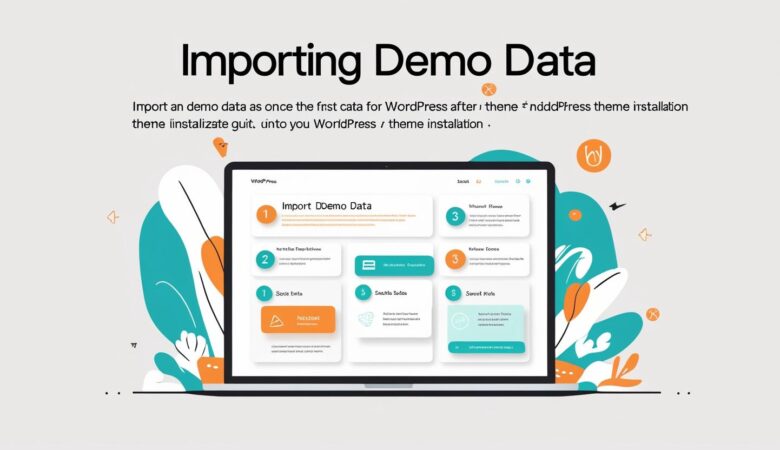
How to Import Demo Data into WordPress After Theme Installation Importing demo data after installing a WordPress theme helps you quickly set up your website with pre-built layouts, pages, posts, menus, and settings. This detailed guide walks you through the process step-by-step. What Is Demo Data? Demo data typically includes sample pages, posts, images, menus, widgets, and theme settings that showcase how a theme looks and functions. Importing it allows you to start customizing a site that already has a structure and design in place. Step 1: Install and Activate Your WordPress Theme Before importing demo data, make sure your desired WordPress theme is installed and activated: Log in to your WordPress dashboard. Navigate to Appearance > Themes. Click Add New and upload your theme zip file or choose a theme from the repository. Activate the theme. Step 2: Locate the Demo Import Feature Most premium themes come with an integrated demo import tool or recommend a plugin for importing demo data. Common ways to find this option include: A dedicated Demo Import or One-Click Import menu item in the WordPress dashboard (often under Appearance or a theme-specific menu). A plugin recommended by the theme, such as One Click Demo Import or Theme Demo Importer. Instructions in the theme documentation or support site. Step 3: Install Required Plugins (If Any) Some themes require specific plugins to properly import demo content. You may see a notification to install these after activating the theme. Follow these steps: Install and activate the recommended plugins. Make sure the plugins are active before proceeding. Step 4: Import the Demo Data Once everything is set: Go to the demo import page in your dashboard (e.g., Appearance > Import Demo Data). Choose the demo version or layout you want to import, if multiple options are available. Click Import or Start Import. Wait for the process to complete — this may take several minutes depending on the size of the demo. Important: Do not close or navigate away from the page while the import is in progress. Step 5: Configure Your Site After Import After the demo content imports: Go to Appearance > Menus and assign the imported menus to their locations (e.g., primary menu, footer menu). Check Settings > Reading to verify the homepage and blog pages are set correctly. Customize widgets via Appearance > Widgets if needed. Adjust theme settings and customize your site under Appearance > Customize. Tips for a Smooth Demo Import Backup your site: If importing to an existing site, backup your current content as demo import may overwrite it. Use a clean install: Demo data works best on a fresh WordPress install. Check PHP limits: Some imports require higher PHP memory and execution time limits. Contact your hosting if needed. Consult theme docs: Always refer to your theme’s official documentation for specific instructions. Importing demo data is an excellent way to jumpstart your WordPress website design and layout. After importing, you can easily customize content to make the site truly your own.

How to Install an SSL Certificate for Your WordPress Site Using cPanel
May 25, 2025

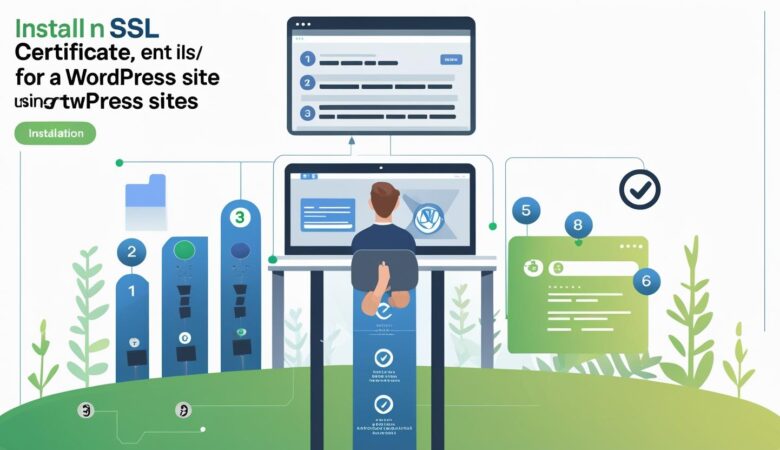
  How to Install an SSL Certificate for Your WordPress Site Using cPanel Securing your WordPress website with an SSL certificate is essential to protect your visitors’ data and improve your site’s SEO. This step-by-step guide will help you install an SSL certificate using cPanel. What is an SSL Certificate? An SSL (Secure Socket Layer) certificate encrypts the data transferred between your website and visitors, ensuring privacy and security. Websites with SSL display https:// and a padlock icon in browsers. Step 1: Log into Your cPanel Account Access your hosting control panel by navigating to https://yourdomain.com/cpanel and entering your login credentials. Step 2: Locate the SSL/TLS Section In the cPanel dashboard, scroll down to the Security section and click on SSL/TLS. Step 3: Use AutoSSL to Install a Free SSL Certificate Click on Manage SSL sites or look for AutoSSL under the Security section. If your hosting provider supports AutoSSL, enable it for your domain. AutoSSL will automatically issue and install a free SSL certificate (usually via Let’s Encrypt) for your website. Wait a few minutes and refresh to confirm the certificate is installed. Step 4: Install a Purchased SSL Certificate (Optional) If you have purchased an SSL certificate from a third-party provider, you can install it manually: Under SSL/TLS, click Manage SSL sites. Locate your domain and click Browse Certificates or Upload Certificate. Paste or upload your SSL certificate files (.crt, .key, and CA bundle if applicable). Click Install Certificate. Step 5: Force HTTPS on Your WordPress Site After SSL installation, force your website to use HTTPS to ensure secure connections: Log in to your WordPress dashboard. Go to Settings > General. Update the WordPress Address (URL) and Site Address (URL) from http:// to https://. Save changes. Alternatively, add the following code to your .htaccess file via cPanel File Manager to redirect HTTP to HTTPS: # BEGIN HTTPS Redirect RewriteEngine On RewriteCond %{HTTPS} off RewriteRule ^(.*)$ https://%{HTTP_HOST}%{REQUEST_URI} [L,R=301] # END HTTPS Redirect Troubleshooting Tips Clear your browser cache if the site doesn’t show the secure padlock immediately. Check for mixed content errors by ensuring all URLs use HTTPS. Use online tools like Why No Padlock to identify insecure elements. Installing an SSL certificate via cPanel helps protect your WordPress site and build trust with your visitors.  

How to Manage WordPress File Permissions via cPanel
May 25, 2025

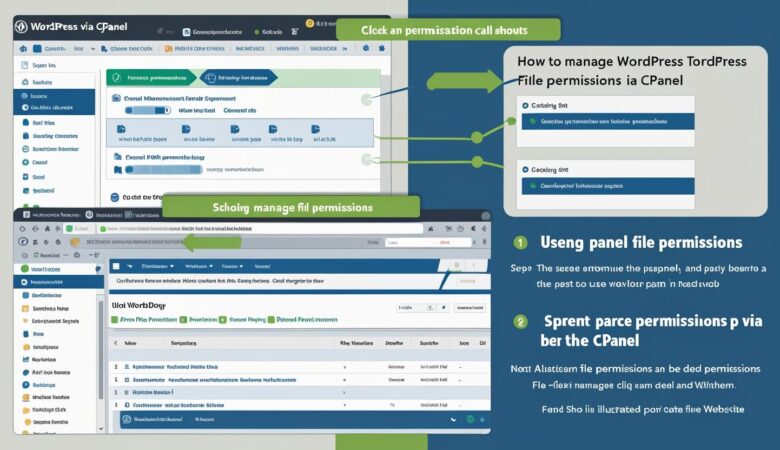
  How to Manage WordPress File Permissions via cPanel Proper file permissions are essential for securing your WordPress website and ensuring it runs smoothly. This guide will show you how to check and set correct file permissions using cPanel’s File Manager. Why Are File Permissions Important? File permissions control who can read, write, or execute files and folders on your server. Incorrect permissions can lead to security vulnerabilities, such as unauthorized access or website hacks. Recommended File Permissions for WordPress Folders: 755 (rwxr-xr-x) — Owner can read, write, and execute; others can read and execute. Files: 644 (rw-r–r–) — Owner can read and write; others can only read. wp-config.php: 600 or 640 — Restricts access to this critical configuration file. Step 1: Log into Your cPanel Account Go to your cPanel login page (https://yourdomain.com/cpanel) and enter your credentials. Step 2: Open File Manager In the cPanel dashboard, locate and click on File Manager under the Files section. Step 3: Navigate to Your WordPress Directory Browse to the root folder of your WordPress installation. This is usually the public_html directory or a subfolder within it. Step 4: Check and Set Folder Permissions Select a folder (e.g., wp-content). Right-click and choose Change Permissions or click the Permissions button in the toolbar. Set the permission value to 755. Click Change Permissions to apply. Step 5: Check and Set File Permissions Select a file (e.g., index.php). Right-click and choose Change Permissions. Set the permission value to 644. Click Change Permissions to save. Step 6: Secure wp-config.php Locate the wp-config.php file in your WordPress root directory. Right-click on wp-config.php and select Change Permissions. Set the permission value to 600 or 640 to restrict access. Save the changes. Additional Tips Never set permissions to 777 as it allows anyone full access, risking your site’s security. If you’re unsure about changes, consult your hosting provider or a WordPress professional. Regularly review file permissions to maintain your site’s security. Properly managing WordPress file permissions via cPanel helps keep your website secure and functioning properly.

How to Fix WordPress Login Issues Using cPanel Tools
May 25, 2025

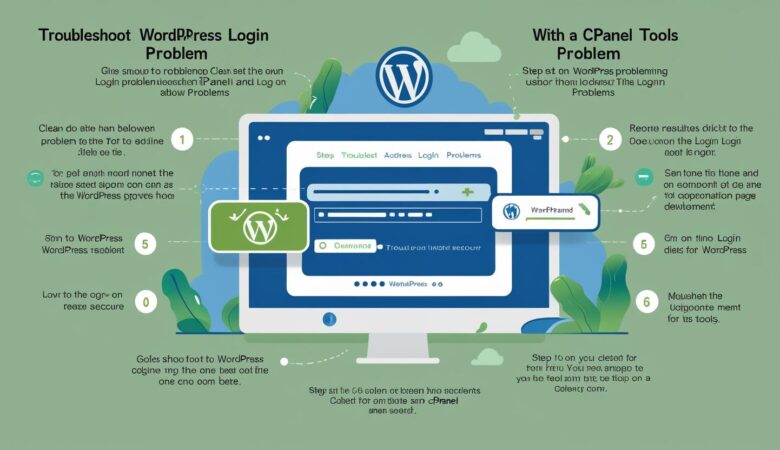
  How to Fix WordPress Login Issues Using cPanel Tools Encountering problems logging into your WordPress dashboard can be frustrating. Fortunately, cPanel offers several tools to troubleshoot and resolve common login issues quickly and efficiently. This guide covers the most effective methods. Common WordPress Login Issues Incorrect username or password. Forgotten password and no access to reset email. Plugin conflicts preventing login. Corrupted .htaccess file. PHP memory limit errors. Step 1: Reset Your Password via phpMyAdmin If you cannot reset your password via email, use phpMyAdmin to manually change it: Login to cPanel and open phpMyAdmin. Select your WordPress database and open the wp_users table. Edit the user record for your username. In the user_pass field, select MD5 from the function dropdown and enter a new password. Save changes and try logging in with the new password. Step 2: Disable Plugins via File Manager Plugin conflicts often cause login failures. To disable plugins without accessing the dashboard: Open File Manager in cPanel. Navigate to public_html/wp-content/ directory. Rename the plugins folder to something like plugins_backup. Try logging in again. If successful, rename the folder back and disable plugins one-by-one from the dashboard. Step 3: Fix .htaccess File A corrupted .htaccess file can block access: In File Manager, locate the .htaccess file in your WordPress root folder. Rename it to .htaccess_backup. Try logging in again. If successful, go to WordPress Dashboard → Settings → Permalinks and click “Save Changes” to generate a new .htaccess file. Step 4: Increase PHP Memory Limit Low PHP memory can cause login problems. To increase it: In File Manager, open the wp-config.php file. Add the following line just before /* That’s all, stop editing! */: define(‘WP_MEMORY_LIMIT’, ‘256M’); Save the file and attempt to log in again. Step 5: Check File Permissions Incorrect file permissions can prevent login: Folders should have permission 755. Files should have permission 644. Use File Manager or FTP client to verify and correct permissions if needed. Need More Help? If you still cannot resolve login issues, contact your hosting provider’s support team or consider restoring your site from a backup. Using cPanel tools to troubleshoot WordPress login problems can save you time and help you regain access quickly.   

How to Change WordPress Username via cPanel Database
May 25, 2025

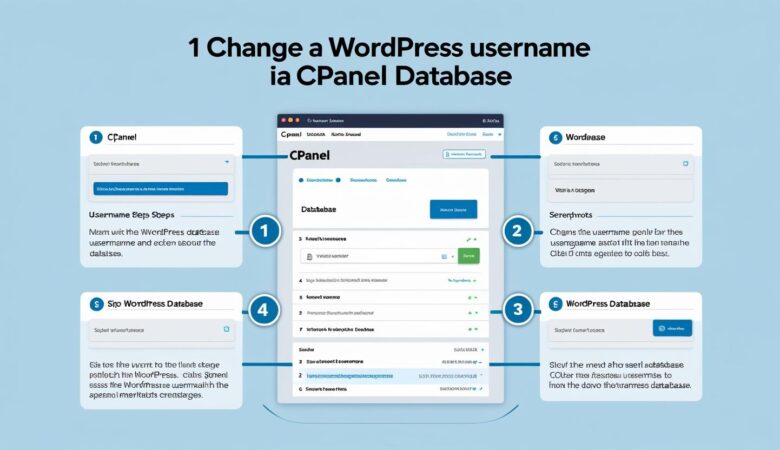
  How to Change WordPress Username via cPanel Database If you want to change your WordPress username but WordPress does not allow direct username edits, you can do it safely through the cPanel database using phpMyAdmin. This guide will show you how. Before You Begin Make sure you have access to your cPanel account. Know the database name used by your WordPress installation (found in wp-config.php). Backup your database before making any changes to avoid accidental data loss. Step 1: Log into cPanel Navigate to your cPanel login page, typically at https://yourdomain.com/cpanel, and enter your credentials. Step 2: Open phpMyAdmin Under the Databases section, click on phpMyAdmin to open the database management tool. Step 3: Select Your WordPress Database From the left sidebar, locate and select the database used by your WordPress site. You can confirm the database name in your WordPress wp-config.php file under the DB_NAME entry. Step 4: Find the Users Table Look for the table ending with _users (commonly wp_users) and click on it to view all user accounts. Step 5: Edit Your WordPress Username Locate the user whose username you want to change. Click the Edit button (pencil icon) next to that user record. In the user_login field, replace the current username with your new desired username. Scroll down and click Go to save the changes. Step 6: Verify the Change Go to your WordPress login page (https://yourdomain.com/wp-login.php) and log in using the new username and your existing password. Important Considerations Changing usernames in the database does not affect your user permissions or content ownership. Always backup your database before editing to prevent accidental data loss. If you have caching or security plugins, clear their caches to ensure changes are reflected immediately. Changing your WordPress username through the cPanel database is a safe and effective method when direct edits are not possible.  

How to Reset Your WordPress Password Using cPanel phpMyAdmin
May 25, 2025

  How to Reset Your WordPress Password Using cPanel phpMyAdmin If you’ve forgotten your WordPress password and cannot reset it via email, you can use cPanel’s phpMyAdmin tool to reset it directly from the database. This guide walks you through the process safely. What You Will Need Access to your cPanel account. Knowledge of your WordPress database name (usually found in wp-config.php file). Step 1: Log into cPanel Open your browser and go to https://yourdomain.com/cpanel. Enter your username and password to access the cPanel dashboard. Step 2: Open phpMyAdmin In cPanel, scroll down to the Databases section and click on phpMyAdmin. Step 3: Select Your WordPress Database In phpMyAdmin, locate your WordPress database name from the left sidebar and click it. If unsure about your database name, check the wp-config.php file in your WordPress root folder for the DB_NAME value. Step 4: Open the Users Table Inside the database, find the table that ends with _users (e.g., wp_users). Click on this table to open the list of WordPress users. Step 5: Edit Your User Password Find the row with your WordPress username. Click the Edit button (usually a pencil icon) next to your user. Locate the user_pass field. In the Function dropdown next to user_pass, select MD5. This encrypts your password correctly. In the Value field, delete the existing value and enter your new password in plain text. Scroll down and click Go to save the changes. Step 6: Log in to WordPress Return to your WordPress login page (https://yourdomain.com/wp-login.php) and use your username and the new password you just set. Important Notes Using MD5 is required because WordPress stores passwords in hashed form. For better security, after logging in, update your password again via the WordPress dashboard to use the latest hashing method. If you are uncomfortable with this process, contact your hosting provider for assistance. Resetting your WordPress password through phpMyAdmin is a quick and effective way to regain access when other methods fail.

How to Restore a WordPress Backup via cPanel
May 25, 2025

  How to Restore a WordPress Backup via cPanel Restoring your WordPress website from a backup is crucial in case of accidental data loss, hacking, or errors. This guide walks you through restoring your WordPress files and database using cPanel. What You Need Before Starting A full or partial backup of your WordPress website files (usually a .zip or .tar.gz file). A backup of your WordPress MySQL database (.sql file). Access to your cPanel account credentials. Step 1: Log into Your cPanel Account Go to https://yourdomain.com/cpanel and enter your username and password to access the cPanel dashboard. Step 2: Restore Website Files Using File Manager Navigate to File Manager under the Files section. Go to your WordPress root directory, typically public_html or a subfolder if WordPress is installed there. If restoring completely, consider deleting existing files or move them to a backup folder to avoid conflicts. Click the Upload button and upload your backup archive (ZIP or TAR file) containing your website files. Once uploaded, select the archive file and click Extract to unpack the files into the root directory. Step 3: Restore Your WordPress Database Go back to the cPanel main dashboard. Scroll down to the Databases section and open phpMyAdmin. Select the database used by your WordPress site from the left sidebar. If you do not have a database, create one via the MySQL® Databases section. Before importing, you may want to clear existing tables by selecting all and choosing Drop. Click the Import tab at the top. Click Choose File, select your database backup (.sql file), and click Go to start the import. The database import process might take a few moments depending on the file size. Step 4: Verify Your Website After restoring files and database, visit your website to check if everything is working properly. If you encounter errors, double-check your wp-config.php file for correct database credentials. Tips for a Smooth Restore Always keep multiple backup copies in different locations. Restore your site during low-traffic hours to avoid downtime impact. If unsure, consult your hosting provider’s support team for assistance. Restoring your WordPress site via cPanel is straightforward when you have the right backups. Regular backups and timely restores can save you from losing valuable data. 

How to Backup Your WordPress Site Using cPanel
May 25, 2025

How to Backup Your WordPress Site Using cPanel Backing up your WordPress website regularly is essential to protect your data and avoid loss due to errors, hacks, or server issues. This guide shows you how to create full and partial backups using cPanel. Why Backup Your WordPress Site? Your WordPress site consists of two main components: Website files: Themes, plugins, media uploads, and WordPress core files. Database: All your posts, pages, comments, settings, and user information. A backup ensures you can restore your site quickly if anything goes wrong. Step 1: Log into Your cPanel Account Open your browser and visit https://yourdomain.com/cpanel or use your hosting provider’s login link. Enter your username and password to sign in. Step 2: Navigate to the Backup Section Once logged in, scroll to the Files section and click on Backup or Backup Wizard, depending on your cPanel theme. Step 3: Create a Full Backup (Recommended) Click on Download a Full Website Backup (or similar wording). Select the backup destination (usually Home Directory). Enter your email address if you want to be notified when the backup completes. Click Generate Backup. The backup process may take several minutes. Once done, you will find a compressed backup file (.tar.gz) in your home directory which you can download via File Manager or FTP. Step 4: Create Partial Backups If you prefer, you can back up website files and databases separately. Download Home Directory: Click this option to download all WordPress files and folders. Download MySQL Databases: Click to view your databases and download a backup of the WordPress database (.sql file). Step 5: Back Up Using File Manager (Optional) You can manually compress your WordPress directory using File Manager: Go to File Manager in cPanel. Navigate to the public_html folder or your WordPress installation directory. Select all files and folders. Click Compress in the top toolbar and choose Zip Archive. Download the compressed file for safekeeping. Step 6: Restore Your Backup To restore your website from a backup: Go to the Backup section in cPanel. Use the Restore a Home Directory Backup or Restore MySQL Databases options to upload your backup files. Alternatively, use File Manager to upload and extract your website files manually. Be sure to restore both files and databases for a complete recovery. Best Practices for WordPress Backups Backup your site regularly — ideally before major updates or changes. Store backups securely off-site, such as on your computer or cloud storage. Test your backups periodically by restoring them on a staging server. Using cPanel to back up your WordPress site is a simple but vital part of website management. With these steps, you can protect your site data and ensure peace of mind.  

How to Create a MySQL Database and User in cPanel for WordPress
May 25, 2025

  How to Create a MySQL Database and User in cPanel for WordPress Follow this simple step-by-step guide to create a MySQL database and user in cPanel — a necessary step for installing WordPress manually or managing your site database. Why Do You Need a MySQL Database for WordPress? WordPress stores all your website’s content, settings, posts, and user data in a MySQL database. To run WordPress, you must have a database and a user with permissions to access it. Step 1: Log into Your cPanel Account Go to https://yourdomain.com/cpanel or your hosting provider’s login page and enter your credentials to sign in. Step 2: Open the MySQL® Databases Section In the cPanel dashboard, scroll down to the Databases section and click on MySQL® Databases. Step 3: Create a New Database In the Create New Database field, enter a name for your database. For example, wp_database. Click Create Database. You will see a confirmation message that the database was created successfully. Step 4: Create a New Database User Scroll down to the MySQL Users section. Under Add New User, enter a username (e.g., wp_user). Enter a strong password or use the Password Generator tool to create one. Confirm the password by typing it again. Click Create User. Step 5: Assign the User to the Database Scroll down to the Add User to Database section. Select the user you just created from the dropdown list. Select the database you created earlier. Click Add. On the next screen, check All Privileges to give the user full access to the database. Click Make Changes. You will see a success message indicating the user has been added to the database with the correct permissions. Step 6: Use Your Database Details in WordPress When installing WordPress manually, you will need to enter the database name, username, and password during setup in the wp-config.php file or the WordPress installation wizard. Troubleshooting Tips Make sure the database name and username have the correct prefix assigned by your hosting provider (e.g., yourcpanelusername_wp_database). Use a strong, unique password to protect your database user. If you get permission errors during WordPress installation, double-check the user privileges in cPanel. Creating a MySQL database and user in cPanel is a fundamental step in managing your WordPress website. With these instructions, you can confidently set up your database and proceed with installing or managing your WordPress site.  

Build Your Website with HiveRift

From professional business to enterprise, we’ve got you covered!

©2025, Hosting. All Rights Reserved by KhatuShyam Technologies

HiveRift
Privacy Overview

This website uses cookies so that we can provide you with the best user experience possible. Cookie information is stored in your browser and performs functions such as recognising you when you return to our website and helping our team to understand which sections of the website you find most interesting and useful.