Enable Free SSL for Node.js Apps on Hiverift via cPanel
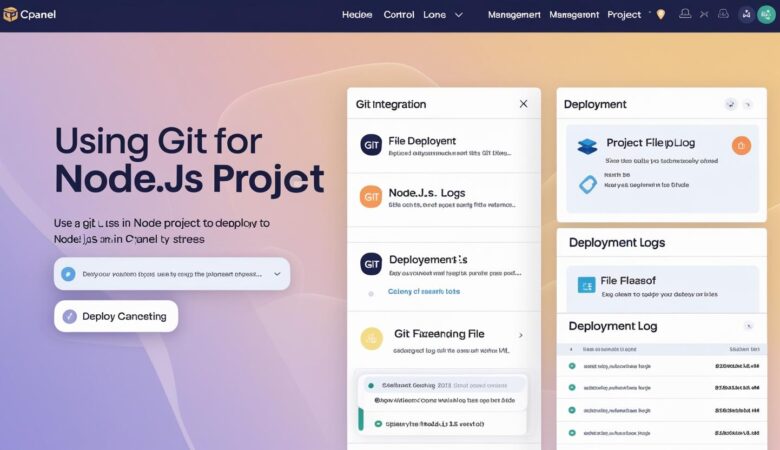
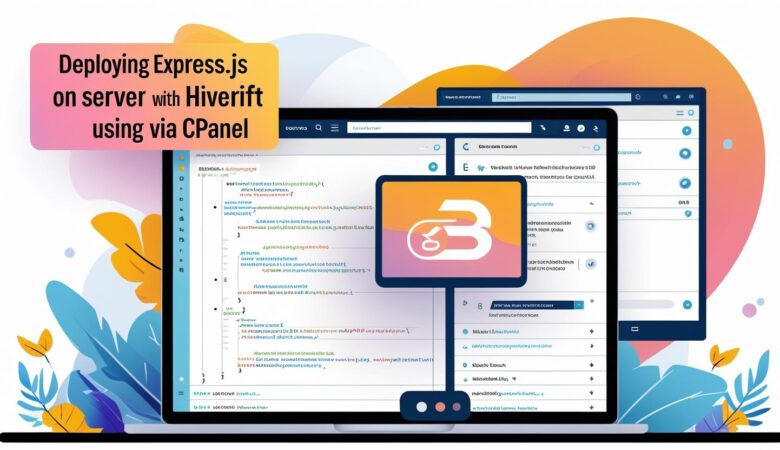
May 26, 2025Enable Free SSL for Node.js Apps on Hiverift via cPanel Secure your Node.js application with free SSL certificates using cPanel’s AutoSSL on Hiverift hosting. Why Enable SSL? SSL (Secure Sockets Layer) encrypts data transferred between your users and your application, ensuring privacy and security. Browsers also prefer HTTPS sites, improving trust and SEO. Prerequisites Active Node.js application deployed via cPanel on Hiverift Registered domain pointed to Hiverift nameservers (ns1.kclouds.online, ns2.kclouds.online) Access to your cPanel dashboard Step 1: Log into Your cPanel Account Open your browser and go to https://yourdomain.com/cpanel. Enter your username and password to access the cPanel dashboard. Step 2: Enable AutoSSL for Your Domain In cPanel, find the SSL/TLS Status tool (you can use the search bar). Select your domain from the list. Click Run AutoSSL or Enable AutoSSL (depending on your cPanel version). Wait a few minutes for AutoSSL to issue a free SSL certificate for your domain. Step 3: Verify SSL Certificate Installation Once AutoSSL finishes, you should see a green lock next to your domain under SSL/TLS Status. You can also visit https://yourdomain.com and verify the connection is secure. Step 4: Configure Your Node.js App to Use SSL Node.js apps on cPanel typically run behind a proxy (like Apache or Nginx). To ensure your app uses HTTPS, follow these steps: In cPanel, go to Setup Node.js App or Application Manager. Edit your Node.js application settings. Ensure your app listens on the port specified by cPanel, but do not bind SSL certificates directly in your Node.js code. cPanel’s web server handles SSL termination and forwards requests to your app securely. Step 5: Redirect HTTP to HTTPS (Optional but Recommended) Force your website visitors to use HTTPS by adding the following rule to your .htaccess file via cPanel’s File Manager: RewriteEngine On RewriteCond %{HTTPS} !=on RewriteRule ^ https://%{HTTP_HOST}%{REQUEST_URI} [L,R=301] Troubleshooting Tips If AutoSSL fails, ensure your domain is correctly pointed to Hiverift nameservers: ns1.kclouds.online, ns2.kclouds.online. Check your domain’s DNS records to confirm A record points to your server IP. Verify no firewall or security rules block Let’s Encrypt validation requests. Contact Hiverift support if you encounter persistent issues. Tip: SSL certificates issued via AutoSSL renew automatically, so you don’t need to manage expiration dates manually. Summary Using cPanel’s AutoSSL on Hiverift, securing your Node.js app with free SSL certificates is straightforward. This setup ensures encrypted communication, improves your SEO, and builds visitor trust. For further assistance, reach out to dev@hiverift.com. © 2025 Hiverift. All rights reserved.