Backing Up and Restoring Your Website Using cPanel

Backing Up and Restoring Your Website Using cPanel
May 25, 2025

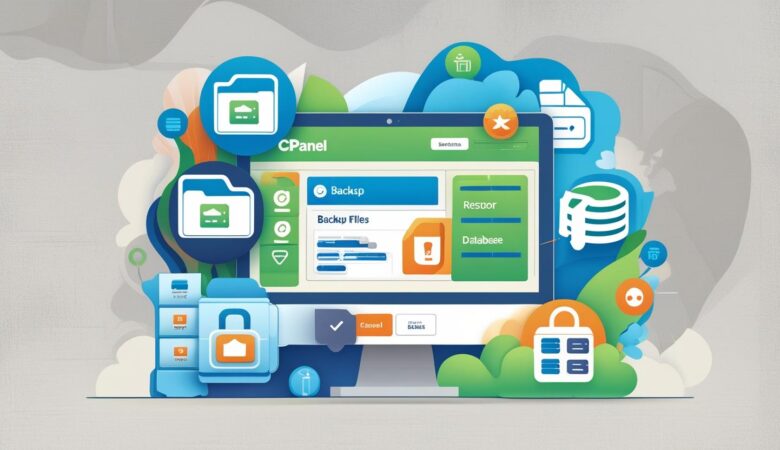
Why Backups Matter Your website is your digital asset. Unexpected problems like hacking, accidental file deletion, or server crashes can happen anytime. That’s why backing up your website regularly is essential. With cPanel, managing backups is straightforward—even if you’re not a tech expert. This guide will walk you through how to create full and partial backups of your website using cPanel, and how to restore them when needed. ✅ Types of Backups in cPanel Full Backup:Saves everything — website files, databases, emails, and settings. Best for complete restoration or migration. Partial Backup:Backs up specific parts like only your website files, only your databases, or only your email forwarders and filters. 🛠️ How to Create a Full Backup in cPanel Step 1: Log in to Your cPanel Account Go to https://yourdomain.com/cpanel Enter your username and password Step 2: Open the Backup Wizard In the cPanel dashboard, find the Files section Click on Backup Wizard Step 3: Start Backup Process Click Backup Choose Full Backup Step 4: Select Backup Destination Choose Home Directory (default and recommended) Enter your email address if you want to receive a notification when the backup is complete Click Generate Backup Step 5: Download the Backup Once the backup finishes, you’ll receive an email (if entered) Return to the Backup Wizard or Backup section and download the backup file to your computer for safekeeping 🛠️ How to Create Partial Backups in cPanel Back Up Home Directory (Website Files) Go to Backup or Backup Wizard Click on Partial Backups Select Home Directory Click Download Back Up MySQL Databases From the same section, select MySQL Databases Choose the database you want to back up Click Download Back Up Email Forwarders & Filters Select Email Forwarders or Email Filters Click Download 🔄 How to Restore Your Website Using cPanel Backups Step 1: Log in to cPanel Step 2: Navigate to Backup or Backup Wizard Click Restore a Full Backup if you have a full backup file Or scroll down to Restore a Partial Backup Step 3: Restore Full Backup Upload your full backup file and click Restore Note: Some hosts (like Hiverift) may require you to contact support for full restore Step 4: Restore Partial Backup Upload files to restore specific sections: Home Directory (website files) MySQL Databases (your databases) Email Forwarders & Filters 📌 Important Backup Tips Backup Regularly: Automate backups or create them before major website changes Store Backups Safely: Keep copies offsite or download locally Check Backup File Size: Large sites may require longer to back up or restore Know Your Limits: Some hosts have limits on backup sizes or restore procedures—check with your provider ❓ Frequently Asked Questions (FAQs) Q: How often should I back up my website?A: At least once a week for active sites. More frequent backups are recommended if you update content daily. Q: Can I restore backups myself?A: Yes, partial backups are easy to restore via cPanel. For full restores, your host might assist. Q: What if I lose access to cPanel?A: Contact your hosting support immediately for backup and restoration help. 🤝 Need Help with Backups? If you’re hosting with Hiverift, their support team can assist with backup and restore issues: Visit: https://hiverift.com Use live chat support or open a ticket from your client area 🚀 Conclusion Backing up your website is a crucial part of site management and security. With cPanel’s built-in backup tools, you can easily safeguard your website files, databases, and email settings. Make it a habit to back up regularly and restore promptly when needed to keep your online presence safe and sound.
How to Install WordPress via Softaculous in cPanel
May 25, 2025

A quick tutorial to install WordPress in just a few clicks using the Softaculous auto-installer tool. Installing WordPress doesn’t have to be complicated. Thanks to the Softaculous Auto Installer included in most cPanel dashboards, you can launch your WordPress website within minutes — no coding or manual database setup required! Whether you’re building a blog, portfolio, or online store, this step-by-step guide will show you how to install WordPress via Softaculous like a pro. ✅ What You’ll Need Access to your hosting account with cPanel A domain name connected to your hosting Softaculous Installer (most shared hosting providers like Hiverift include it by default) 🛠️ Step-by-Step: Installing WordPress via Softaculous Step 1: Log in to cPanel Open your browser and go to:https://yourdomain.com/cpanel(or login via your Hiverift dashboard > My Hosting > Access cPanel) Enter your cPanel username and password Step 2: Find Softaculous Apps Installer In your cPanel dashboard, scroll down to the Software section Click on Softaculous Apps Installer (or search for it in the search bar) Step 3: Select WordPress Inside Softaculous, you’ll see a list of popular applications Click on the WordPress icon Click the Install Now button Step 4: Configure Your WordPress Installation You’ll now see a setup form. Here’s how to fill it out: Choose Protocol:Select https:// if you have an SSL certificate (recommended), otherwise use http:// Choose Domain:Pick the domain where you want WordPress installed In Directory:Leave this blank to install WordPress at the root (e.g., yourdomain.com).To install in a subfolder (like yourdomain.com/blog), type the folder name. Site Name & Description:Customize your website title and tagline (you can change this later) Admin Username & Password:Create secure credentials for your WordPress admin panel⚠️ Do not use “admin” as your username for security reasons Admin Email:Enter a valid email — important for password recovery Choose Language:Select the preferred language of your WordPress dashboard Select Plugins (Optional):Some hosts allow you to install recommended plugins (e.g., Loginizer for security) Advanced Options (Optional):You can set custom database names or enable automatic backups Step 5: Click “Install” Scroll to the bottom and click the Install button. Softaculous will now install WordPress. ✅ Within a few seconds to a couple of minutes, your installation will be complete! 🎉 Installation Complete! You’ll see a success message with two URLs: Admin URL:Example: https://yourdomain.com/wp-adminUse this to login to your WordPress dashboard Site URL:Example: https://yourdomain.comThis is your live website 📌 Post-Installation Tips Log into your dashboard:Visit yoursite.com/wp-admin using the credentials you just created Install a theme:Go to Appearance > Themes to change your site’s design Install essential plugins:Some useful ones include: Yoast SEO Wordfence Security Elementor (Page builder) UpdraftPlus (Backups) Set permalinks:Settings > Permalinks > Choose “Post Name” for SEO-friendly URLs 🔧 Troubleshooting Can’t access Softaculous? Check with your hosting provider (e.g., Hiverift) if it’s included in your plan Install stuck or failed? Try refreshing the page, clearing cache, or choosing a different directory SSL Error? Make sure SSL is installed or contact support for help ❓ FAQs Q: Is installing WordPress via Softaculous free?✅ Yes. It’s included free with most cPanel hosting plans. Q: Can I install multiple WordPress sites?✅ Yes. Just repeat the steps for different domains or subfolders. Q: Do I need coding knowledge?🚫 Not at all! Softaculous does everything for you automatically. 🤝 Need Help? If you’re using Hiverift Hosting, support is available: 🌐 Visit: https://hiverift.com 💬 Chat with live support 📩 Open a support ticket from your client area 🚀 Final Thoughts Softaculous makes WordPress installation fast, easy, and beginner-friendly. Whether you’re launching your first blog or building a business site, this method saves time and avoids technical hassles. Install WordPress today and start creating your online presence with confidence!

🗂️ Using the File Manager in cPanel to Upload and Manage Website Files
May 25, 2025

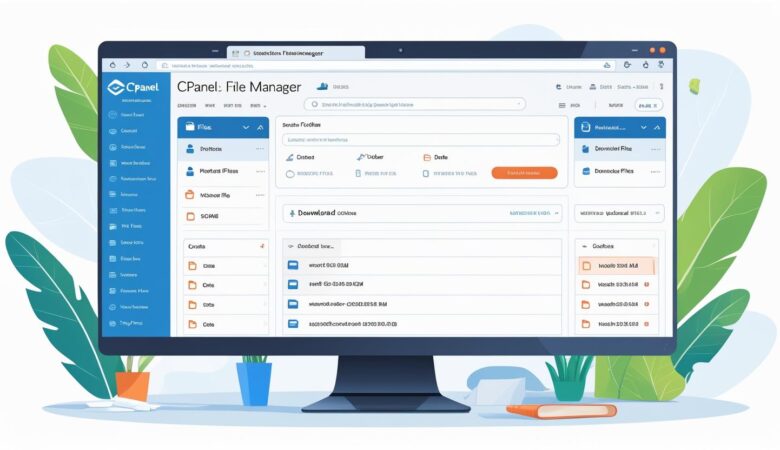
  🗂️ Using the File Manager in cPanel to Upload and Manage Website Files Learn how to upload, delete, edit, compress, and organize files — no FTP needed! 📥 Step 1: How to Access File Manager in cPanel Login to your cPanel account via your hosting dashboard or directly at https://yourdomain.com/cpanel Locate the Files section Click on File Manager This opens a file browser where you can manage your website files easily. 📁 Step 2: Understanding the File Manager Interface The File Manager has two main areas: Left panel: Directory/folder structure Right panel: File contents of the selected directory Top toolbar options include: Upload Create File/Folder Edit / Code Edit Move / Copy / Rename / Delete Compress / Extract Change Permissions (CHMOD) 🔼 Step 3: Uploading Website Files Navigate to the desired folder (usually public_html) Click Upload Drag & drop files or browse to select them Wait for the upload to finish (100%) Tip: Files inside public_html are publicly accessible. ✏️ Step 4: Editing Files Without FTP Select a file and click Edit or Code Editor Make your changes in the browser Click Save Changes Use Code Editor for better formatting of HTML, PHP, or CSS files. 🧹 Step 5: Organizing Files Move: Select & click Move Copy: Select & click Copy Rename: Select & click Rename Create: Click + File or + Folder to keep your site structured 🗑️ Step 6: Deleting and Restoring Files To delete: Select the file/folder Click Delete Choose to send to trash or permanently delete To restore files, visit the Trash folder in the left pane. 🗜️ Step 7: Compressing and Extracting Files To compress: Select items Click Compress Choose format (ZIP, GZIP, TAR) Click Compress Files To extract: Select a .zip file and click Extract 🔐 Step 8: Setting File Permissions (CHMOD) Right-click a file or folder Select Permissions Set the numeric value (e.g. 755 for folders, 644 for files) Click Change Permissions Warning: Incorrect permissions may break your site or expose it to security risks. 🧠 Best Practices for Using File Manager Always backup files before editing or deleting Organize with folders (scripts, images, backups) Use public_html for public files only Regularly delete unused files to save space Compress before downloading large folders ❓ Frequently Asked Questions Q: Can I upload multiple files? Yes! Drag and drop multiple files into the upload window. Q: Is File Manager secure? Yes, it’s protected through your cPanel credentials and SSL. Q: Why aren’t my files visible on the website? Ensure they’re uploaded to the correct folder and clear your browser cache. 🤝 Need Help? If you’re using Hiverift Hosting, support is available: 💬 Live chat at Hiverift.com 📩 Submit a ticket from your client dashboard 📚 Visit the knowledge base for more tutorials 🚀 Final Thoughts cPanel’s File Manager is your all-in-one solution for managing website files directly in your browser. It’s fast, secure, and eliminates the need for FTP software. Get started with File Manager today and take control of your website with ease!

🌐 How to Access and Navigate Your cPanel Dashboard (Beginner’s Guide)
May 25, 2025

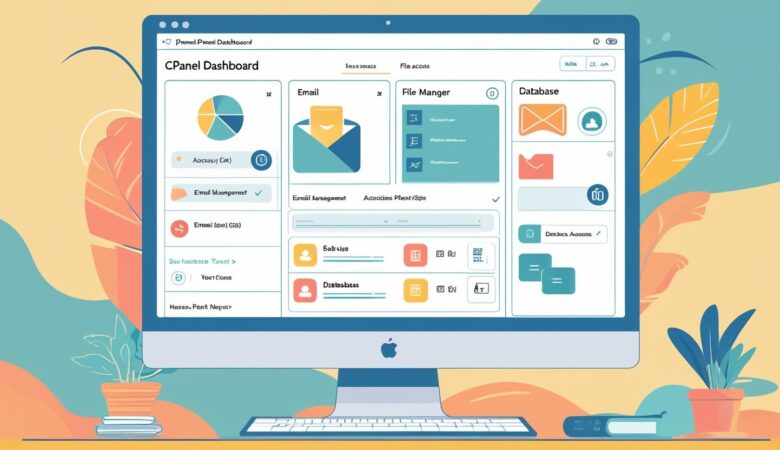
🌐 How to Access and Navigate Your cPanel Dashboard (Beginner’s Guide) Whether you’re launching your first website or managing multiple domains, cPanel is one of the most powerful and user-friendly hosting control panels. This beginner’s guide walks you through logging in and exploring key tools in your cPanel dashboard. 🔐 Step 1: How to Access cPanel ✅ 1. Login via Hosting Dashboard (e.g., Hiverift) Visit https://hiverift.com Log in to your Client Area Go to “My Services” or “My Hosting” Select your hosting package Click “Login to cPanel” – no password needed! ✅ 2. Direct cPanel URL Access Use your domain or server IP address: Domain access: https://yourdomain.com/cpanel IP access: https://123.123.123.123:2083 Enter your cPanel username and password provided in your welcome email. 🖥️ Step 2: Understanding the cPanel Dashboard After logging in, you’ll see your dashboard divided into sections. Here’s a breakdown of the most essential tools: 📂 1. File Manager Location: Files > File Manager Upload, edit, delete, and manage your website files directly without FTP access. 📧 2. Email Accounts Location: Email > Email Accounts Create domain-based email addresses, manage inboxes, set up forwarders, and access webmail. 🛠️ 3. Databases Location: Databases > MySQL Databases / phpMyAdmin Create and manage databases essential for CMSs like WordPress or Joomla. 🌐 4. Domains Section Location: Domains > Addon Domains / Subdomains / Redirects Add new domains, create subdomains (like blog.yoursite.com), and manage URL redirects. 🔒 5. Security Tools Location: Security > SSL/TLS / IP Blocker / Hotlink Protection Install free SSL, block IPs, protect content, and secure directories. ⚙️ 6. Software & Apps Location: Software > Softaculous Apps Installer One-click installations for WordPress, Magento, Drupal, and more. 🔄 7. Backup Tools Location: Files > Backup / JetBackup Take manual or scheduled backups of your website and email data. 📊 8. Metrics & Statistics Location: Metrics > Visitors / Awstats / Errors Monitor site traffic, error logs, and bandwidth usage in real time. 💡 Beginner Tips Use the search bar in cPanel to quickly locate any feature. Bookmark the tools you use most often. Log out after each session for added security. Set up AutoSSL for free HTTPS encryption. Contact support if any feature is missing based on your hosting plan. 🛠️ Common Issues and Fixes Forgot login details? Reset via your host dashboard or contact support. Page not loading? Clear your browser cache or try a different browser. Domain not pointing? Check if your nameservers are correctly configured. 🤝 Need Help? If you’re using Hiverift Hosting, get help via: Live Chat on hiverift.com Submit a support ticket from your client dashboard Check the Knowledge Base for step-by-step tutorials 📌 Final Thoughts cPanel empowers you to manage your website like a pro — even if you’re just starting out. From email and file management to installing software and securing your site, the cPanel dashboard has it all. Start exploring your cPanel dashboard today and take control of your online presence!  

How to Login to cPanel in Hiverift
May 25, 2025

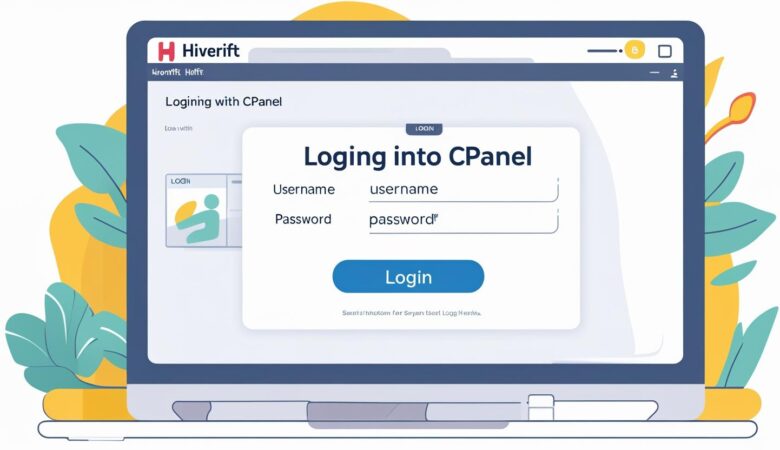
  How to Login to cPanel in Hiverift Hosting Accessing your cPanel dashboard is simple and secure with Hiverift. Whether you’re managing emails, files, or databases, here’s a quick guide to logging in to your cPanel account. ✅ Option 1: Login via Hiverift Dashboard (Recommended) Visit https://hiverift.com Log in to your Hiverift Client Area using your registered email and password. Go to “Services” or “My Hosting”. Select the hosting plan or domain you want to manage. Click on the “Login to cPanel” or “Access cPanel” button. You’ll be automatically logged in — no additional credentials required. This is the easiest and most secure way to access your cPanel. ✅ Option 2: Direct cPanel Login via URL You can also log in directly to cPanel using your domain name or server IP address: Using your domain: https://yourdomain.com/cpanel Using your server IP: https://123.123.123.123:2083 Enter your cPanel username and password (sent to your registered email after activation), then click “Log in.” 🛠️ Troubleshooting Tips Forgot your credentials? Visit your Hiverift Client Area > Services > Your Hosting Plan, and check your welcome email or reset your password. Domain not pointing correctly? Ensure your domain is using Hiverift’s official nameservers. Login page not loading? Clear your browser cache and try again. ❓Need Help? Hiverift offers 24/7 expert support: Chat with us directly at hiverift.com Or submit a support ticket from your client dashboard

Build Your Website with HiveRift

From professional business to enterprise, we’ve got you covered!

©2025, Hosting. All Rights Reserved by KhatuShyam Technologies

HiveRift
Privacy Overview

This website uses cookies so that we can provide you with the best user experience possible. Cookie information is stored in your browser and performs functions such as recognising you when you return to our website and helping our team to understand which sections of the website you find most interesting and useful.