How to Set Up WooCommerce on WordPress Using cPanel
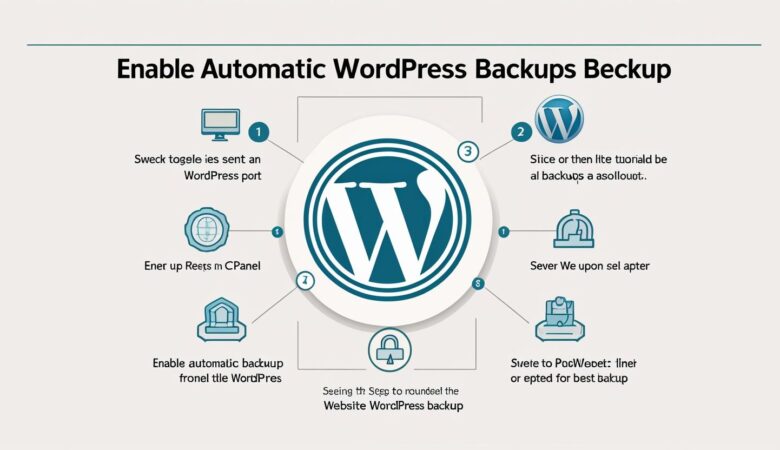
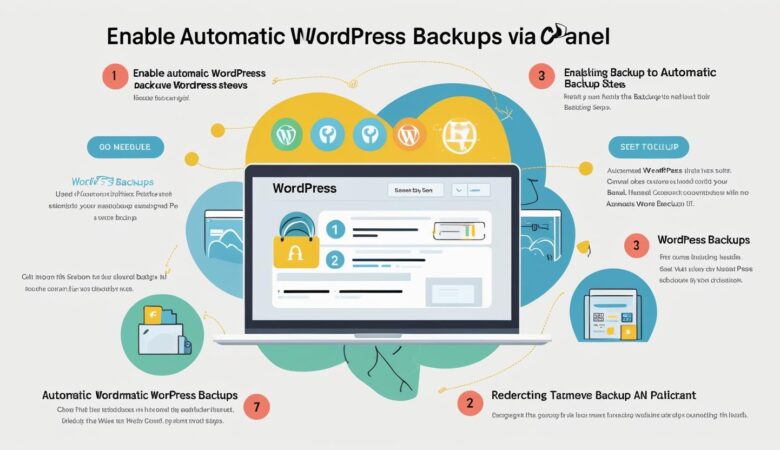
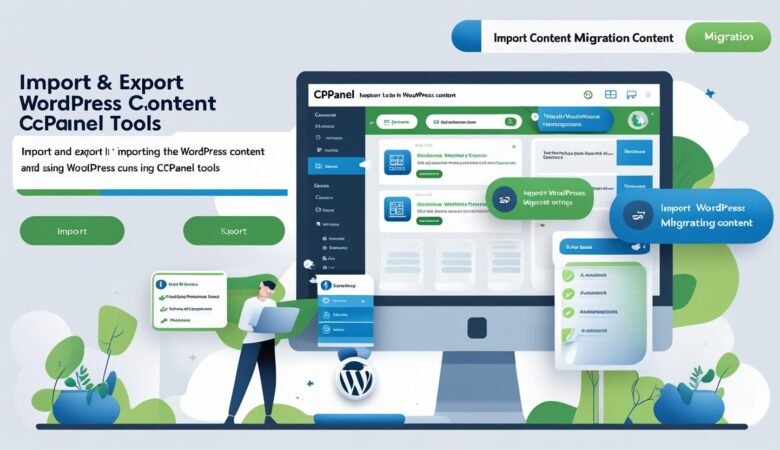
May 26, 2025How to Set Up WooCommerce on WordPress Using cPanel A complete step-by-step guide to install and configure WooCommerce on your WordPress site with cPanel. What Is WooCommerce? WooCommerce is the most popular WordPress plugin for building an online store. It allows you to sell physical and digital products, manage inventory, process payments, and much more. Prerequisites A domain name and hosting plan with cPanel access. WordPress installed on your hosting account. Basic knowledge of WordPress dashboard and cPanel File Manager. Step 1: Log in to Your WordPress Dashboard Access your WordPress admin panel by navigating to yourdomain.com/wp-admin and entering your username and password. Step 2: Install WooCommerce Plugin In the WordPress dashboard, go to Plugins > Add New. Search for WooCommerce in the search bar. Click Install Now next to the WooCommerce plugin. After installation, click Activate to enable the plugin. Step 3: Run WooCommerce Setup Wizard Upon activation, WooCommerce will launch a setup wizard: Configure your store location, currency, and preferred measurement units. Select the types of products you plan to sell. Set up payment options such as PayPal, Stripe, or direct bank transfer. Configure shipping options and tax settings. Complete the wizard to finalize your store basics. Step 4: Manage WooCommerce Files Using cPanel File Manager (Optional) If you need to upload custom themes, plugins, or make changes directly to WooCommerce files: Log in to your cPanel dashboard provided by your hosting provider. Open File Manager and navigate to the public_html/wp-content/plugins/woocommerce folder. Upload, edit, or delete files as needed. Be cautious to avoid corrupting plugin files. Step 5: Add Products to Your WooCommerce Store Go back to your WordPress dashboard. Navigate to Products > Add New. Enter product name, description, price, and upload images. Set product categories and tags for better organization. Click Publish to make the product live on your store. Step 6: Customize Your Store’s Appearance Choose a WooCommerce-compatible theme to make your online store look professional and visually appealing: Storefront – Official WooCommerce theme, free and optimized. Astra – Lightweight with WooCommerce support. OceanWP – Highly customizable with eCommerce demos. Install and activate your theme via Appearance > Themes. Step 7: Test Your WooCommerce Store Place a test order to verify the checkout process works smoothly. Check payment gateways and email notifications. Ensure mobile responsiveness and fast loading speed. Conclusion Setting up WooCommerce on your WordPress site via cPanel is straightforward and empowers you to launch a fully functional online store quickly. Use the cPanel File Manager for advanced file management when needed. Start selling your products today! Hiverift Hosting. Need assistance? Contact our support team.