How to Set Up Cron Jobs for WordPress Scheduled Tasks in cPanel
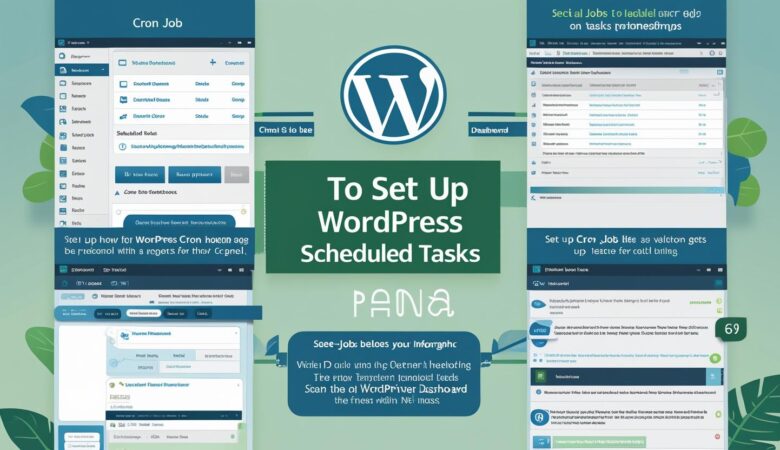
May 26, 2025How to Set Up Cron Jobs for WordPress Scheduled Tasks in cPanel A complete guide to optimizing your WordPress site by scheduling automated tasks using cPanel’s Cron Jobs tool. What Are Cron Jobs and Why Use Them? Cron jobs are scheduled commands or scripts that your server runs at specific intervals. WordPress uses a virtual cron system called wp-cron.php to handle tasks like publishing scheduled posts, checking for updates, and clearing temporary files. However, relying solely on wp-cron can be unreliable on low-traffic sites. Setting up a real cron job in cPanel improves performance and reliability. Step 1: Disable WordPress’s Default Cron To prevent WordPress from running wp-cron.php on every page load: Log in to your cPanel account. Navigate to the File Manager. Locate and edit the wp-config.php file in your WordPress root directory. Add the following line of code above the line that says /* That’s all, stop editing! */: define(‘DISABLE_WP_CRON’, true); Step 2: Set Up a Cron Job in cPanel In cPanel, scroll to the Advanced section and click on Cron Jobs. Set the email address to receive notifications (optional). Under Add New Cron Job: Choose a common setting like “Every 15 minutes”. In the command field, enter the following: cd /home/yourusername/public_html; php -q wp-cron.php OR (better for many setups): curl -s https://yourdomain.com/wp-cron.php?doing_wp_cron > /dev/null 2>&1 Click Add New Cron Job. Step 3: Verify the Cron Job is Working Check your WordPress scheduled tasks are now executing on time (e.g., scheduled posts are publishing). If you set a notification email, you’ll receive reports each time the cron runs (unless silenced in command). Benefits of Using Real Cron Jobs Improved site performance by disabling wp-cron on every page load. Ensures time-sensitive tasks (like post publishing or backups) execute consistently. Reduces load on low-traffic WordPress sites. Troubleshooting Tips Ensure the wp-cron.php file exists in the WordPress root folder. Check file permissions (755 for directories, 644 for files) if the cron doesn’t execute. Use a basic curl or wget command if PHP paths don’t work on your server. Conclusion By setting up a proper cron job for WordPress via cPanel, you’re giving your site a more reliable way to handle background tasks. It’s a small step that can make a big difference in performance and automation. Hiverift Hosting. Need help? Visit our Support Center.