HiveRift Control Panel: Features Walkthrough

HiveRift Control Panel: Features Walkthrough
July 14, 2025

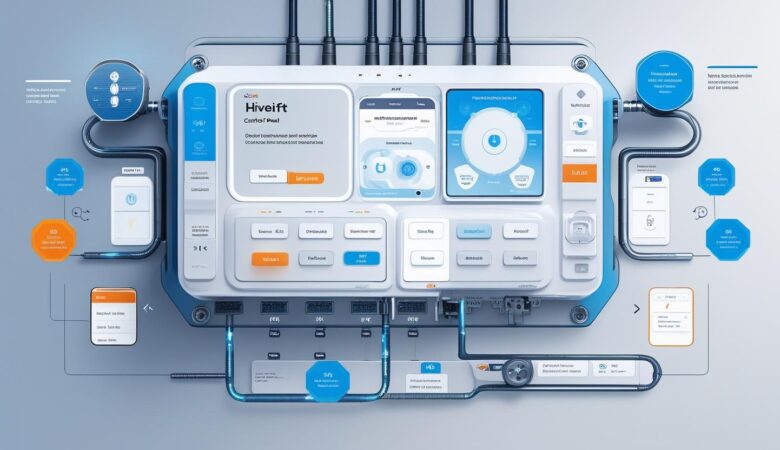
HiveRift Control Panel: Features Walkthrough ⚙️🚀 Looking for a powerful, user-friendly hosting control panel that gives you total control without the complexity? The HiveRift Control Panel is designed to streamline website and server management with a sleek interface, rich features, and unmatched performance. Here’s a full walkthrough of its core capabilities and how it simplifies web hosting for both beginners and pros. 🧩 What Is HiveRift Control Panel? HiveRift is an all-in-one hosting control panel that allows users to manage their websites, domains, emails, databases, and server configurations with ease. Whether you’re a web developer, hosting reseller, or site owner, HiveRift puts essential tools at your fingertips—without needing command-line skills. 🔍 Key Features of the HiveRift Control Panel 1. 🖥️ Intuitive Dashboard Clean, modern UI with dark/light mode Real-time server resource usage (RAM, CPU, Bandwidth) Quick access to domains, files, and users 2. 🌐 Domain & DNS Management Add or remove domains and subdomains instantly Full DNS zone control with easy A, CNAME, MX, and TXT record edits One-click domain redirection and parking 3. 📁 File Manager Built-in file editor and ZIP compression tool Drag-and-drop file uploads Permission controls and backup access 4. 📬 Email Management Create and manage professional email accounts Webmail access, spam filters, autoresponders DKIM, SPF, and DMARC support for email authentication 5. 🗃️ Database Management MySQL and PostgreSQL support phpMyAdmin integration Easy database creation and access credentials control 6. 🔐 SSL & Security Tools Free Let’s Encrypt SSL installation in one click IP blocking and firewall management Brute-force protection and login audit logs 7. 📦 App Installer (Softaculous Alternative) 1-click installs for WordPress, Joomla, Laravel, Magento & more Version control and auto-update settings Pre-configured app templates for fast deployment 8. 👥 User Roles & Access Multi-user access with role-based permissions Reseller module for client account creation Activity logs to track user changes 9. 🔁 Automated Backups & Restore Daily, weekly, and monthly backup options Easy restore points for files, databases, or full accounts Cloud storage integrations (Google Drive, Dropbox) 10. 📈 Analytics & Logs Integrated website visitor analytics Error & access log viewer Monitor email activity and resource consumption 🚀 Why Choose HiveRift Over Traditional Panels? ✅ Faster load times with lightweight core ✅ Minimal learning curve—ideal for all skill levels ✅ Low system requirements, perfect for VPS ✅ White-label options for resellers and hosting businesses ✅ Active support community & regular updates 💡 Ideal For: Web developers managing multiple client sites Hosting resellers building a scalable business Agencies offering web + hosting bundles Business owners wanting control without complexity
How to Use cPanel to Manually Update WordPress Core Files
May 26, 2025

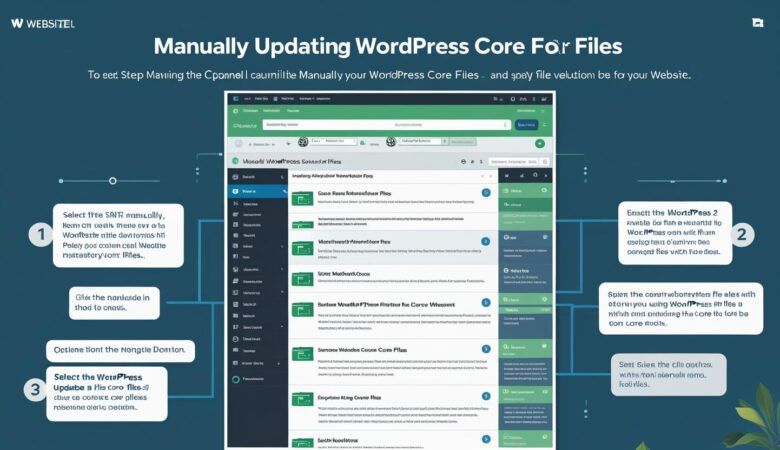
How to Use cPanel to Manually Update WordPress Core Files Manually update your WordPress core files using cPanel File Manager for complete control and better security management. Why Manually Update WordPress? While WordPress offers automatic updates, there are times when a manual update is safer or more reliable—such as when your site has customizations or plugin conflicts. Manual updates give you more control and allow you to back up first. Before You Begin ⚠️ Backup your entire website and database from cPanel. Ensure your theme and plugins are compatible with the latest WordPress version. Step 1: Download the Latest WordPress Version Visit the official website: wordpress.org/download. Click Download WordPress and save the ZIP file to your computer. Step 2: Extract WordPress Core Files Unzip the downloaded WordPress file on your computer. It will contain: wp-admin folder wp-includes folder Core files like index.php, wp-login.php, etc. Do not upload the wp-content folder as it contains your theme and plugin files which should not be overwritten. Step 3: Log in to cPanel and Access File Manager Login to your Hiverift Hosting cPanel account. Navigate to File Manager. Open the public_html folder (or wherever WordPress is installed). Step 4: Upload and Replace Core Files Use File Manager’s Upload option to upload your extracted WordPress files (excluding wp-content). Once uploaded, overwrite the existing wp-admin, wp-includes folders and core files. Ensure wp-content is untouched to retain your themes and plugins. Step 5: Update Database (If Prompted) After uploading, visit yourdomain.com/wp-admin. If a database update is required, WordPress will prompt you. Click the “Update WordPress Database” button. Final Check Clear your browser and site cache. Test all major functions, plugins, and themes. Check site performance and security plugins for issues. Troubleshooting Tips Site broke after upload? Restore from backup immediately. White screen or 500 error? Check error_log via File Manager or enable WP_DEBUG in wp-config.php. Double-check that you did not overwrite wp-content. Conclusion Manually updating WordPress core files via cPanel offers control and peace of mind. It’s ideal for users managing custom sites or troubleshooting conflicts. Always backup before proceeding and use cPanel’s File Manager to carefully replace files.   © 2025 Hiverift Hosting. All rights reserved. | Need Help? Contact Support  

How to Troubleshoot Plugin Conflicts Using cPanel Access and Debugging
May 26, 2025

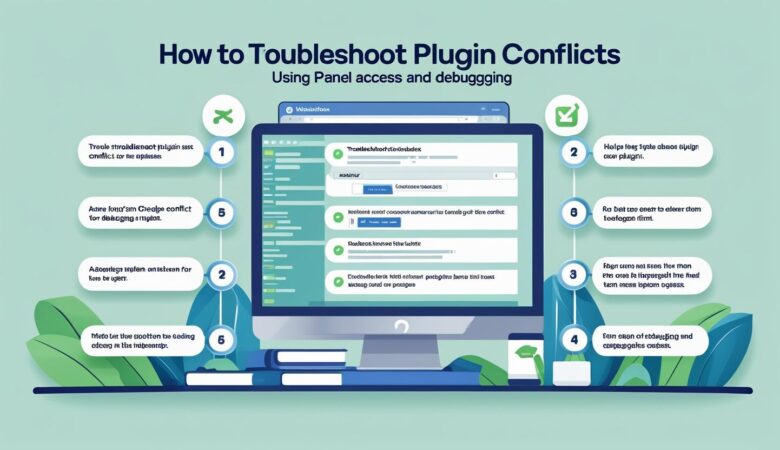
How to Troubleshoot Plugin Conflicts Using cPanel Access and Debugging Efficient conflict resolution for WordPress — by Hiverift 🔍 What Are Plugin Conflicts? A plugin conflict occurs when two or more WordPress plugins (or themes) interfere with each other, causing errors, broken layouts, or even site crashes. 🛠️ Step-by-Step: Troubleshooting with cPanel Access Step 1: Log Into cPanel Visit yourdomain.com/cpanel Enter your credentials Step 2: Access File Manager Go to File Manager under the “Files” section Navigate to public_html/wp-content/plugins Step 3: Disable All Plugins Rename the plugins folder to something like plugins_old. This deactivates all plugins at once. If your site loads after this, a plugin is causing the issue. Step 4: Reactivate Plugins One-by-One Rename the folder back to plugins Individually rename each plugin folder (e.g., seo-plugin → seo-plugin-temp) to isolate the problematic one Step 5: Check Site Function After Each Activation Reload your site after enabling each plugin. Once the error appears again, you’ve found the culprit. 🧪 Enable WP_DEBUG Mode (Optional but Helpful) Step 1: Open wp-config.php In File Manager, locate wp-config.php in the root directory Right-click → Edit Step 2: Add Debug Code define(‘WP_DEBUG’, true); define(‘WP_DEBUG_LOG’, true); define(‘WP_DEBUG_DISPLAY’, false); Error logs will be saved in /wp-content/debug.log. Check this file to identify the conflicting plugin or function. 🧼 Clean Up After Debugging Don’t forget to disable debug mode after resolving the issue: define(‘WP_DEBUG’, false); 🔁 Alternative: Use phpMyAdmin (Advanced) If you can’t access the file manager: Open phpMyAdmin from cPanel Select your WordPress database Find the wp_options table Edit the active_plugins row to disable plugins manually Manual database edits can be risky — always back up your site and database before making changes. ✅ Conclusion Plugin conflicts can be tricky, but with cPanel access and debug mode, you can isolate and resolve them without losing access to your site. Need assistance? Let Hiverift handle your troubleshooting safely and efficiently. Need development help? Contact Hiverift for Dev Support

How to Manage File Ownership and Permissions for WordPress Security in cPanel
May 26, 2025

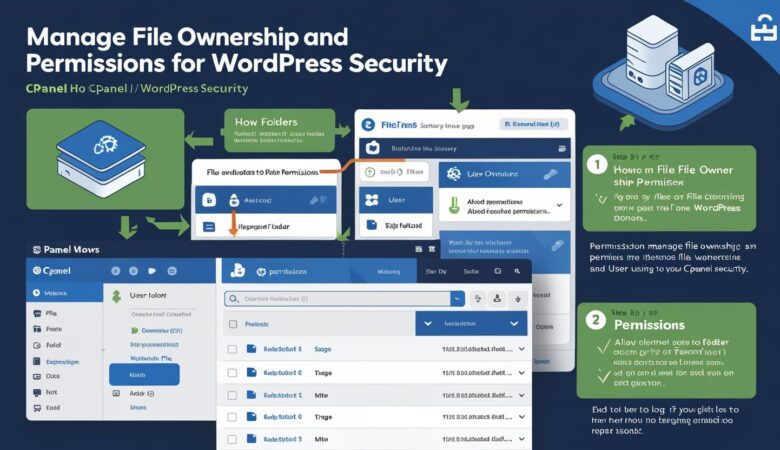
How to Manage File Ownership and Permissions for WordPress Security in cPanel Protect your WordPress website by setting the correct file permissions and ownership using cPanel File Manager or terminal access. Why File Ownership and Permissions Matter Improper file permissions and ownership can lead to major vulnerabilities in WordPress. Hackers can exploit writable files or directories to inject malicious code. Ensuring that only necessary access is granted is key to securing your site. Understanding File Permissions Read (r): Allows viewing the contents of a file or directory. Write (w): Allows modifying or deleting a file or directory. Execute (x): Allows running a file (for scripts) or accessing a directory. Permissions are represented in three groups: User (Owner) Group Others (Public) Recommended WordPress File Permissions Files: 644 (read/write for owner, read-only for group and others) Directories: 755 (read/write/execute for owner, read/execute for group and others) wp-config.php: 440 or 400 for added security How to Change File Permissions in cPanel Log in to your cPanel account. Go to File Manager. Navigate to your WordPress root directory (usually public_html). Right-click on a file or folder and choose Change Permissions. Set the appropriate values (e.g., 644 for files, 755 for folders) using the checkboxes. Click Save. Changing Permissions Using Terminal (Advanced) If you have SSH access enabled in your cPanel hosting account, you can set permissions using terminal: cd public_html find . -type d -exec chmod 755 {} \; find . -type f -exec chmod 644 {} \; chmod 400 wp-config.php Checking and Fixing File Ownership (Optional) Ownership issues often arise after migrations or incorrect file uploads. If you notice permission errors in WordPress: Contact your hosting support to reset ownership to the correct user (usually your cPanel username). Via SSH (if allowed): chown -R yourusername:yourusername public_html Security Tips Avoid setting any folder or file to 777. Limit plugin and theme uploads from unknown sources. Scan your site regularly for malware using tools like ImunifyAV in cPanel. Back up your site before making permission changes. Conclusion Maintaining correct file permissions and ownership is a foundational step in WordPress security. By regularly reviewing and adjusting access settings using cPanel’s File Manager or terminal, you can prevent unauthorized changes and vulnerabilities.

How to Configure WordPress .htaccess Rules Using cPanel File Manager
May 26, 2025

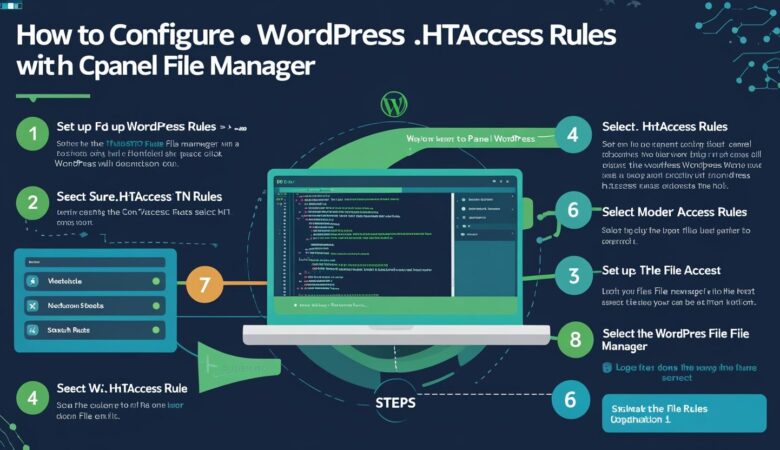
How to Configure WordPress .htaccess Rules Using cPanel File Manager Step-by-step tutorial by Hiverift 🧾 What is the .htaccess File? The .htaccess file is a hidden configuration file used by Apache web servers to control settings like redirects, security, permalinks, and more. In WordPress, it’s essential for SEO-friendly URLs and performance tweaks. 🔧 Step-by-Step: Edit .htaccess via cPanel Step 1: Log into cPanel Visit yourdomain.com/cpanel Enter your hosting username and password Step 2: Open File Manager Scroll to the Files section Click on File Manager Navigate to public_html (or the root folder of your WordPress site) Note: Make sure hidden files are visible by clicking Settings (top-right corner) and checking “Show Hidden Files (dotfiles)”. Step 3: Locate or Create .htaccess Look for the file named .htaccess If it doesn’t exist, click + File → Name it .htaccess Step 4: Edit the .htaccess File Right-click .htaccess → Click Edit Confirm any encoding prompts and begin editing Always back up your .htaccess file before making changes. ✅ Default WordPress .htaccess Rules # BEGIN WordPress <IfModule mod_rewrite.c> RewriteEngine On RewriteBase / RewriteRule ^index\.php$ – [L] RewriteCond %{REQUEST_FILENAME} !-f RewriteCond %{REQUEST_FILENAME} !-d RewriteRule . /index.php [L] </IfModule> # END WordPress 🛡 Useful Custom .htaccess Snippets 🔒 Block XML-RPC Attacks <Files xmlrpc.php> Order Deny,Allow Deny from all </Files> 🚀 Enable Browser Caching <IfModule mod_expires.c> ExpiresActive On ExpiresByType image/jpg “access plus 1 year” ExpiresByType image/jpeg “access plus 1 year” ExpiresByType image/gif “access plus 1 year” ExpiresByType image/png “access plus 1 year” ExpiresByType text/css “access plus 1 month” ExpiresByType application/pdf “access plus 1 month” ExpiresByType text/javascript “access plus 1 month” ExpiresByType application/x-javascript “access plus 1 month” </IfModule> 🔁 Redirect HTTP to HTTPS RewriteEngine On RewriteCond %{HTTPS} off RewriteRule ^(.*)$ https://%{HTTP_HOST}%{REQUEST_URI} [L,R=301] Use redirects carefully. A single mistake can break site access. 🧹 How to Reset .htaccess Delete current .htaccess (or rename to .htaccess.bak) Log in to your WordPress dashboard Go to Settings → Permalinks and click Save Changes This will regenerate the default .htaccess rules ✅ Final Thoughts The .htaccess file is a powerful tool for managing WordPress behavior, performance, and security. Always take backups and test after editing to avoid site crashes.   Need development help? Contact Hiverift for Dev SupportHiverift. All rights reserved.

How to Create Staging Sites for WordPress Using cPanel
May 26, 2025

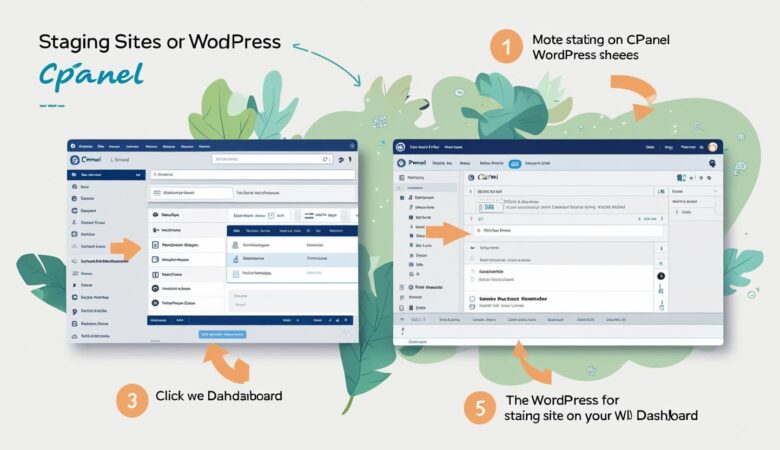
How to Create Staging Sites for WordPress Using cPanel A Step-by-Step Guide by Hiverift 🚀 What is a Staging Site? A staging site is a clone of your live website where you can safely test updates, new features, or designs without affecting your production site. 🔧 Method 1: Use cPanel’s Built-in WordPress Manager (If Available) Step 1: Log in to cPanel Visit yourdomain.com/cpanel and enter your login credentials. Step 2: Open WordPress Toolkit or Softaculous Look for either: WordPress Toolkit (modern hosts) Softaculous Apps Installer → WordPress Step 3: Select Your Installation Find your active WordPress installation and click on the Staging or Create Staging option. Step 4: Configure Staging Settings Choose a staging folder (e.g., staging) Click Create and wait for the cloning process Some tools offer automatic synchronization from staging to live—great for pushing updates. 🛠 Method 2: Manually Create a WordPress Staging Site via File Manager + phpMyAdmin Step 1: Create a Subdomain In cPanel, go to Subdomains Create a subdomain like staging.yourdomain.com Step 2: Copy Files to Subdomain Open File Manager Copy all files from public_html to the new subdomain folder (e.g., public_html/staging) Step 3: Export and Import the Database Open phpMyAdmin Export your current database (SQL format) Create a new database and user in cPanel Import the SQL file into the new staging database Step 4: Update wp-config.php Edit the wp-config.php file in the staging folder: define(‘DB_NAME’, ‘your_staging_db’); define(‘DB_USER’, ‘your_staging_user’); define(‘DB_PASSWORD’, ‘your_password’); define(‘DB_HOST’, ‘localhost’); Step 5: Update Site URLs Go to the staging database in phpMyAdmin Open the wp_options table Update siteurl and home fields to your new subdomain URL Be careful not to overwrite your live database or files during this process. 🔒 Secure Your Staging Site Add password protection via cPanel → Directory Privacy Block search engines with a robots.txt: User-agent: * Disallow: / ✅ Final Thoughts Creating a WordPress staging site using cPanel allows you to test and develop safely. Whether using cPanel tools or doing it manually, always back up your site before making changes. Need expert help setting up a staging environment? Our team at Hiverift is here to assist you. Need development help? Contact Hiverift for Dev Support

How to Optimize WordPress Speed Using cPanel Tools
May 26, 2025

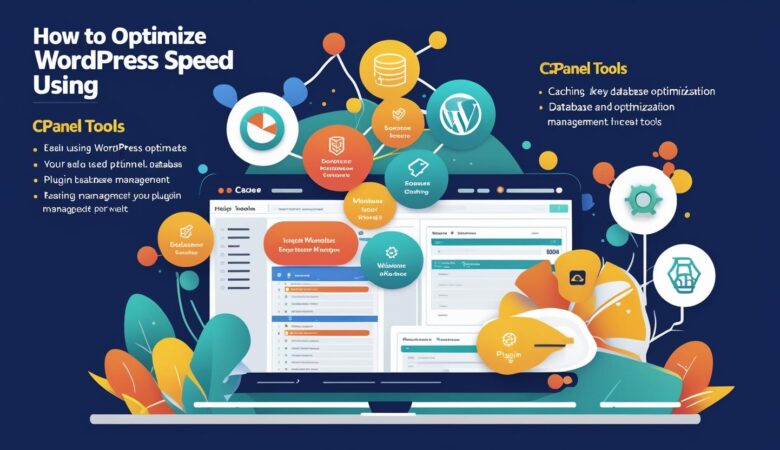
How to Optimize WordPress Speed Using cPanel Tools Improve your website’s loading time and performance by using built-in tools in cPanel for WordPress optimization. Why Website Speed Matters Website speed affects everything from user experience to search engine rankings. A slow site leads to higher bounce rates and lower conversions. Fortunately, with cPanel, you have access to several tools that can significantly boost your WordPress site speed without requiring advanced technical knowledge. 1. Use the Optimize Website Tool in cPanel Log in to your cPanel account. Go to the Software section and click on Optimize Website. Select Compress All Content to enable GZIP compression. Click Update Settings. This will compress text-based resources like HTML, CSS, JavaScript to improve page load times. 2. Enable Caching Using LiteSpeed or Cache Manager If your server uses LiteSpeed (common with Hiverift hosting): Install the LiteSpeed Cache Plugin in WordPress. In cPanel, open LiteSpeed Web Cache Manager. Enable caching for your WordPress installation. This reduces repeated server processing and speeds up page delivery for returning visitors. 3. Optimize Images Through cPanel File Manager Use image compression tools before uploading images to WordPress. Access File Manager in cPanel to locate the wp-content/uploads directory. Delete large or unused media files manually to reduce disk usage and load time. 4. Minify CSS and JavaScript Files You can manually minify files via File Manager or use WordPress plugins like Autoptimize. To minify manually: Go to public_html/wp-content/themes/your-theme. Edit the CSS and JS files to remove unnecessary spaces and comments. Save changes and clear cache. 5. Monitor Performance Using cPanel Metrics cPanel includes several tools under the Metrics section: Resource Usage – Shows CPU and memory usage over time. Visitors – View real-time and historical traffic. Errors – Check for slow-loading or broken scripts. 6. Remove Unused Themes and Plugins Navigate to File Manager and go to wp-content/themes and wp-content/plugins. Delete any folders that correspond to inactive themes/plugins. This will clean up server space and reduce security risks. 7. Manage and Optimize Databases Open phpMyAdmin in cPanel. Select your WordPress database. Scroll to the bottom, check all tables, and choose Optimize table from the dropdown menu. This helps reduce overhead and improves database query speed. 8. Set Up a CDN via cPanel Most cPanel accounts integrate with Cloudflare: Look for Cloudflare in your cPanel dashboard. Create an account and link your domain. Enable caching and content delivery optimization. Best Practices for WordPress Speed Optimization Keep WordPress, themes, and plugins updated. Use a lightweight theme. Limit the number of plugins installed. Use lazy loading for images. Schedule regular cleanups of your database and cache. Conclusion cPanel offers powerful tools that can dramatically improve the performance and speed of your WordPress site. By implementing compression, caching, database optimization, and file management, you’ll ensure faster load times and a better user experience. Start optimizing today using the tools right at your fingertips in cPanel.   Hiverift Hosting. Need help? Contact Support.  

How to Monitor WordPress Error Logs via cPanel
May 26, 2025

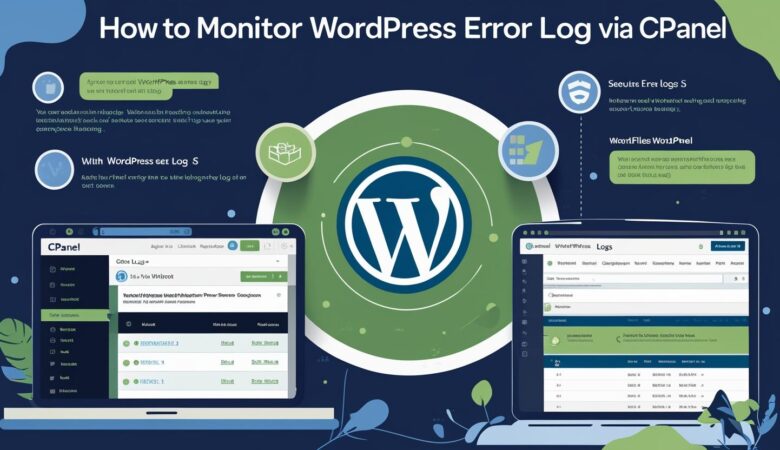
How to Monitor WordPress Error Logs via cPanel Step-by-step guide by Hiverift 📌 Why Monitor WordPress Error Logs? Detect PHP errors, warnings, and notices Troubleshoot plugin or theme issues Improve site performance and security Prevent downtime or data loss 🔧 Step-by-Step: Accessing WordPress Error Logs via cPanel Step 1: Log Into cPanel Go to your hosting provider’s cPanel login URL (e.g., yourdomain.com/cpanel). Enter your username and password. Step 2: Locate the “Metrics” Section Scroll to the Metrics section. Click on “Errors” to view the last 300 error messages. Note: This section includes general server errors. Step 3: View Raw Error Logs via File Manager Go back to the cPanel dashboard. Click on File Manager under the Files section. Navigate to public_html and locate the error_log file. Right-click it and choose View or Edit. Pro Tip: If WordPress is installed in a subdirectory (e.g., public_html/blog), look there for a separate error_log file. Step 4: Enable WP_DEBUG to Generate Detailed WordPress Logs Open wp-config.php in File Manager. Edit the file and add the following lines: define( ‘WP_DEBUG’, true ); define( ‘WP_DEBUG_LOG’, true ); define( ‘WP_DEBUG_DISPLAY’, false ); WP_DEBUG: Enables debug mode WP_DEBUG_LOG: Saves logs to /wp-content/debug.log WP_DEBUG_DISPLAY: Prevents errors from showing on the site front-end Important: Disable debugging on live sites after troubleshooting. Step 5: Check the WordPress Debug Log Navigate to public_html/wp-content/. Open debug.log to view WordPress-specific issues. 🛠 Optional: Download Logs for Offline Analysis Right-click on error_log or debug.log. Select Download. Use a text editor or log viewer to analyze the file. 🧹 How to Clear Error Logs Open the log file. Delete the content and save it as an empty file (do not delete the file). 🔒 Security Tip: Restrict Access to Debug Logs Add this code to your .htaccess file to protect debug.log: <Files “debug.log”> Order allow,deny Deny from all </Files> ✅ Final Thoughts Monitoring WordPress error logs via cPanel is a proactive way to maintain your site’s health and prevent critical issues. Follow these steps regularly to ensure smooth performance and quick troubleshooting. Need development help? Contact Hiverift for Dev Support  

Build Your Website with HiveRift

From professional business to enterprise, we’ve got you covered!

©2025, Hosting. All Rights Reserved by KhatuShyam Technologies

HiveRift
Privacy Overview

This website uses cookies so that we can provide you with the best user experience possible. Cookie information is stored in your browser and performs functions such as recognising you when you return to our website and helping our team to understand which sections of the website you find most interesting and useful.