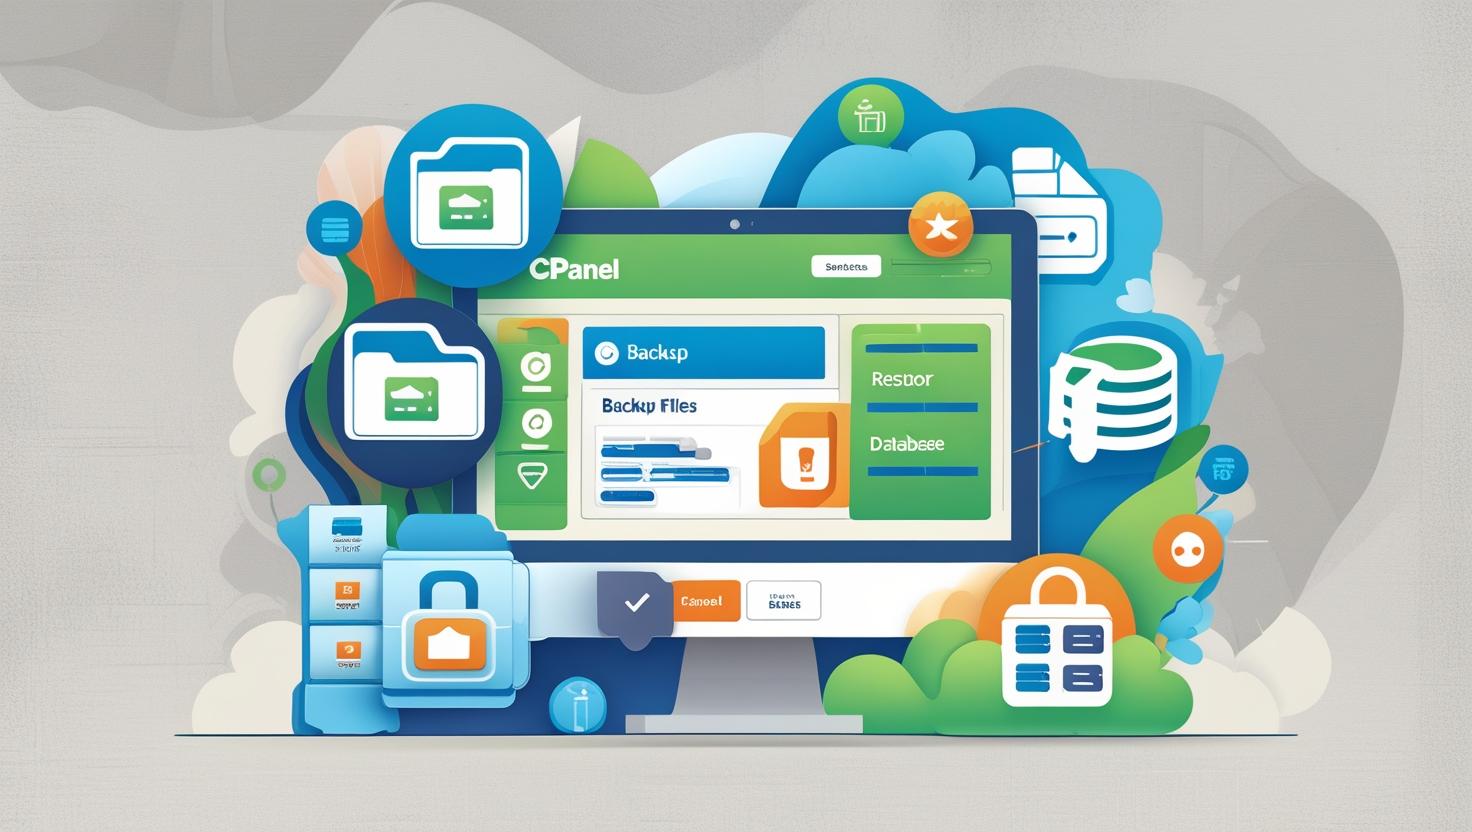
Backing Up and Restoring Your Website Using cPanel
Why Backups Matter
Your website is your digital asset. Unexpected problems like hacking, accidental file deletion, or server crashes can happen anytime. That’s why backing up your website regularly is essential. With cPanel, managing backups is straightforward—even if you’re not a tech expert.
This guide will walk you through how to create full and partial backups of your website using cPanel, and how to restore them when needed.
✅ Types of Backups in cPanel
-
Full Backup:
Saves everything — website files, databases, emails, and settings. Best for complete restoration or migration. -
Partial Backup:
Backs up specific parts like only your website files, only your databases, or only your email forwarders and filters.
🛠️ How to Create a Full Backup in cPanel
Step 1: Log in to Your cPanel Account
-
Go to
https://yourdomain.com/cpanel -
Enter your username and password
Step 2: Open the Backup Wizard
-
In the cPanel dashboard, find the Files section
-
Click on Backup Wizard
Step 3: Start Backup Process
-
Click Backup
-
Choose Full Backup
Step 4: Select Backup Destination
-
Choose Home Directory (default and recommended)
-
Enter your email address if you want to receive a notification when the backup is complete
-
Click Generate Backup
Step 5: Download the Backup
-
Once the backup finishes, you’ll receive an email (if entered)
-
Return to the Backup Wizard or Backup section and download the backup file to your computer for safekeeping
🛠️ How to Create Partial Backups in cPanel
Back Up Home Directory (Website Files)
-
Go to Backup or Backup Wizard
-
Click on Partial Backups
-
Select Home Directory
-
Click Download
Back Up MySQL Databases
-
From the same section, select MySQL Databases
-
Choose the database you want to back up
-
Click Download
Back Up Email Forwarders & Filters
-
Select Email Forwarders or Email Filters
-
Click Download
🔄 How to Restore Your Website Using cPanel Backups
Step 1: Log in to cPanel
Step 2: Navigate to Backup or Backup Wizard
-
Click Restore a Full Backup if you have a full backup file
-
Or scroll down to Restore a Partial Backup
Step 3: Restore Full Backup
-
Upload your full backup file and click Restore
-
Note: Some hosts (like Hiverift) may require you to contact support for full restore
Step 4: Restore Partial Backup
-
Upload files to restore specific sections:
-
Home Directory (website files)
-
MySQL Databases (your databases)
-
Email Forwarders & Filters
-
📌 Important Backup Tips
-
Backup Regularly: Automate backups or create them before major website changes
-
Store Backups Safely: Keep copies offsite or download locally
-
Check Backup File Size: Large sites may require longer to back up or restore
-
Know Your Limits: Some hosts have limits on backup sizes or restore procedures—check with your provider
❓ Frequently Asked Questions (FAQs)
Q: How often should I back up my website?
A: At least once a week for active sites. More frequent backups are recommended if you update content daily.
Q: Can I restore backups myself?
A: Yes, partial backups are easy to restore via cPanel. For full restores, your host might assist.
Q: What if I lose access to cPanel?
A: Contact your hosting support immediately for backup and restoration help.
🤝 Need Help with Backups?
If you’re hosting with Hiverift, their support team can assist with backup and restore issues:
-
Visit: https://hiverift.com
-
Use live chat support or open a ticket from your client area
🚀 Conclusion
Backing up your website is a crucial part of site management and security. With cPanel’s built-in backup tools, you can easily safeguard your website files, databases, and email settings. Make it a habit to back up regularly and restore promptly when needed to keep your online presence safe and sound.