🗂️ Using the File Manager in cPanel to Upload and Manage Website Files
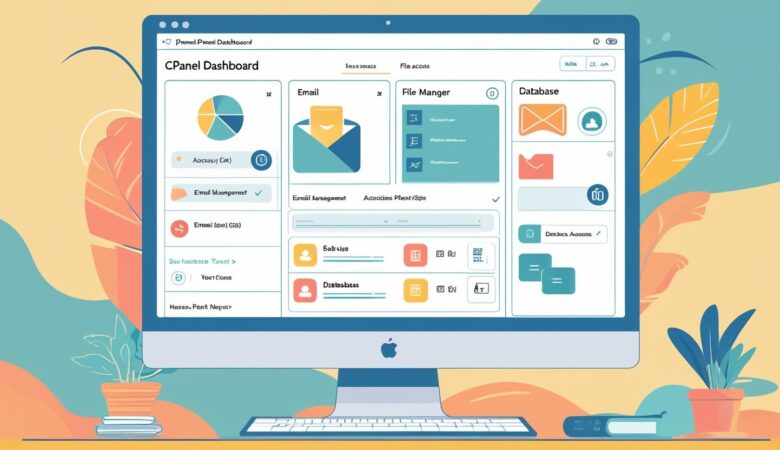
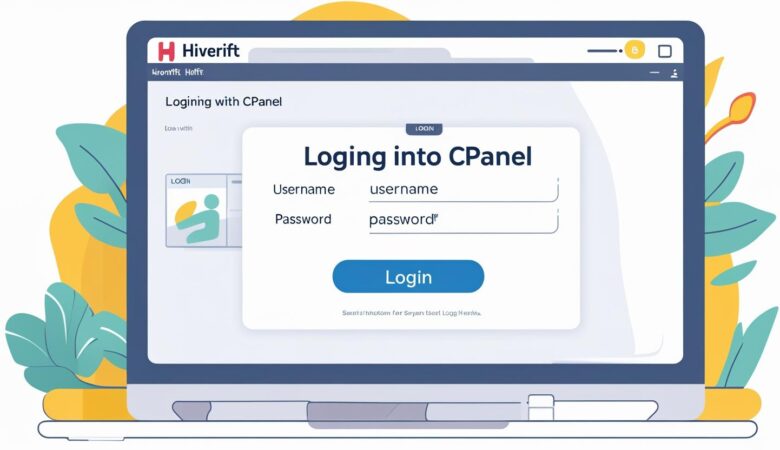
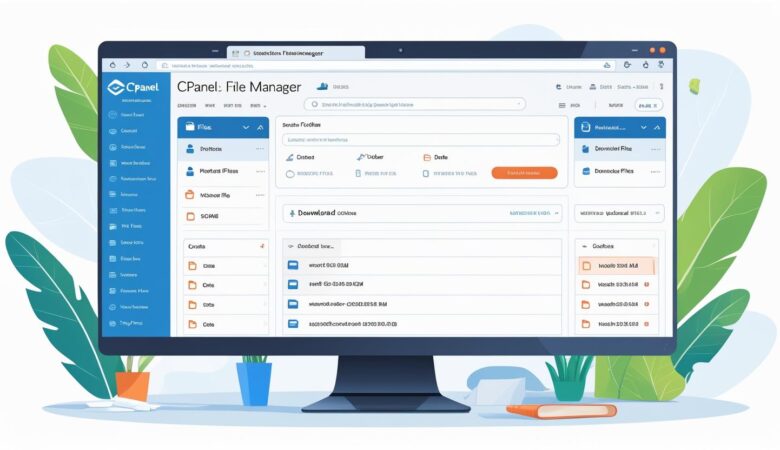
May 25, 2025🗂️ Using the File Manager in cPanel to Upload and Manage Website Files Learn how to upload, delete, edit, compress, and organize files — no FTP needed! 📥 Step 1: How to Access File Manager in cPanel Login to your cPanel account via your hosting dashboard or directly at https://yourdomain.com/cpanel Locate the Files section Click on File Manager This opens a file browser where you can manage your website files easily. 📁 Step 2: Understanding the File Manager Interface The File Manager has two main areas: Left panel: Directory/folder structure Right panel: File contents of the selected directory Top toolbar options include: Upload Create File/Folder Edit / Code Edit Move / Copy / Rename / Delete Compress / Extract Change Permissions (CHMOD) 🔼 Step 3: Uploading Website Files Navigate to the desired folder (usually public_html) Click Upload Drag & drop files or browse to select them Wait for the upload to finish (100%) Tip: Files inside public_html are publicly accessible. ✏️ Step 4: Editing Files Without FTP Select a file and click Edit or Code Editor Make your changes in the browser Click Save Changes Use Code Editor for better formatting of HTML, PHP, or CSS files. 🧹 Step 5: Organizing Files Move: Select & click Move Copy: Select & click Copy Rename: Select & click Rename Create: Click + File or + Folder to keep your site structured 🗑️ Step 6: Deleting and Restoring Files To delete: Select the file/folder Click Delete Choose to send to trash or permanently delete To restore files, visit the Trash folder in the left pane. 🗜️ Step 7: Compressing and Extracting Files To compress: Select items Click Compress Choose format (ZIP, GZIP, TAR) Click Compress Files To extract: Select a .zip file and click Extract 🔐 Step 8: Setting File Permissions (CHMOD) Right-click a file or folder Select Permissions Set the numeric value (e.g. 755 for folders, 644 for files) Click Change Permissions Warning: Incorrect permissions may break your site or expose it to security risks. 🧠 Best Practices for Using File Manager Always backup files before editing or deleting Organize with folders (scripts, images, backups) Use public_html for public files only Regularly delete unused files to save space Compress before downloading large folders ❓ Frequently Asked Questions Q: Can I upload multiple files? Yes! Drag and drop multiple files into the upload window. Q: Is File Manager secure? Yes, it’s protected through your cPanel credentials and SSL. Q: Why aren’t my files visible on the website? Ensure they’re uploaded to the correct folder and clear your browser cache. 🤝 Need Help? If you’re using Hiverift Hosting, support is available: 💬 Live chat at Hiverift.com 📩 Submit a ticket from your client dashboard 📚 Visit the knowledge base for more tutorials 🚀 Final Thoughts cPanel’s File Manager is your all-in-one solution for managing website files directly in your browser. It’s fast, secure, and eliminates the need for FTP software. Get started with File Manager today and take control of your website with ease!