How to Create a MySQL Database and User in cPanel for WordPress

How to Create a MySQL Database and User in cPanel for WordPress
May 25, 2025

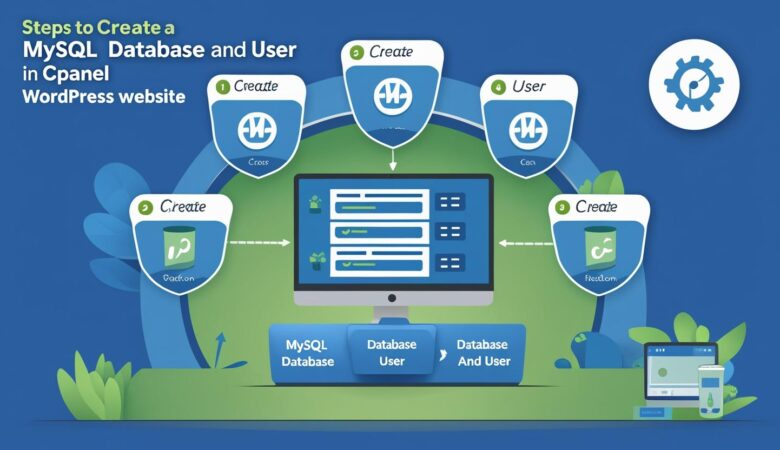
  How to Create a MySQL Database and User in cPanel for WordPress Follow this simple step-by-step guide to create a MySQL database and user in cPanel — a necessary step for installing WordPress manually or managing your site database. Why Do You Need a MySQL Database for WordPress? WordPress stores all your website’s content, settings, posts, and user data in a MySQL database. To run WordPress, you must have a database and a user with permissions to access it. Step 1: Log into Your cPanel Account Go to https://yourdomain.com/cpanel or your hosting provider’s login page and enter your credentials to sign in. Step 2: Open the MySQL® Databases Section In the cPanel dashboard, scroll down to the Databases section and click on MySQL® Databases. Step 3: Create a New Database In the Create New Database field, enter a name for your database. For example, wp_database. Click Create Database. You will see a confirmation message that the database was created successfully. Step 4: Create a New Database User Scroll down to the MySQL Users section. Under Add New User, enter a username (e.g., wp_user). Enter a strong password or use the Password Generator tool to create one. Confirm the password by typing it again. Click Create User. Step 5: Assign the User to the Database Scroll down to the Add User to Database section. Select the user you just created from the dropdown list. Select the database you created earlier. Click Add. On the next screen, check All Privileges to give the user full access to the database. Click Make Changes. You will see a success message indicating the user has been added to the database with the correct permissions. Step 6: Use Your Database Details in WordPress When installing WordPress manually, you will need to enter the database name, username, and password during setup in the wp-config.php file or the WordPress installation wizard. Troubleshooting Tips Make sure the database name and username have the correct prefix assigned by your hosting provider (e.g., yourcpanelusername_wp_database). Use a strong, unique password to protect your database user. If you get permission errors during WordPress installation, double-check the user privileges in cPanel. Creating a MySQL database and user in cPanel is a fundamental step in managing your WordPress website. With these instructions, you can confidently set up your database and proceed with installing or managing your WordPress site.  
Step-by-Step Guide to Accessing WordPress Files Using cPanel File Manager
May 25, 2025

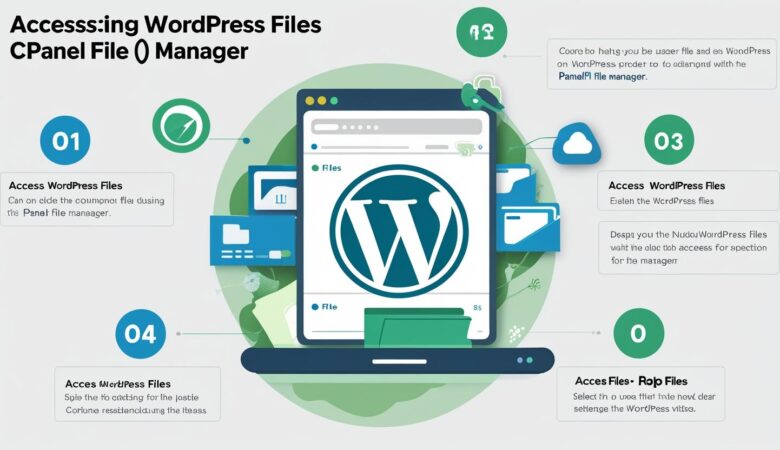
  Step-by-Step Guide to Accessing WordPress Files Using cPanel File Manager Learn how to quickly and securely access your WordPress website files using the cPanel File Manager without needing FTP software. What Is cPanel File Manager? The cPanel File Manager is a web-based interface that lets you manage your website’s files and folders directly on your hosting server. It is a convenient alternative to using FTP clients and allows you to upload, edit, delete, and organize files in real time. Why Access WordPress Files via cPanel? Make quick edits to themes, plugins, or configuration files. Upload media or custom scripts without logging into WordPress. Backup or download files manually. Fix issues such as plugin conflicts or corrupted files. Step 1: Log into Your cPanel Account Access your hosting control panel by navigating to https://yourdomain.com/cpanel or using the login link provided by your hosting provider. Enter your username and password to sign in. Step 2: Open the File Manager Once logged in, scroll down to the Files section and click on File Manager. This will open a new interface displaying your website’s file structure. Step 3: Navigate to Your WordPress Directory By default, WordPress files are located in the public_html directory. Click on public_html to open it. If your WordPress installation is in a subfolder (e.g., yourdomain.com/blog), open that folder instead. Step 4: Understand the Key WordPress Files and Folders wp-admin: Core WordPress dashboard files. wp-content: Your themes, plugins, and uploads. wp-includes: WordPress core files. wp-config.php: Configuration file that connects WordPress to your database. .htaccess: Server configuration file for URL rewriting and security rules. Step 5: Upload Files to Your WordPress Site To upload files, click the Upload button in the top toolbar. Drag and drop files or select files from your computer. Once uploaded, you can organize files into folders as needed. Step 6: Edit WordPress Files To edit a file, right-click on the file and choose Edit or Code Edit. This opens a built-in text editor where you can make changes safely. Always create backups before editing critical files like wp-config.php or theme files. Step 7: Delete or Rename Files Right-click on any file or folder to delete or rename it. Use caution when deleting files to avoid breaking your website. Troubleshooting Tips If you cannot find your WordPress files, confirm the correct directory with your hosting provider. Always back up files before making changes. Clear your browser cache if you do not see changes immediately. Using cPanel File Manager to access and manage your WordPress files is a powerful way to take control of your website. Whether you’re uploading custom scripts or troubleshooting issues, this tool makes file management easy and accessible.  

How to Install WordPress Using cPanel’s Softaculous Auto Installer
May 25, 2025

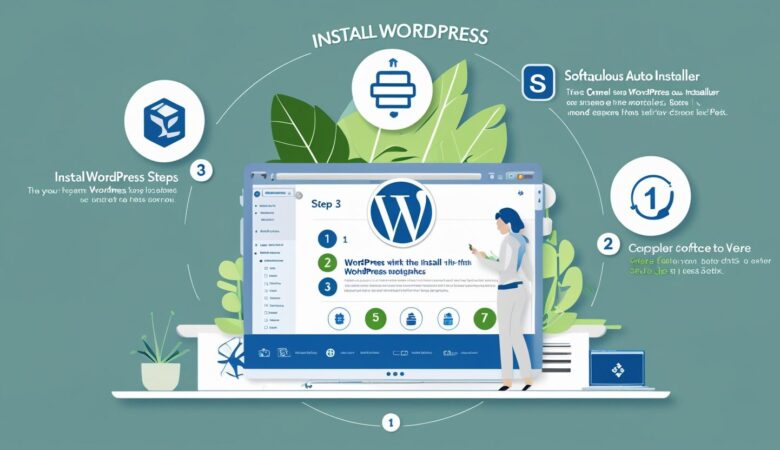
How to Install WordPress Using cPanel’s Softaculous Auto Installer Follow this easy, step-by-step guide to quickly install WordPress on your hosting account using the Softaculous auto installer available in cPanel. What Is Softaculous? Softaculous is an auto-installer tool integrated into many cPanel dashboards. It allows you to install popular web applications like WordPress with just a few clicks — no technical expertise required. Step 1: Log into Your cPanel Account First, access your hosting control panel by logging into cPanel. You can usually do this by visiting https://yourdomain.com/cpanel or via your hosting provider’s dashboard. Step 2: Locate Softaculous in cPanel Once inside cPanel, scroll down to the “Softaculous Apps Installer” section. You will see icons for many applications. Click on the WordPress icon to begin the installation process. Step 3: Start the WordPress Installation Click the Install Now button on the WordPress overview page. This will open the installation form where you configure your WordPress setup. Step 4: Configure WordPress Settings Choose Protocol: Select whether to use http:// or https://. If you have an SSL certificate installed, choose https://. Choose Domain: Select the domain or subdomain where you want to install WordPress. In Directory: Leave blank to install in the root directory (e.g., yourdomain.com), or specify a folder name to install in a subfolder (e.g., yourdomain.com/blog). Site Name: Enter your website’s name (you can change this later in WordPress settings). Site Description: Add a short description or tagline for your site. Admin Username: Choose a secure username for your WordPress admin account. Admin Password: Create a strong password (Softaculous may generate one for you). Admin Email: Enter a valid email address to receive important notifications. Step 5: Choose Language and Plugins (Optional) Select the language for your WordPress installation. Softaculous may also offer to install recommended plugins or themes — choose as per your preference. Step 6: Complete the Installation Once all the settings are configured, click Install. The installation process will begin and typically completes within a few seconds. After successful installation, you will see the WordPress login URL, admin username, and password. Save these details securely. Step 7: Log into Your New WordPress Site Visit https://yourdomain.com/wp-admin (or your chosen directory) and enter your admin credentials to access the WordPress dashboard. Now you can start customizing your website, installing themes, adding plugins, and creating content. Troubleshooting Tips If you don’t see Softaculous in your cPanel, contact your hosting provider to check if it’s available. Ensure your domain’s DNS is correctly pointed to your hosting server before installing WordPress. Use strong admin credentials to protect your website from unauthorized access. Installing WordPress with Softaculous via cPanel is one of the quickest and easiest ways to get your website online. If you encounter any issues, don’t hesitate to reach out to your hosting provider’s support team.  

cPanel vs Plesk vs DirectAdmin: Which Hosting Panel Is Best for You?
May 25, 2025

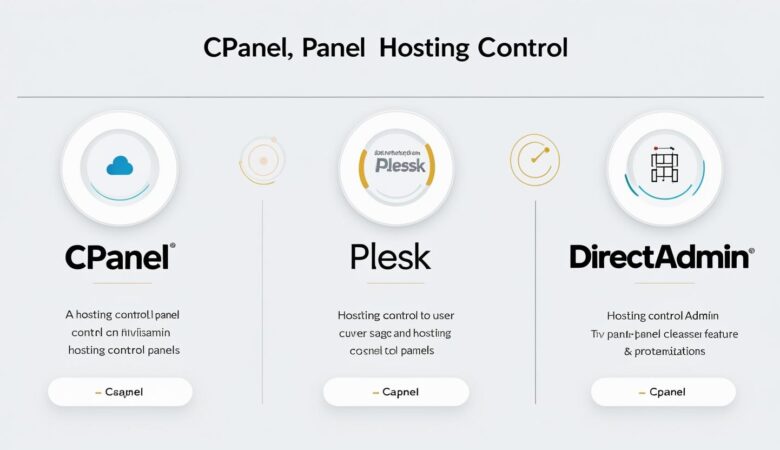
cPanel vs Plesk vs DirectAdmin: Which Hosting Panel Is Best for You? A comprehensive comparison of the top hosting control panels to help you decide the best fit for your website management needs. Introduction When it comes to managing web hosting environments, a reliable and user-friendly control panel is essential. The three most popular hosting panels today are cPanel, Plesk, and DirectAdmin. Each offers unique features, interfaces, and pricing models that cater to different user needs. This guide will compare these hosting panels on various aspects including usability, features, security, pricing, and support to help you choose the right one. 1. Overview of Each Hosting Panel cPanel cPanel is one of the most widely used Linux-based web hosting control panels. It offers a graphical interface and automation tools designed to simplify website management. Plesk Plesk supports both Linux and Windows servers. It’s known for its clean UI, multi-platform support, and extensive extension ecosystem, making it a popular choice for diverse hosting environments. DirectAdmin DirectAdmin is a lightweight and straightforward control panel designed for ease of use and speed. It’s ideal for users looking for a simple but effective hosting management solution. 2. Features Comparison Feature cPanel Plesk DirectAdmin Operating System Support Linux only Linux & Windows Linux only User Interface Modern, user-friendly with separate Web Host Manager (WHM) for admin Clean, customizable, mobile-friendly Simple, minimalistic Email Management Comprehensive email setup and management tools Powerful email features with spam filters and integrations Basic email functions Security Features AutoSSL, firewall integrations, brute force protection Robust security including Fail2Ban, SSL support, active directory integration Basic firewall and security settings Backup and Restore Built-in backup manager with scheduling Advanced backup options and cloud storage support Basic backup options One-Click App Installers Softaculous integration for WordPress, Joomla, Drupal, etc. Integrated application catalog for popular CMS and apps Supports app installers but fewer integrations Pricing Higher cost, license per server/user Moderate, flexible pricing for various plans Lowest cost, simple licensing Support & Community Extensive official support and large community Strong official support and growing community Smaller community, direct support 3. Usability & Target Users cPanel: Best suited for web hosting providers, resellers, and advanced users who need a powerful, feature-rich environment on Linux servers. Plesk: Ideal for agencies, developers, and businesses needing multi-OS support, extensive security, and integrations with developer tools. DirectAdmin: Perfect for small businesses, beginners, or those who want a simple, lightweight panel without unnecessary complexity. 4. Performance and Resource Usage DirectAdmin is the lightest on server resources, offering faster load times and less memory usage. cPanel and Plesk are more resource-intensive but offer more features and automation. 5. Conclusion: Which Control Panel Should You Choose? Choose cPanel if: You want the most popular Linux panel with extensive features and don’t mind the cost. Choose Plesk if: You need Windows server support, a modern UI, and robust security with developer-friendly tools. Choose DirectAdmin if: You want a budget-friendly, simple, and fast control panel without extra bells and whistles. Ultimately, your choice depends on your hosting environment, technical expertise, budget, and specific requirements. Need Assistance Choosing the Right Hosting Panel? Contact Hiverift Hosting for expert advice and hosting plans tailored to your needs.  

How to Secure Your Website with Free SSL in cPanel
May 25, 2025

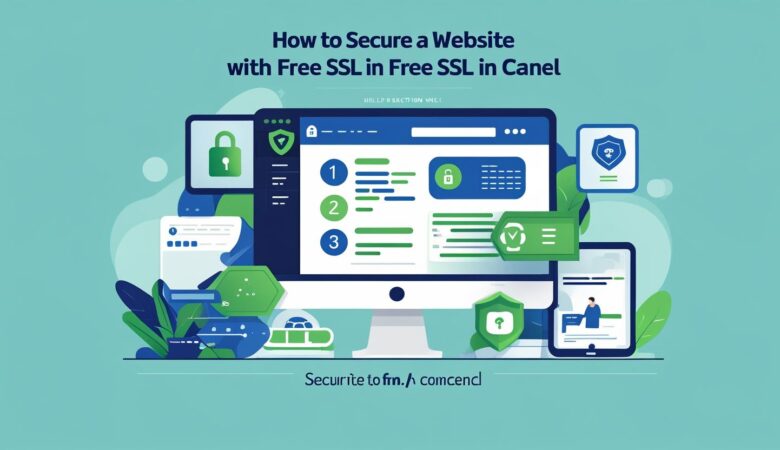
  How to Secure Your Website with Free SSL in cPanel A step-by-step guide to enabling and managing free SSL certificates using AutoSSL or Let’s Encrypt for enhanced website security. Why SSL Matters for Your Website SSL (Secure Socket Layer) certificates encrypt data transferred between your visitors and your website, ensuring privacy, data integrity, and trust. HTTPS websites not only protect sensitive information like passwords and credit card details but also benefit from improved search engine rankings and user confidence. Using free SSL certificates from AutoSSL or Let’s Encrypt, cPanel users can easily secure their websites without additional costs. What is AutoSSL and Let’s Encrypt? AutoSSL: A cPanel feature that automatically installs free SSL certificates for your domains, managed by your hosting provider. Let’s Encrypt: A widely trusted Certificate Authority offering free SSL certificates with easy renewal and installation, often integrated into cPanel. Step 1: Check if SSL is Already Installed Log in to your cPanel account. Scroll down to the Security section. Click on SSL/TLS Status or SSL/TLS Manager. Review the status of SSL certificates for your domains. If you see green checkmarks or statuses indicating certificates are active, your site is already secured with SSL. Step 2: Enable AutoSSL for Your Domains In cPanel, locate the SSL/TLS Status tool. Select the domains you want to secure with SSL by checking their boxes. Click Run AutoSSL or Provision Certificates to start the installation process. Wait a few minutes as AutoSSL installs the certificates automatically. Once complete, your website will support HTTPS. Step 3: Manually Install Let’s Encrypt SSL (If Available) Go to Let’s Encrypt SSL or Manage SSL sites in your cPanel. Select the domain you want to secure. Click Issue or Install to request the certificate. Follow prompts to complete the installation. Step 4: Force HTTPS Redirection Access File Manager in cPanel. Edit your site’s .htaccess file (located in the root directory). Add the following rewrite rules: RewriteEngine On RewriteCond %{HTTPS} off RewriteRule ^(.*)$ https://%{HTTP_HOST}/$1 [L,R=301] Save changes. Benefits of Using Free SSL in cPanel Protects sensitive visitor data Builds user trust with visible HTTPS and padlock icon Boosts SEO rankings as Google favors secure sites No cost involved with free certificates Automatic renewals with AutoSSL or Let’s Encrypt Troubleshooting SSL Issues SSL Not Showing as Secure: Clear your browser cache or check for mixed content (HTTP resources on HTTPS pages). Use tools like Why No Padlock. AutoSSL Fails: Ensure your domain’s DNS points correctly to your hosting server. Contact Hiverift support if problems persist. Renewal Failures: AutoSSL renews automatically, but if expired, rerun AutoSSL or reinstall Let’s Encrypt manually. Need Help Securing Your Site? Contact Hiverift Hosting support for expert assistance: Visit https://hiverift.com Use live chat or open a support ticket through your client dashboard Conclusion Enabling free SSL with AutoSSL or Let’s Encrypt via cPanel is a simple yet powerful way to secure your website, protect your visitors, and improve your SEO. Follow this guide to get your SSL certificate up and running quickly, and enjoy the benefits of a safer, more trustworthy website.  

How to Set Up Redirects and Rewrite Rules in cPanel
May 25, 2025

  How to Set Up Redirects and Rewrite Rules in cPanel A comprehensive guide to creating 301/302 redirects and rewriting URLs for better SEO and site management. Why Redirects and Rewrite Rules Matter Redirects and URL rewrites are essential tools for website owners and developers. Whether you’re moving pages, restructuring your site, or optimizing URLs for search engines, setting up proper redirects and rewrite rules can: Preserve your search engine rankings Avoid broken links and 404 errors Improve user experience Enable temporary or permanent URL changes In this guide, you will learn how to create 301 (permanent) and 302 (temporary) redirects and how to use rewrite rules to manage URLs effectively using cPanel. Understanding Redirect Types 301 Redirect (Permanent): Tells browsers and search engines that a page has permanently moved to a new URL. SEO benefits are transferred. 302 Redirect (Temporary): Indicates the move is temporary, so search engines keep the original URL indexed. Rewrite Rules: Used to change how URLs appear without changing the underlying file structure, typically via .htaccess files. Step 1: Creating Redirects in cPanel Access the Redirects Tool Log in to your cPanel account. Scroll down to the Domains section. Click on Redirects. Set Up a Redirect Choose Redirect Type: Select Permanent (301) or Temporary (302) from the dropdown. Select Domain: Choose the domain you want to redirect from the dropdown. Enter the Redirect Path: Specify the exact page or leave blank to redirect the entire domain. Destination URL: Enter the full URL where you want to send visitors (e.g., https://newdomain.com/page). Options: Redirect with or without www: Choose whether to redirect both www and non-www versions. Wild Card Redirect: Check this box if you want to redirect all files within a directory to the same files in the new location. Add Redirect: Click the Add button to save the redirect. Step 2: Managing Redirects View existing redirects on the same page. Remove or edit redirects as needed to maintain proper site navigation. Step 3: Using Rewrite Rules via .htaccess in cPanel What is .htaccess? The .htaccess file is a powerful configuration file used by Apache servers to control website behavior, including URL rewriting. Access .htaccess File In cPanel, open File Manager. Navigate to the root directory (public_html or the relevant domain folder). Enable Show Hidden Files (dotfiles) from settings to see .htaccess. Edit the .htaccess file or create one if it doesn’t exist. Example Rewrite Rules Redirect non-www to www: RewriteEngine On RewriteCond %{HTTP_HOST} ^example.com [NC] RewriteRule ^(.*)$ http://www.example.com/$1 [L,R=301] Rewrite URLs to remove .php extension: RewriteEngine On RewriteCond %{REQUEST_FILENAME} !-f RewriteRule ^([^\.]+)$ $1.php [NC,L] Redirect HTTP to HTTPS: RewriteEngine On RewriteCond %{HTTPS} off RewriteRule ^(.*)$ https://%{HTTP_HOST}/$1 [L,R=301] Best Practices for Redirects and Rewrite Rules Test Redirects: Use online tools to check if redirects are working properly. Avoid Redirect Chains: Too many redirects can slow down your site and harm SEO. Backup .htaccess: Always back up your .htaccess file before making changes. Use Clear URLs: Rewrite rules should make URLs clean and user-friendly. Frequently Asked Questions (FAQs) How long does a 301 redirect take to update in search engines? It can take days or weeks; 301 redirects inform search engines permanently but require crawling. Can I set up redirects without affecting SEO? Yes, if done correctly—301 redirects transfer SEO value; 302 should be used only temporarily. What happens if I remove a redirect? Visitors may see 404 errors unless the original page is restored or redirected elsewhere. Need Assistance with Redirects? If you host with Hiverift, their expert support can help you configure redirects and rewrite rules: Visit https://hiverift.com Use live chat or submit a ticket from your client area Conclusion Redirects and rewrite rules are essential tools for website management and SEO optimization. Using cPanel’s Redirects tool and .htaccess editing, you can easily control your URL structure, preserve SEO rankings, and provide a better user experience.

How to Add and Manage Domains and Subdomains in cPanel
May 25, 2025

A complete guide to adding addon domains, creating subdomains, and organizing your website structure efficiently. Why Managing Domains and Subdomains Matters If you run multiple websites or want to organize your content with subdomains, cPanel makes managing domains easy. You can host several websites under one hosting account by adding addon domains, or create subdomains to divide your site into logical sections like blog.yourdomain.com or shop.yourdomain.com. This guide walks you through the steps to add addon domains, create subdomains, and assign them to specific folders on your server. ✅ Understanding Key Terms Addon Domain: A completely separate website hosted within your existing cPanel account, with its own domain name and content. Subdomain: A subsection of your main domain used to organize your website into different areas (e.g., blog.yourdomain.com). Document Root: The specific folder on your server where the domain or subdomain’s files are stored. 🛠️ Step 1: Adding an Addon Domain in cPanel Log in to cPanel:Visit https://yourdomain.com/cpanel and enter your credentials. Find the Addon Domains Tool:In the Domains section, click Addon Domains. Add Your Domain: Enter the New Domain Name (e.g., example2.com). The Subdomain and Document Root fields will auto-fill but you can customize them. The document root is where the files for this domain will be stored, typically /public_html/example2.com. Create the Addon Domain:Click Add Domain. Update DNS Settings:Ensure the domain’s nameservers point to your hosting provider to activate the website. 🛠️ Step 2: Creating a Subdomain in cPanel Go to Subdomains:In cPanel under Domains, click Subdomains. Create Your Subdomain: Enter the prefix you want (e.g., blog). Choose the main domain from the dropdown. The Document Root will auto-fill; you can modify it if needed. Click Create:Your subdomain is now set up and ready to host content. 🛠️ Step 3: Managing Domains and Subdomains Uploading Content:Upload your website files to the document root folder assigned to the addon domain or subdomain using File Manager or FTP. Redirecting Domains/Subdomains:Use the Redirects tool in cPanel if you want to forward domains or subdomains to other URLs. Deleting Domains:If you no longer need an addon domain or subdomain, you can remove it from the respective cPanel sections, but remember to back up your files first. 📌 Tips for Domain Management Check DNS Propagation: After adding a new domain or subdomain, DNS changes may take up to 48 hours to propagate. Use SSL Certificates: Secure all your domains and subdomains by installing SSL certificates via SSL/TLS in cPanel. Organize Files Clearly: Keep each domain or subdomain’s files in its dedicated folder to avoid confusion. Monitor Usage: Multiple domains can consume more bandwidth and disk space; keep an eye on your hosting limits. ❓ Frequently Asked Questions (FAQs) Q: Can I add unlimited addon domains?A: It depends on your hosting plan. Check your provider’s limits. Q: How do I point my domain to cPanel hosting?A: Update the domain’s nameservers to those provided by your host. Q: Can I password protect a subdomain?A: Yes, use the Directory Privacy tool in cPanel. 🤝 Need Assistance with Domains? For Hiverift customers, expert support is available anytime: Visit https://hiverift.com Contact support via live chat or ticket system for help 🚀 Conclusion Adding and managing domains and subdomains in cPanel is straightforward with these easy steps. Whether you’re hosting multiple websites or organizing your main site’s sections, mastering domain management enhances your web presence and control.

How to Manage Databases with phpMyAdmin in cPanel
May 25, 2025

A step-by-step guide to creating MySQL databases, assigning users, and using phpMyAdmin for advanced database management. Why Database Management is Important If your website runs on dynamic content like WordPress, Joomla, or custom apps, MySQL databases are the backbone storing all your data—posts, user info, settings, and more. Managing databases efficiently ensures your website runs smoothly and securely. In this guide, you’ll learn how to create MySQL databases, assign database users with proper permissions, and use the powerful phpMyAdmin tool in cPanel for advanced management. ✅ What You’ll Need Access to your cPanel account Basic familiarity with cPanel interface 🛠️ Step 1: Creating a New MySQL Database Log in to cPanel:Visit https://yourdomain.com/cpanel and enter your credentials. Open MySQL® Databases:In the Databases section, click MySQL® Databases. Create Database: Enter a name for your new database in the Create New Database field. Click Create Database. You’ll see a success message confirming the new database. 🛠️ Step 2: Creating and Assigning Database Users Create a New User: Scroll down to MySQL Users. Enter a username and a strong password. Click Create User. Assign User to Database: Under Add User To Database, select the user and the database you just created. Click Add. Set User Privileges: On the next screen, select the privileges for the user (usually check All Privileges for full access). Click Make Changes. 🛠️ Step 3: Accessing phpMyAdmin for Database Management Open phpMyAdmin: In cPanel, scroll to the Databases section. Click phpMyAdmin. Using phpMyAdmin Interface: On the left sidebar, select the database you want to manage. You’ll see tabs for Structure, SQL, Search, Insert, Export, Import, and more. Common Tasks in phpMyAdmin: Browse Tables: View and edit rows of data in your tables. Run SQL Queries: Use the SQL tab to run custom SQL commands. Export Database: Backup your database by exporting it as SQL or other formats. Import Data: Upload SQL files to restore or migrate databases. Modify Table Structure: Add, remove, or change columns and indexes. Optimize and Repair Tables: Maintain database health via the Operations tab. 📌 Tips for Database Management Use Strong Passwords: Secure your database users with complex passwords. Regular Backups: Always back up your databases before making major changes. Limit Privileges: Assign only necessary privileges to database users for better security. Optimize Often: Use phpMyAdmin to optimize tables and improve performance. Monitor Size: Large databases can slow your site; prune unnecessary data regularly. ❓ Frequently Asked Questions (FAQs) Q: Can I create multiple databases?A: Yes, you can create as many databases as your hosting plan allows. Q: What if I forget my database password?A: You can reset it in the MySQL® Databases section by updating the user password. Q: Is phpMyAdmin safe to use?A: Yes, phpMyAdmin is a trusted and widely-used tool. Just ensure your cPanel credentials are secure. 🤝 Need Help with Database Management? If you’re a Hiverift hosting customer, support is available 24/7: Visit https://hiverift.com Use live chat or submit a support ticket for assistance 🚀 Final Thoughts Managing your MySQL databases via cPanel and phpMyAdmin gives you full control over your website’s data. With this guide, you can confidently create databases, assign users, and perform advanced tasks — ensuring your website runs reliably and securely.

Backing Up and Restoring Your Website Using cPanel
May 25, 2025

Why Backups Matter Your website is your digital asset. Unexpected problems like hacking, accidental file deletion, or server crashes can happen anytime. That’s why backing up your website regularly is essential. With cPanel, managing backups is straightforward—even if you’re not a tech expert. This guide will walk you through how to create full and partial backups of your website using cPanel, and how to restore them when needed. ✅ Types of Backups in cPanel Full Backup:Saves everything — website files, databases, emails, and settings. Best for complete restoration or migration. Partial Backup:Backs up specific parts like only your website files, only your databases, or only your email forwarders and filters. 🛠️ How to Create a Full Backup in cPanel Step 1: Log in to Your cPanel Account Go to https://yourdomain.com/cpanel Enter your username and password Step 2: Open the Backup Wizard In the cPanel dashboard, find the Files section Click on Backup Wizard Step 3: Start Backup Process Click Backup Choose Full Backup Step 4: Select Backup Destination Choose Home Directory (default and recommended) Enter your email address if you want to receive a notification when the backup is complete Click Generate Backup Step 5: Download the Backup Once the backup finishes, you’ll receive an email (if entered) Return to the Backup Wizard or Backup section and download the backup file to your computer for safekeeping 🛠️ How to Create Partial Backups in cPanel Back Up Home Directory (Website Files) Go to Backup or Backup Wizard Click on Partial Backups Select Home Directory Click Download Back Up MySQL Databases From the same section, select MySQL Databases Choose the database you want to back up Click Download Back Up Email Forwarders & Filters Select Email Forwarders or Email Filters Click Download 🔄 How to Restore Your Website Using cPanel Backups Step 1: Log in to cPanel Step 2: Navigate to Backup or Backup Wizard Click Restore a Full Backup if you have a full backup file Or scroll down to Restore a Partial Backup Step 3: Restore Full Backup Upload your full backup file and click Restore Note: Some hosts (like Hiverift) may require you to contact support for full restore Step 4: Restore Partial Backup Upload files to restore specific sections: Home Directory (website files) MySQL Databases (your databases) Email Forwarders & Filters 📌 Important Backup Tips Backup Regularly: Automate backups or create them before major website changes Store Backups Safely: Keep copies offsite or download locally Check Backup File Size: Large sites may require longer to back up or restore Know Your Limits: Some hosts have limits on backup sizes or restore procedures—check with your provider ❓ Frequently Asked Questions (FAQs) Q: How often should I back up my website?A: At least once a week for active sites. More frequent backups are recommended if you update content daily. Q: Can I restore backups myself?A: Yes, partial backups are easy to restore via cPanel. For full restores, your host might assist. Q: What if I lose access to cPanel?A: Contact your hosting support immediately for backup and restoration help. 🤝 Need Help with Backups? If you’re hosting with Hiverift, their support team can assist with backup and restore issues: Visit: https://hiverift.com Use live chat support or open a ticket from your client area 🚀 Conclusion Backing up your website is a crucial part of site management and security. With cPanel’s built-in backup tools, you can easily safeguard your website files, databases, and email settings. Make it a habit to back up regularly and restore promptly when needed to keep your online presence safe and sound.

How to Install WordPress via Softaculous in cPanel
May 25, 2025

A quick tutorial to install WordPress in just a few clicks using the Softaculous auto-installer tool. Installing WordPress doesn’t have to be complicated. Thanks to the Softaculous Auto Installer included in most cPanel dashboards, you can launch your WordPress website within minutes — no coding or manual database setup required! Whether you’re building a blog, portfolio, or online store, this step-by-step guide will show you how to install WordPress via Softaculous like a pro. ✅ What You’ll Need Access to your hosting account with cPanel A domain name connected to your hosting Softaculous Installer (most shared hosting providers like Hiverift include it by default) 🛠️ Step-by-Step: Installing WordPress via Softaculous Step 1: Log in to cPanel Open your browser and go to:https://yourdomain.com/cpanel(or login via your Hiverift dashboard > My Hosting > Access cPanel) Enter your cPanel username and password Step 2: Find Softaculous Apps Installer In your cPanel dashboard, scroll down to the Software section Click on Softaculous Apps Installer (or search for it in the search bar) Step 3: Select WordPress Inside Softaculous, you’ll see a list of popular applications Click on the WordPress icon Click the Install Now button Step 4: Configure Your WordPress Installation You’ll now see a setup form. Here’s how to fill it out: Choose Protocol:Select https:// if you have an SSL certificate (recommended), otherwise use http:// Choose Domain:Pick the domain where you want WordPress installed In Directory:Leave this blank to install WordPress at the root (e.g., yourdomain.com).To install in a subfolder (like yourdomain.com/blog), type the folder name. Site Name & Description:Customize your website title and tagline (you can change this later) Admin Username & Password:Create secure credentials for your WordPress admin panel⚠️ Do not use “admin” as your username for security reasons Admin Email:Enter a valid email — important for password recovery Choose Language:Select the preferred language of your WordPress dashboard Select Plugins (Optional):Some hosts allow you to install recommended plugins (e.g., Loginizer for security) Advanced Options (Optional):You can set custom database names or enable automatic backups Step 5: Click “Install” Scroll to the bottom and click the Install button. Softaculous will now install WordPress. ✅ Within a few seconds to a couple of minutes, your installation will be complete! 🎉 Installation Complete! You’ll see a success message with two URLs: Admin URL:Example: https://yourdomain.com/wp-adminUse this to login to your WordPress dashboard Site URL:Example: https://yourdomain.comThis is your live website 📌 Post-Installation Tips Log into your dashboard:Visit yoursite.com/wp-admin using the credentials you just created Install a theme:Go to Appearance > Themes to change your site’s design Install essential plugins:Some useful ones include: Yoast SEO Wordfence Security Elementor (Page builder) UpdraftPlus (Backups) Set permalinks:Settings > Permalinks > Choose “Post Name” for SEO-friendly URLs 🔧 Troubleshooting Can’t access Softaculous? Check with your hosting provider (e.g., Hiverift) if it’s included in your plan Install stuck or failed? Try refreshing the page, clearing cache, or choosing a different directory SSL Error? Make sure SSL is installed or contact support for help ❓ FAQs Q: Is installing WordPress via Softaculous free?✅ Yes. It’s included free with most cPanel hosting plans. Q: Can I install multiple WordPress sites?✅ Yes. Just repeat the steps for different domains or subfolders. Q: Do I need coding knowledge?🚫 Not at all! Softaculous does everything for you automatically. 🤝 Need Help? If you’re using Hiverift Hosting, support is available: 🌐 Visit: https://hiverift.com 💬 Chat with live support 📩 Open a support ticket from your client area 🚀 Final Thoughts Softaculous makes WordPress installation fast, easy, and beginner-friendly. Whether you’re launching your first blog or building a business site, this method saves time and avoids technical hassles. Install WordPress today and start creating your online presence with confidence!

Build Your Website with HiveRift

From professional business to enterprise, we’ve got you covered!

©2025, Hosting. All Rights Reserved by KhatuShyam Technologies

HiveRift
Privacy Overview

This website uses cookies so that we can provide you with the best user experience possible. Cookie information is stored in your browser and performs functions such as recognising you when you return to our website and helping our team to understand which sections of the website you find most interesting and useful.