What Is the Difference Between a Main Theme and Child Theme in WordPress?

What Is the Difference Between a Main Theme and Child Theme in WordPress?
May 25, 2025

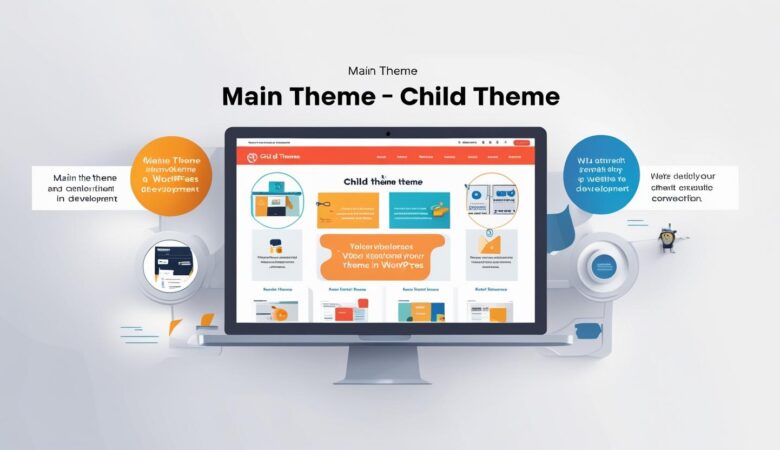
What Is the Difference Between a Main Theme and Child Theme in WordPress? Choosing the right theme setup is crucial for customizing your WordPress site effectively. This guide explains the difference between a main (parent) theme and a child theme, their roles, and why you might use one or the other. What Is a Main (Parent) Theme? The main theme, also called the parent theme, is the original WordPress theme that contains all the core design files, templates, styles, and functionality. It controls how your website looks and behaves. Includes all necessary PHP, CSS, JavaScript files. Provides the core layout, design, and features. Can be installed and activated directly in WordPress. Example: Twenty Twenty-Three, Astra, OceanWP. What Is a Child Theme? A child theme is a separate theme that inherits its appearance and functionality from a parent theme but allows you to customize or extend the design safely. Depends on the parent theme to work properly. Contains only the files that you want to change or add. Prevents loss of customizations when the parent theme updates. Must declare the parent theme in its style.css file. Key Differences Between Main and Child Themes Aspect Main (Parent) Theme Child Theme Functionality Contains all core files, templates, and styles. Inherits functionality from parent theme; adds or overrides files. Customization Editing can be overwritten by updates. Customizations are preserved during parent theme updates. Dependencies Standalone theme. Depends on the parent theme to function. Use Case Use as-is or with minor modifications. Use for extensive customization or development. Update Safety Updates may override custom changes. Customizations remain safe during updates. When to Use a Child Theme You want to customize your site’s design or functionality extensively. You want to keep your customizations safe during theme updates. You prefer a clean, maintainable approach to theme development. How to Identify If You’re Using a Child Theme In your WordPress dashboard under Appearance > Themes, child themes usually have a name that references the parent theme (e.g., “Twenty Twenty-Three Child”). You can also check the style.css file for the Template line which shows the parent theme’s folder name. Summary The main (parent) theme is the foundation of your website’s design and functionality, while the child theme is a safe way to customize and extend that foundation without risking loss of changes. Using a child theme is a best practice for WordPress customization.
What Is a WordPress Child Theme and How to Create One Using cPanel
May 25, 2025

  What Is a WordPress Child Theme and How to Create One Using cPanel WordPress child themes allow you to customize your website safely without losing changes when the parent theme updates. This guide explains what child themes are and how to create one manually using cPanel. What Is a WordPress Child Theme? A child theme is a separate theme that inherits the functionality and styling of a parent theme. It lets you modify or add to the parent theme’s features without altering the original files. This way, when the parent theme gets updated, your customizations remain intact. Safe updates: Preserve customizations when the parent theme updates. Easy maintenance: Separate your changes from the core theme files. Extend functionality: Add custom CSS, PHP, templates, or scripts. When Should You Use a Child Theme? If you plan to: Customize your theme’s design or layout. Add new features or modify existing ones. Ensure your changes don’t get overwritten by theme updates. How to Create a WordPress Child Theme Using cPanel Follow these simple steps to create your child theme manually: Step 1: Log in to Your cPanel Account Visit https://yourdomain.com/cpanel and enter your login credentials. Step 2: Open File Manager In cPanel dashboard, click on File Manager under the Files section. Step 3: Navigate to the Themes Directory Go to your WordPress installation directory, then open public_html/wp-content/themes/. Step 4: Create a New Folder for the Child Theme Click + Folder and name it something like parenttheme-child (replace parenttheme with the actual parent theme name). Step 5: Create the style.css File Inside your new child theme folder, click + File and name it style.css. Edit the style.css file and add the following header (replace with your parent theme details): /* Theme Name: ParentTheme Child Theme URI: http://example.com/parenttheme-child Description: Child theme for the ParentTheme Author: Your Name Author URI: http://example.com Template: parenttheme Version: 1.0.0 */ /* Import parent theme styles */ @import url(“../parenttheme/style.css”); Step 6: Create the functions.php File Create another file named functions.php in the child theme folder. Edit it and add this code to enqueue the parent theme stylesheet properly: <?php function child_theme_enqueue_styles() { wp_enqueue_style(‘parent-style’, get_template_directory_uri() . ‘/style.css’); } add_action(‘wp_enqueue_scripts’, ‘child_theme_enqueue_styles’); ?> Step 7: Activate Your Child Theme Log in to your WordPress admin dashboard at https://yourdomain.com/wp-admin: Go to Appearance > Themes. You should see your new child theme listed. Click Activate to enable the child theme. Step 8: Customize Your Child Theme Now you can safely add custom CSS, templates, or PHP functions in your child theme folder without affecting the parent theme. Benefits of Using a Child Theme Keep your customizations safe during updates. Easy to revert changes by switching themes. Organized and clean approach to theme customization. Creating a WordPress child theme using cPanel is a straightforward way to customize your site safely and effectively. Always remember to backup before making changes.  

How to Delete Unused WordPress Themes and Plugins via cPanel
May 25, 2025

  How to Delete Unused WordPress Themes and Plugins via cPanel Removing unused themes and plugins from your WordPress site is essential for security, speed, and overall website health. This guide explains how to safely delete them manually using cPanel. Why Delete Unused Themes and Plugins? Security: Old themes and plugins can have vulnerabilities that hackers exploit. Performance: Removing unnecessary files reduces server clutter and can improve site speed. Maintenance: Keeping your WordPress installation clean makes updates easier and avoids conflicts. Important Note Before Deleting Always backup your website before deleting themes or plugins to avoid accidental loss of data or functionality. Step 1: Log in to Your cPanel Account Go to https://yourdomain.com/cpanel and enter your username and password to access the control panel. Step 2: Open File Manager In the cPanel dashboard, click on File Manager under the Files section. Step 3: Navigate to WordPress Themes or Plugins Folder For themes: Open public_html/wp-content/themes/ For plugins: Open public_html/wp-content/plugins/ Step 4: Identify Unused Themes and Plugins Check which themes and plugins are not active or needed. You can verify the active theme and plugins in your WordPress dashboard under Appearance > Themes and Plugins > Installed Plugins. Step 5: Delete the Unused Theme or Plugin Folder In File Manager, right-click the folder of the unused theme or plugin. Select Delete. Confirm deletion and choose to skip the trash (permanent delete) if you want to free up space immediately. Note: Make sure you do NOT delete the active theme or any plugin currently in use. Step 6: Verify Deletion in WordPress Log in to your WordPress admin dashboard and check that the deleted themes or plugins no longer appear under the respective sections. Tips for Safe Cleanup Deactivate plugins in WordPress dashboard before deleting their folders via cPanel. Do not delete the default WordPress themes (e.g., Twenty Twenty-Three) unless you are certain. Regularly review and clean up unused themes and plugins to maintain optimal site health. Deleting unused themes and plugins via cPanel helps keep your WordPress website secure, fast, and easy to manage.

How to Update WordPress Themes and Plugins via cPanel
May 25, 2025

  How to Update WordPress Themes and Plugins via cPanel Keeping your WordPress themes and plugins updated is crucial for security, performance, and compatibility. If you cannot update them via the WordPress dashboard, this guide will help you manually update themes and plugins using cPanel File Manager. Why Update Themes and Plugins via cPanel? Manual updates through cPanel are useful when: Your WordPress dashboard is inaccessible or showing errors. Automatic or dashboard updates fail due to server restrictions. You have premium or custom themes/plugins that require manual updating. Step 1: Download the Latest Theme or Plugin Version Get the newest version of your theme or plugin from the developer’s website, marketplace, or repository. It will usually come as a ZIP file. Step 2: Backup Your Website Before making any changes, backup your WordPress site completely to avoid data loss in case something goes wrong. Step 3: Log in to cPanel Access your hosting control panel by visiting https://yourdomain.com/cpanel and entering your login credentials. Step 4: Open File Manager and Navigate to the Correct Folder In the cPanel dashboard, click File Manager. Then: For themes: Navigate to public_html/wp-content/themes/ For plugins: Navigate to public_html/wp-content/plugins/ Step 5: Upload and Extract the Updated Files Click the Upload button. Select the updated theme or plugin ZIP file. After upload completes, go back to the themes or plugins folder. Right-click the ZIP file and choose Extract to unpack the files. Overwrite existing files if prompted to replace the old version. Delete the ZIP file after extraction to save space. Step 6: Verify the Update in WordPress Dashboard Log in to your WordPress admin area (https://yourdomain.com/wp-admin) and: Go to Appearance > Themes to check the updated theme version. Go to Plugins > Installed Plugins to confirm the plugin update. Test your website functionality to ensure everything works properly. Tips and Precautions Always backup before making updates. If possible, test updates on a staging environment before applying them live. Make sure the uploaded files belong to the correct theme or plugin folder. Clear your browser cache after updating to see changes immediately. Manually updating WordPress themes and plugins via cPanel gives you control and helps resolve update issues quickly, ensuring your website stays secure and efficient.

How to Install WordPress Plugins Manually Using cPanel
May 25, 2025

  How to Install WordPress Plugins Manually Using cPanel When the WordPress dashboard plugin installer is not working or you need to upload a plugin manually, cPanel File Manager provides an easy alternative. This guide will show you how to install and activate WordPress plugins using cPanel. Why Install Plugins Manually via cPanel? Manual plugin installation via cPanel is helpful when: Your hosting restricts plugin uploads via WordPress dashboard. You need to upload a premium or custom plugin not available in the WordPress repository. The WordPress dashboard is inaccessible or malfunctioning. Step 1: Download the Plugin ZIP File Download the plugin ZIP archive from a trusted source, such as the WordPress Plugin Directory, a premium plugin vendor, or a developer. Step 2: Log in to Your cPanel Account Access your hosting control panel by going to https://yourdomain.com/cpanel and entering your credentials. Step 3: Open File Manager From the cPanel dashboard, click on File Manager under the Files section. Step 4: Navigate to the Plugins Folder In File Manager, go to the WordPress installation directory (usually public_html), then open wp-content/plugins/. Step 5: Upload the Plugin ZIP File Click the Upload button in the toolbar. Select the plugin ZIP file you downloaded earlier and upload it. After upload completes, return to the plugins folder. Right-click the ZIP file and choose Extract to unpack the plugin files. Delete the ZIP file after extraction to save space. Step 6: Activate the Plugin in WordPress To activate the uploaded plugin: Log in to your WordPress admin dashboard (https://yourdomain.com/wp-admin). Navigate to Plugins > Installed Plugins. Find the plugin you just uploaded in the list. Click Activate to enable the plugin on your website. Troubleshooting Tips Ensure the extracted plugin folder contains the main plugin PHP file. If the plugin does not appear, clear your browser cache and refresh the plugins page. Double-check that the plugin files are uploaded inside the correct wp-content/plugins/ directory. Using cPanel File Manager to install WordPress plugins manually offers a reliable way to manage your plugins when dashboard uploads are unavailable.

How to Upload and Activate a WordPress Theme from cPanel
May 25, 2025

  How to Upload and Activate a WordPress Theme from cPanel Uploading and activating a WordPress theme via cPanel is a useful way to install themes manually, especially when the WordPress dashboard upload option is limited or unavailable. Follow this detailed guide to get your theme up and running quickly. Why Use cPanel to Upload WordPress Themes? Sometimes the WordPress dashboard upload tool can be restricted by hosting server settings, file size limits, or plugin conflicts. Using cPanel File Manager allows you to bypass these issues by directly uploading theme files to your server. Step 1: Download Your WordPress Theme Obtain the theme ZIP file from a trusted source, such as the official WordPress theme repository, a premium theme marketplace, or your theme developer. Step 2: Log in to Your cPanel Account Access your hosting control panel at https://yourdomain.com/cpanel and enter your username and password to log in. Step 3: Open File Manager In the cPanel dashboard, find the Files section and click on File Manager. Step 4: Navigate to Your WordPress Themes Folder Within File Manager, navigate to the directory where WordPress is installed. Usually, this is public_html. Then go to wp-content/themes/. Step 5: Upload the Theme ZIP File Click the Upload button in the File Manager toolbar. Select the theme ZIP file you downloaded in Step 1 and upload it. Once the upload completes, go back to the themes folder. Right-click on the uploaded ZIP file and choose Extract to unzip the theme files into the folder. Step 6: Activate the Theme in WordPress Now that the theme files are uploaded, activate the theme: Log in to your WordPress admin dashboard (https://yourdomain.com/wp-admin). Go to Appearance > Themes. You should see the newly uploaded theme listed there. Click Activate to apply the theme to your website. Tips and Troubleshooting Make sure the extracted theme folder contains the style.css file—this is required for WordPress to recognize the theme. If the theme doesn’t show up in the dashboard, clear your browser cache and refresh the page. Double-check that you uploaded the files to the correct wp-content/themes/ directory. Using cPanel to upload and activate WordPress themes gives you full control over your website files and helps avoid common upload restrictions.

How to Install WordPress Themes via cPanel File Manager
May 25, 2025

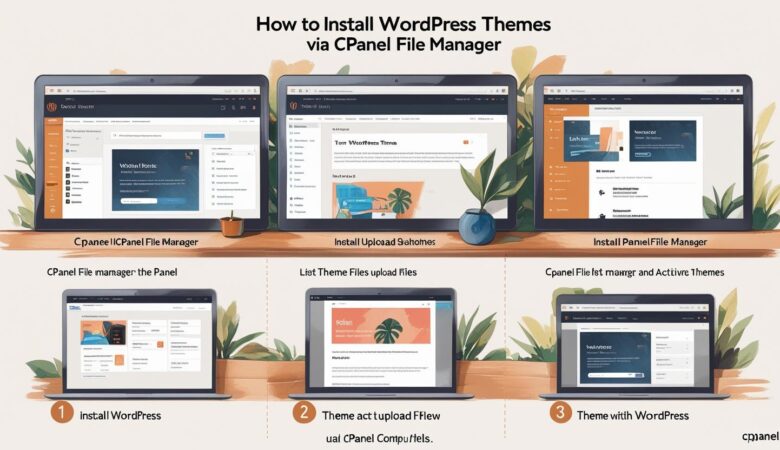
  How to Install WordPress Themes via cPanel File Manager If you want to upload and install a WordPress theme manually, cPanel’s File Manager makes it easy. This guide walks you through the process of uploading theme files and activating the theme on your site. Why Install a WordPress Theme via cPanel? Sometimes the WordPress dashboard theme installer may not work due to file upload size limits or plugin conflicts. Installing via cPanel File Manager bypasses these issues by uploading theme files directly to your server. Step 1: Download the WordPress Theme Download the theme ZIP file from a trusted source, such as the WordPress Theme Directory, ThemeForest, or your theme provider. Step 2: Extract the Theme ZIP File Locally On your computer, extract the ZIP file to get the theme folder. This folder contains all the necessary theme files. Step 3: Log into Your cPanel Account Go to your cPanel login page (https://yourdomain.com/cpanel) and enter your username and password. Step 4: Open File Manager In the cPanel dashboard, click on File Manager under the Files section. Step 5: Navigate to the Themes Directory Go to the folder where your WordPress is installed, usually public_html, then open wp-content/themes/. Step 6: Upload the Theme Folder Click the Upload button in the File Manager toolbar. Upload the extracted theme folder as a ZIP file or directly upload the unzipped folder using an FTP client. If you uploaded a ZIP file, right-click the ZIP and select Extract to unpack the theme files into the themes directory. Step 7: Activate the Theme in WordPress Once the theme files are uploaded, log in to your WordPress admin dashboard: Navigate to Appearance > Themes. Your uploaded theme should appear in the list of available themes. Click Activate to apply the new theme to your website. Troubleshooting Tips Ensure the theme folder contains the correct files like style.css and index.php. If the theme doesn’t appear, clear your browser cache or refresh the WordPress dashboard. Verify the uploaded files are inside the correct themes directory. Installing WordPress themes via cPanel File Manager is a reliable alternative to the dashboard method, especially for large themes or when facing upload restrictions.

How to Install an SSL Certificate for Your WordPress Site Using cPanel
May 25, 2025

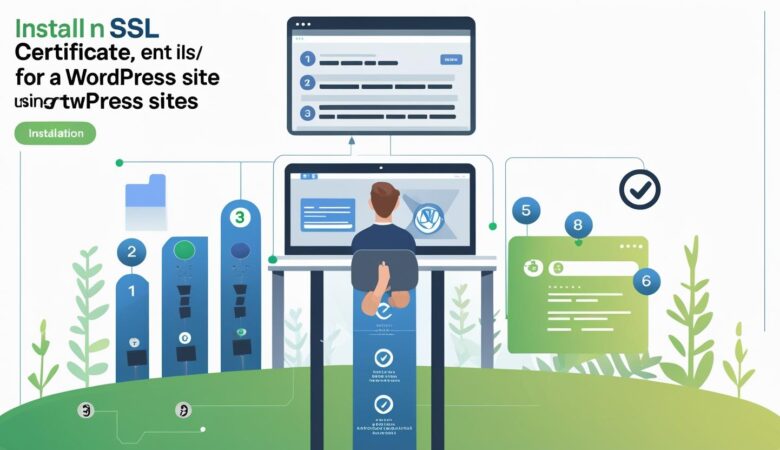
  How to Install an SSL Certificate for Your WordPress Site Using cPanel Securing your WordPress website with an SSL certificate is essential to protect your visitors’ data and improve your site’s SEO. This step-by-step guide will help you install an SSL certificate using cPanel. What is an SSL Certificate? An SSL (Secure Socket Layer) certificate encrypts the data transferred between your website and visitors, ensuring privacy and security. Websites with SSL display https:// and a padlock icon in browsers. Step 1: Log into Your cPanel Account Access your hosting control panel by navigating to https://yourdomain.com/cpanel and entering your login credentials. Step 2: Locate the SSL/TLS Section In the cPanel dashboard, scroll down to the Security section and click on SSL/TLS. Step 3: Use AutoSSL to Install a Free SSL Certificate Click on Manage SSL sites or look for AutoSSL under the Security section. If your hosting provider supports AutoSSL, enable it for your domain. AutoSSL will automatically issue and install a free SSL certificate (usually via Let’s Encrypt) for your website. Wait a few minutes and refresh to confirm the certificate is installed. Step 4: Install a Purchased SSL Certificate (Optional) If you have purchased an SSL certificate from a third-party provider, you can install it manually: Under SSL/TLS, click Manage SSL sites. Locate your domain and click Browse Certificates or Upload Certificate. Paste or upload your SSL certificate files (.crt, .key, and CA bundle if applicable). Click Install Certificate. Step 5: Force HTTPS on Your WordPress Site After SSL installation, force your website to use HTTPS to ensure secure connections: Log in to your WordPress dashboard. Go to Settings > General. Update the WordPress Address (URL) and Site Address (URL) from http:// to https://. Save changes. Alternatively, add the following code to your .htaccess file via cPanel File Manager to redirect HTTP to HTTPS: # BEGIN HTTPS Redirect RewriteEngine On RewriteCond %{HTTPS} off RewriteRule ^(.*)$ https://%{HTTP_HOST}%{REQUEST_URI} [L,R=301] # END HTTPS Redirect Troubleshooting Tips Clear your browser cache if the site doesn’t show the secure padlock immediately. Check for mixed content errors by ensuring all URLs use HTTPS. Use online tools like Why No Padlock to identify insecure elements. Installing an SSL certificate via cPanel helps protect your WordPress site and build trust with your visitors.  

How to Manage WordPress File Permissions via cPanel
May 25, 2025

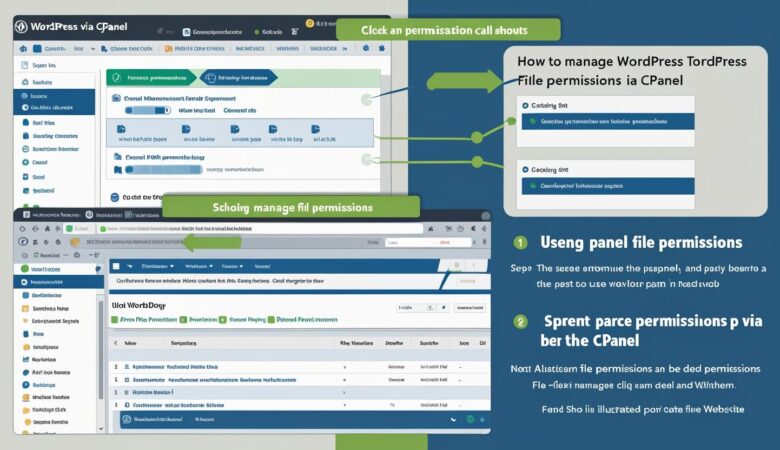
  How to Manage WordPress File Permissions via cPanel Proper file permissions are essential for securing your WordPress website and ensuring it runs smoothly. This guide will show you how to check and set correct file permissions using cPanel’s File Manager. Why Are File Permissions Important? File permissions control who can read, write, or execute files and folders on your server. Incorrect permissions can lead to security vulnerabilities, such as unauthorized access or website hacks. Recommended File Permissions for WordPress Folders: 755 (rwxr-xr-x) — Owner can read, write, and execute; others can read and execute. Files: 644 (rw-r–r–) — Owner can read and write; others can only read. wp-config.php: 600 or 640 — Restricts access to this critical configuration file. Step 1: Log into Your cPanel Account Go to your cPanel login page (https://yourdomain.com/cpanel) and enter your credentials. Step 2: Open File Manager In the cPanel dashboard, locate and click on File Manager under the Files section. Step 3: Navigate to Your WordPress Directory Browse to the root folder of your WordPress installation. This is usually the public_html directory or a subfolder within it. Step 4: Check and Set Folder Permissions Select a folder (e.g., wp-content). Right-click and choose Change Permissions or click the Permissions button in the toolbar. Set the permission value to 755. Click Change Permissions to apply. Step 5: Check and Set File Permissions Select a file (e.g., index.php). Right-click and choose Change Permissions. Set the permission value to 644. Click Change Permissions to save. Step 6: Secure wp-config.php Locate the wp-config.php file in your WordPress root directory. Right-click on wp-config.php and select Change Permissions. Set the permission value to 600 or 640 to restrict access. Save the changes. Additional Tips Never set permissions to 777 as it allows anyone full access, risking your site’s security. If you’re unsure about changes, consult your hosting provider or a WordPress professional. Regularly review file permissions to maintain your site’s security. Properly managing WordPress file permissions via cPanel helps keep your website secure and functioning properly.

How to Fix WordPress Login Issues Using cPanel Tools
May 25, 2025

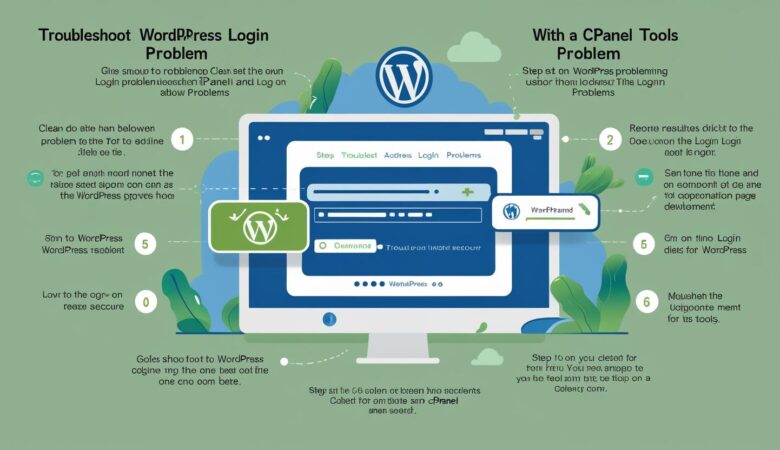
  How to Fix WordPress Login Issues Using cPanel Tools Encountering problems logging into your WordPress dashboard can be frustrating. Fortunately, cPanel offers several tools to troubleshoot and resolve common login issues quickly and efficiently. This guide covers the most effective methods. Common WordPress Login Issues Incorrect username or password. Forgotten password and no access to reset email. Plugin conflicts preventing login. Corrupted .htaccess file. PHP memory limit errors. Step 1: Reset Your Password via phpMyAdmin If you cannot reset your password via email, use phpMyAdmin to manually change it: Login to cPanel and open phpMyAdmin. Select your WordPress database and open the wp_users table. Edit the user record for your username. In the user_pass field, select MD5 from the function dropdown and enter a new password. Save changes and try logging in with the new password. Step 2: Disable Plugins via File Manager Plugin conflicts often cause login failures. To disable plugins without accessing the dashboard: Open File Manager in cPanel. Navigate to public_html/wp-content/ directory. Rename the plugins folder to something like plugins_backup. Try logging in again. If successful, rename the folder back and disable plugins one-by-one from the dashboard. Step 3: Fix .htaccess File A corrupted .htaccess file can block access: In File Manager, locate the .htaccess file in your WordPress root folder. Rename it to .htaccess_backup. Try logging in again. If successful, go to WordPress Dashboard → Settings → Permalinks and click “Save Changes” to generate a new .htaccess file. Step 4: Increase PHP Memory Limit Low PHP memory can cause login problems. To increase it: In File Manager, open the wp-config.php file. Add the following line just before /* That’s all, stop editing! */: define(‘WP_MEMORY_LIMIT’, ‘256M’); Save the file and attempt to log in again. Step 5: Check File Permissions Incorrect file permissions can prevent login: Folders should have permission 755. Files should have permission 644. Use File Manager or FTP client to verify and correct permissions if needed. Need More Help? If you still cannot resolve login issues, contact your hosting provider’s support team or consider restoring your site from a backup. Using cPanel tools to troubleshoot WordPress login problems can save you time and help you regain access quickly.   

Build Your Website with HiveRift

From professional business to enterprise, we’ve got you covered!

©2025, Hosting. All Rights Reserved by KhatuShyam Technologies

HiveRift
Privacy Overview

This website uses cookies so that we can provide you with the best user experience possible. Cookie information is stored in your browser and performs functions such as recognising you when you return to our website and helping our team to understand which sections of the website you find most interesting and useful.