Connect Webmail to Third-Party EmailConnect Webmail to Third-Party Email
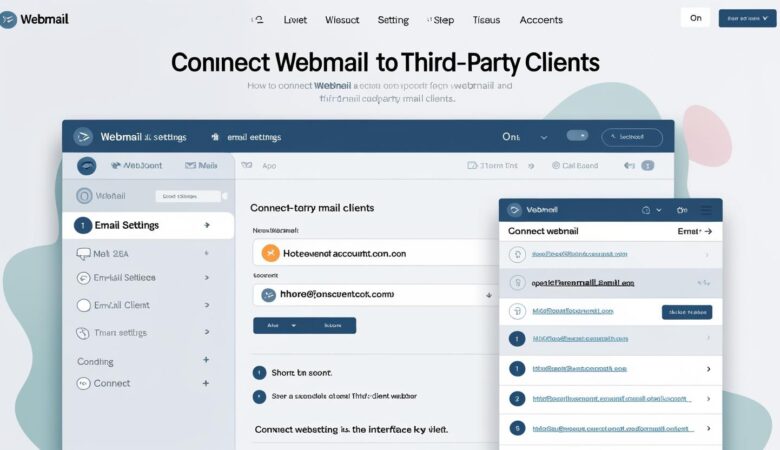
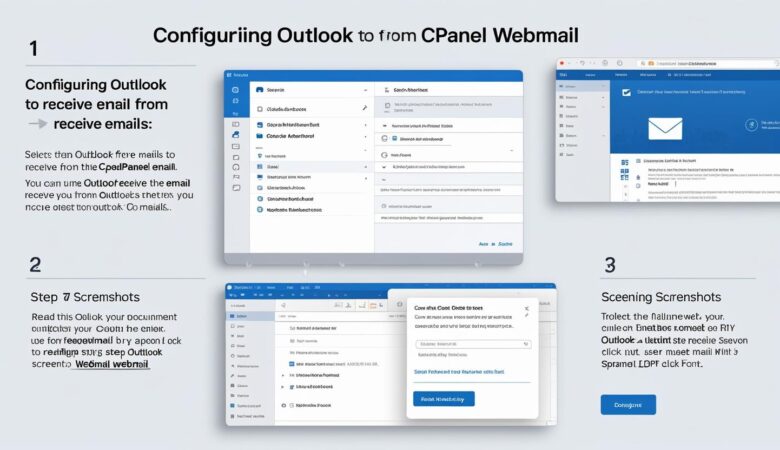
May 26, 2025How to Connect Webmail to Third-Party Email Clients Manage your webmail emails easily by linking your account to popular email clients like Outlook, Gmail, and Thunderbird. Why Connect Webmail to Third-Party Email Clients? Using third-party email clients allows you to: Access and manage emails offline. Use advanced email features and integrations. Consolidate multiple email accounts in one place. Step 1: Gather Your Webmail Server Settings Before configuring your email client, you need your webmail’s incoming and outgoing mail server settings. Typically, these are: Incoming Mail Server (IMAP): mail.yourdomain.com Incoming Mail Server (POP3): mail.yourdomain.com Outgoing Mail Server (SMTP): mail.yourdomain.com Note: Replace yourdomain.com with your actual domain name. Step 2: Find Your Email Account Credentials You will need: Your full email address (e.g., user@yourdomain.com) Your email password (reset via cPanel if forgotten) Step 3: Configure Your Email Client Microsoft Outlook Open Outlook and go to File > Add Account. Enter your email address and click Connect. Choose IMAP or POP3 depending on your preference. Enter the incoming and outgoing server details: Incoming Server: mail.yourdomain.com Outgoing Server: mail.yourdomain.com Use SSL/TLS encryption for both servers. Enter your username and password when prompted. Finish the setup and test sending/receiving emails. Gmail Log into your Gmail account. Go to Settings > See all settings > Accounts and Import. Under Check mail from other accounts, click Add a mail account. Enter your webmail email address and click Next. Select Import emails from my other account (POP3) and click Next. Fill in the POP server settings: POP Server: mail.yourdomain.com Port: 995 Check Always use a secure connection (SSL). Enter your email username and password. Click Add Account and follow prompts to send emails using Gmail’s interface. Mozilla Thunderbird Open Thunderbird and select Account Settings > Account Actions > Add Mail Account. Enter your name, email address, and password. Click Continue and then select IMAP or POP3. Manually enter the incoming and outgoing server settings if needed: Incoming Server: mail.yourdomain.com Outgoing Server: mail.yourdomain.com Use SSL/TLS for encryption and authenticate with your username and password. Complete the setup and test your email. Troubleshooting Tips Double-check your server names, ports, and security settings. Make sure your email password is correct. Verify that your hosting provider allows external email client connections. Contact Hiverift Support if you encounter persistent issues. Summary Connecting your webmail to third-party email clients enhances your email experience by enabling offline access, better management, and integration with other tools. Use the steps above to set up your preferred email client today! © 2025 Hiverift Hosting. All rights reserved. | Contact Support
