By HiveRift
July 21, 2025
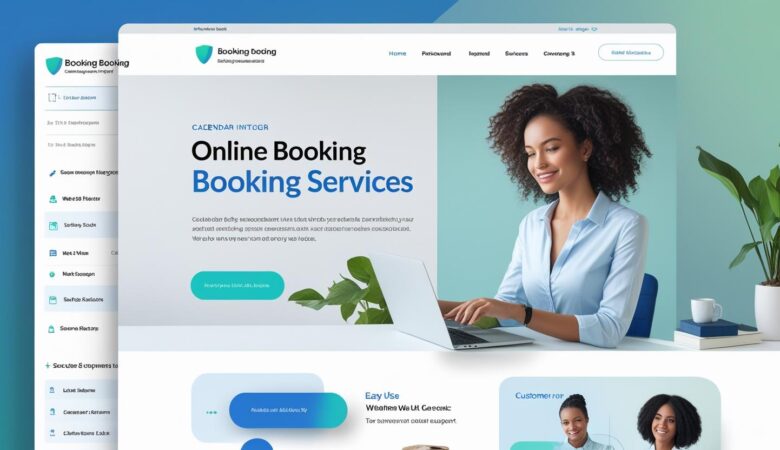
🌐 Hosting for Online Booking Websites – Everything You Need to Know In today’s fast-paced digital world, customers expect to book services online — quickly, securely, and seamlessly. Whether you operate a hotel reservation platform, doctor appointment system, or a salon booking service, your website must offer speed, reliability, and trust at every touchpoint. And that starts with your web hosting. The hosting you choose can directly impact your site’s performance, customer satisfaction, and ultimately your revenue. In this guide, we’ll walk through everything you need to know about choosing the best hosting for your online booking website. 🚀 Why Hosting is Crucial for Booking Websites Unlike static websites, booking platforms are dynamic — meaning they constantly interact with users, store data, update availability in real time, and often process online payments. This creates a high demand for: Fast loading times – Slow speed frustrates users and kills conversions. High uptime – Downtime means missed bookings and loss of revenue. Robust security – Sensitive data like customer info and payment details must be protected. Scalability – Your site must handle traffic surges, especially during promotions or peak seasons. Smooth backend performance – Staff should easily manage appointments, schedules, or inventory without lag. ⚙️ Must-Have Hosting Features for Online Booking To ensure your booking system runs smoothly, your hosting provider should offer: ✅ 1. SSD Storage Solid-State Drives drastically improve website loading speed compared to traditional HDDs. Faster access = better user experience. ✅ 2. 99.99% Uptime Guarantee You can’t afford your site to go down. A good hosting provider should ensure near-perfect uptime to keep your booking platform online 24/7. ✅ 3. Free SSL Certificate Essential for securing data transmission and building customer trust. SSL is also a Google ranking factor. ✅ 4. Daily Backups Mistakes or crashes happen. Daily automated backups help you recover instantly. ✅ 5. DDoS Protection & Firewalls Online booking systems are prime targets for cyberattacks. Advanced protection shields your website from threats. ✅ 6. 24/7 Technical Support Downtime at 2 AM? You need a host that offers round-the-clock live support. ✅ 7. One-Click App Installation Whether it’s WordPress + booking plugins or custom booking scripts, the host should support easy integration and deployment. ✅ 8. Email Hosting & Notifications Transactional emails (booking confirmations, reminders, cancellations) are critical. Ensure your host supports reliable email delivery. 💡 Best Hosting Types for Booking Sites 🔹 Shared Hosting (for Beginners) Affordable and easy to use. Good for small-scale local booking websites. But limited in performance and scalability. 🔹 VPS Hosting (for Growing Businesses) Offers more resources and privacy. Suitable for mid-sized booking systems with growing traffic and multiple admins. 🔹 Cloud Hosting (for High Traffic) Highly scalable and redundant. Ideal for larger booking platforms (travel, events, classes) expecting hundreds to thousands of users daily. 🔹 Dedicated Hosting (for Enterprise) Exclusive server control and maximum performance. Best for large-scale platforms with custom applications, high user activity, and advanced security needs. 🧠 Hosting Compatibility with Booking Platforms When selecting hosting, make sure it supports: WordPress Booking Plugins (like Bookly, WP Amelia, WooCommerce Bookings) Third-party booking apps (like Calendly, Checkfront, Acuity) Custom-coded solutions (Node.js, Laravel, etc.) CMS integrations (Joomla, Drupal, Shopify, Wix) Ask your host if they provide compatibility support for these platforms before committing. 📊 Real-World Use Cases 🏨 Hotel Booking Platform A hotel chain website needs a cloud-based hosting solution with real-time room availability, multilingual support, payment integration, and mobile responsiveness. 🩺 Medical Appointment System A doctor’s clinic may require VPS hosting with HIPAA-compliant security, fast database operations, and encrypted messaging between patients and doctors. 💇♀️ Salon or Spa Booking These businesses need hosting that supports mobile-first design, SMS/email notification delivery, and easy admin scheduling tools. 🛠️ Top Hosting Providers for Booking Websites (2025) SiteGround – Known for excellent speed, uptime, and WordPress compatibility. Bluehost – Affordable for startups with strong customer support. Kinsta – Premium managed WordPress hosting with automatic scaling. A2 Hosting – Great for developers and speed-focused businesses. Cloudways – Flexible cloud hosting for growing platforms. (Note: Always compare based on needs, traffic expectations, and tech stack.) 📈 SEO + Hosting: A Hidden Advantage Google prioritizes websites with high performance and secure environments. A well-hosted booking site means: Faster load times (better UX = higher rankings) Less bounce rate (users stay longer and convert) Improved mobile performance Increased trust via HTTPS (SSL) So your hosting choice doesn’t just impact your customers — it helps your site climb up search rankings too! ✅ Final Thoughts The success of your online booking business heavily depends on your hosting provider. A powerful, secure, and scalable hosting plan ensures your customers enjoy a smooth booking experience from start to finish. 👉 Don’t treat hosting as an afterthought — treat it as the digital foundation of your business.