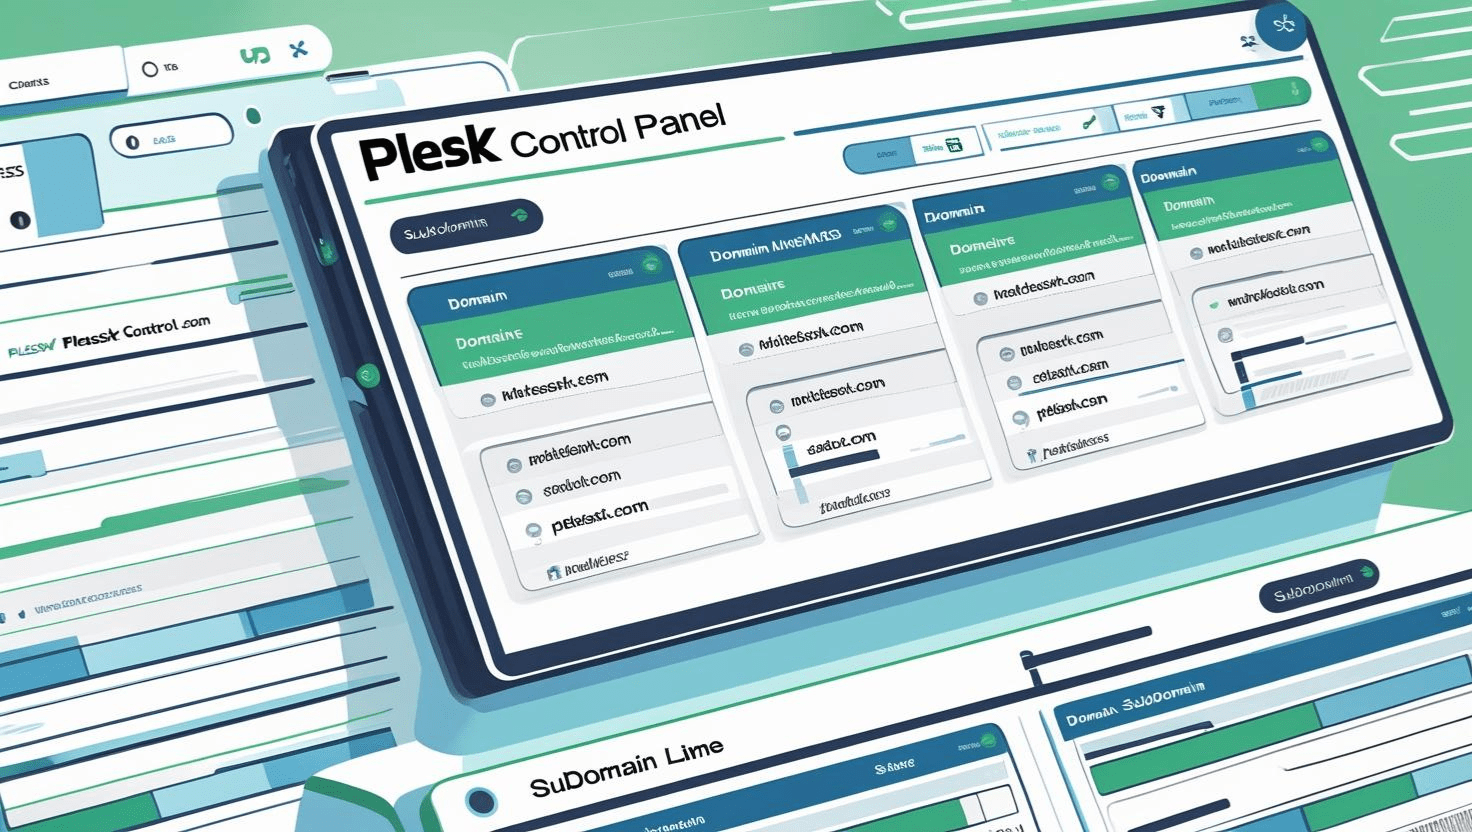
Using Plesk to Manage Multiple Domains and Subdomains Efficiently
Using Plesk to Manage Multiple Domains and Subdomains Efficiently
Introduction
Plesk is a powerful web hosting control panel that allows you to manage multiple domains and subdomains from a single dashboard. Whether you’re managing websites for different projects, clients, or business branches, Plesk streamlines domain management with an intuitive interface and robust features.
Prerequisites
- Access to your Plesk control panel
- Registered domain names pointed to your server
- Basic knowledge of domain and DNS management
Step 1: Adding Multiple Domains to Plesk
- Log in to your Plesk dashboard.
- Go to Websites & Domains.
- Click on Add Domain.
- Enter the domain name you want to add (e.g.,
example.com). - Configure hosting type and document root as needed.
- Click OK to add the domain.
Step 2: Creating and Managing Subdomains
- Within the Websites & Domains section, click Add Subdomain.
- Enter the subdomain name (e.g.,
blog.example.com). - Choose the parent domain from the dropdown.
- Set the document root directory for the subdomain.
- Click OK to create the subdomain.
Step 3: Organizing Domains and Subdomains
Plesk allows you to:
- Manage DNS settings individually for each domain or subdomain.
- Assign different SSL certificates per domain or subdomain.
- Configure email accounts separately for each domain or subdomain.
- Set unique FTP accounts and permissions per domain or subdomain.
Step 4: Configuring Domain Redirects and Aliases
To create domain aliases or redirects:
- Select the domain in Websites & Domains.
- Click on Domain Aliases.
- Click Add Domain Alias and enter the alias domain.
- Choose options like “Redirect with the HTTP 301 code” or “Synchronize DNS zones.”
- Click OK to save.
Step 5: Using DNS Settings Effectively
Plesk provides an easy interface to manage DNS records:
- Add A, CNAME, MX, TXT, and other record types for each domain.
- Customize subdomain records separately.
- Integrate with external DNS providers if necessary.
Best Practices for Managing Multiple Domains
- Keep your domain list organized by grouping projects or clients.
- Use descriptive document roots to avoid confusion.
- Regularly update SSL certificates for each domain.
- Back up your Plesk configurations and website data periodically.
Troubleshooting
- Domain Not Resolving: Check DNS settings and ensure domain is pointed to your server’s IP.
- Subdomain 404 Error: Verify document root and hosting settings.
- SSL Issues: Assign correct SSL certificates per domain/subdomain in Plesk.
Additional Resources
Need Help?
Contact your hosting provider or Plesk support for personalized assistance managing multiple domains and subdomains.