Setting Up Reverse Proxy for Node.js with NGINX in cPanel
Setting Up Reverse Proxy for Node.js with NGINX in cPanel
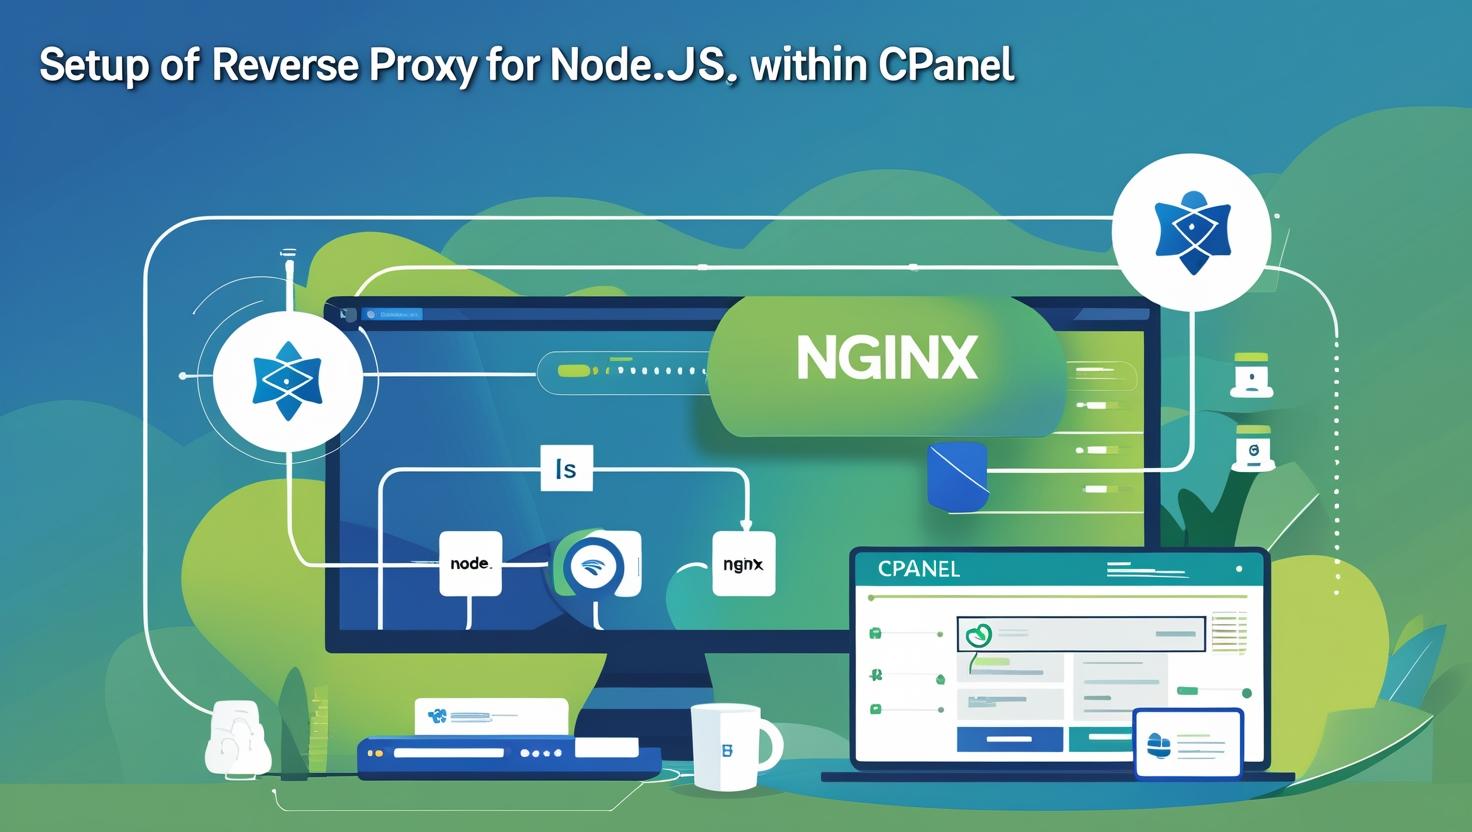
Node.js applications often run on ports that are not accessible directly via standard HTTP/HTTPS ports (80/443). To serve your Node.js app publicly and securely, setting up a reverse proxy with NGINX is a common and effective solution. This guide walks you through configuring NGINX as a reverse proxy on a server with cPanel to forward traffic to your Node.js application.
What is a Reverse Proxy?
A reverse proxy is a server that sits between client requests and backend servers, forwarding client requests to the backend and returning responses transparently. Using NGINX as a reverse proxy for Node.js allows you to:
- Serve your app on standard HTTP/HTTPS ports
- Handle SSL/TLS termination
- Load balance traffic (if needed)
- Improve security and performance
Prerequisites
- Root or sudo access to your cPanel server
- Node.js application running on a local port (e.g., 3000)
- NGINX installed on the server
- Basic familiarity with SSH and command line
Step 1: Access Your Server via SSH
Login to your cPanel server via SSH using a terminal:
ssh your-user@your-server-ipEnsure you have root or sudo privileges to edit NGINX configuration files.
Step 2: Verify Node.js Application is Running
Check that your Node.js app is running on a specific port, for example 3000:
curl http://localhost:3000This should return your application’s response.
Step 3: Locate NGINX Configuration Directory
NGINX config files are usually located in:
/etc/nginx/nginx.conf(main config)/etc/nginx/conf.d/(directory for site configs)/etc/nginx/sites-available/and/etc/nginx/sites-enabled/(depending on your setup)
Consult your hosting provider or use nginx -t to locate and verify config files.
Step 4: Create NGINX Reverse Proxy Configuration
Create a new config file or edit your existing site config in /etc/nginx/conf.d/your-node-app.conf (replace your-node-app with your app name):
sudo nano /etc/nginx/conf.d/your-node-app.confAdd the following server block:
server {
    listen 80;
    server_name yourdomain.com www.yourdomain.com;

    location / {
        proxy_pass http://localhost:3000;
        proxy_http_version 1.1;
        proxy_set_header Upgrade $http_upgrade;
        proxy_set_header Connection 'upgrade';
        proxy_set_header Host $host;
        proxy_cache_bypass $http_upgrade;
    }
}
Explanation:
listen 80;: NGINX listens on standard HTTP port 80.server_name: Your domain or subdomain.proxy_pass: Forwards requests to your Node.js app running on localhost port 3000.- Headers ensure proper handling of WebSocket and HTTP upgrades.
Step 5: Test and Reload NGINX
Test NGINX configuration syntax:
sudo nginx -tIf the test is successful, reload NGINX to apply changes:
sudo systemctl reload nginxStep 6: (Optional) Enable SSL with Let’s Encrypt
Use certbot to generate SSL certificates and secure your site:
sudo certbot --nginx -d yourdomain.com -d www.yourdomain.comCertbot will automatically modify your NGINX config to support HTTPS and redirect HTTP traffic.
Step 7: Verify Your Setup
Open your browser and visit http://yourdomain.com or https://yourdomain.com. You should see your Node.js app served through NGINX.
Troubleshooting Tips
- Check NGINX error logs at
/var/log/nginx/error.logfor issues. - Ensure Node.js app is running and accessible on the specified port.
- Verify firewall rules allow traffic on ports 80 and 443.
- Confirm DNS records for your domain point to your server’s IP.
Conclusion
Setting up NGINX as a reverse proxy in front of your Node.js app on a cPanel server allows you to serve your app securely and efficiently on standard web ports. With SSL termination and improved request handling, your app’s performance and security are enhanced.