How to Create a Simple Business Website Using WordPress and cPanel
How to Create a Simple Business Website Using WordPress and cPanel
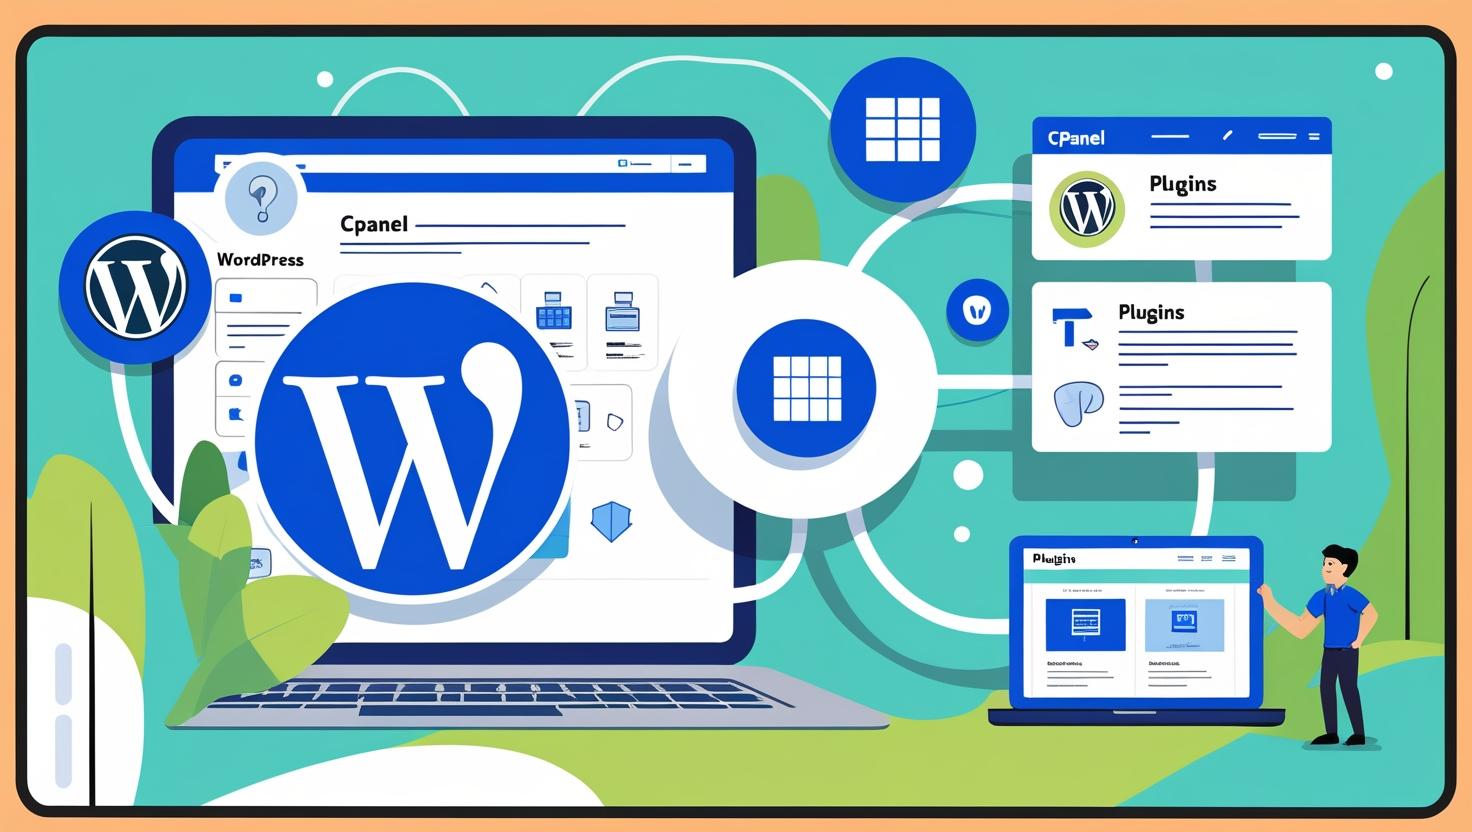
Why Choose WordPress and cPanel?
WordPress is a user-friendly, flexible CMS perfect for businesses. Combined with cPanel hosting, you get easy installation, file access, and full control over your website’s backend.
Step 1: Log in to Your cPanel Account
- Access cPanel via your hosting provider (e.g.,
https://yourdomain.com/cpanel). - Enter your login credentials provided during account setup.
Step 2: Install WordPress Using Softaculous
- In cPanel, scroll down to the Softaculous Apps Installer section.
- Click on the WordPress icon.
- Click the Install Now button.
- Fill in site details (site name, admin username/password, email).
- Select the domain name and directory (leave directory blank to install in the root).
- Click Install and wait for confirmation.
Step 3: Choose a Professional Business Theme
- Login to your WordPress dashboard:
https://yourdomain.com/wp-admin - Go to Appearance > Themes.
- Click Add New and search for a theme (e.g., Astra, OceanWP, Neve).
- Click Install then Activate.
Step 4: Add Essential Pages
Navigate to Pages > Add New and create the following pages:
- Home
- About Us
- Services
- Contact
- Privacy Policy / Terms
Step 5: Set Your Homepage and Navigation Menu
- Go to Settings > Reading.
- Select A static page and set your homepage and blog page.
- Under Appearance > Menus, create and assign a primary navigation menu.
Step 6: Customize with Plugins
Install helpful plugins to boost functionality:
- Elementor – drag-and-drop page builder
- WPForms – create contact forms
- Yoast SEO – improve search engine visibility
- UpdraftPlus – site backups
Step 7: Secure Your Website
- Enable SSL from cPanel using AutoSSL or Let’s Encrypt.
- Redirect HTTP to HTTPS in your .htaccess file or WordPress settings.
- Install a security plugin like Wordfence or Sucuri.
Step 8: Launch and Promote Your Site
- Test your site on mobile and desktop.
- Submit your site to Google Search Console.
- Share your site on social media and directories.
- Ask clients or customers for testimonials and display them.
Bonus Tips
- Use a caching plugin for better speed (e.g., LiteSpeed Cache or W3 Total Cache).
- Regularly update WordPress, plugins, and themes.
- Back up your site weekly or before any major changes.