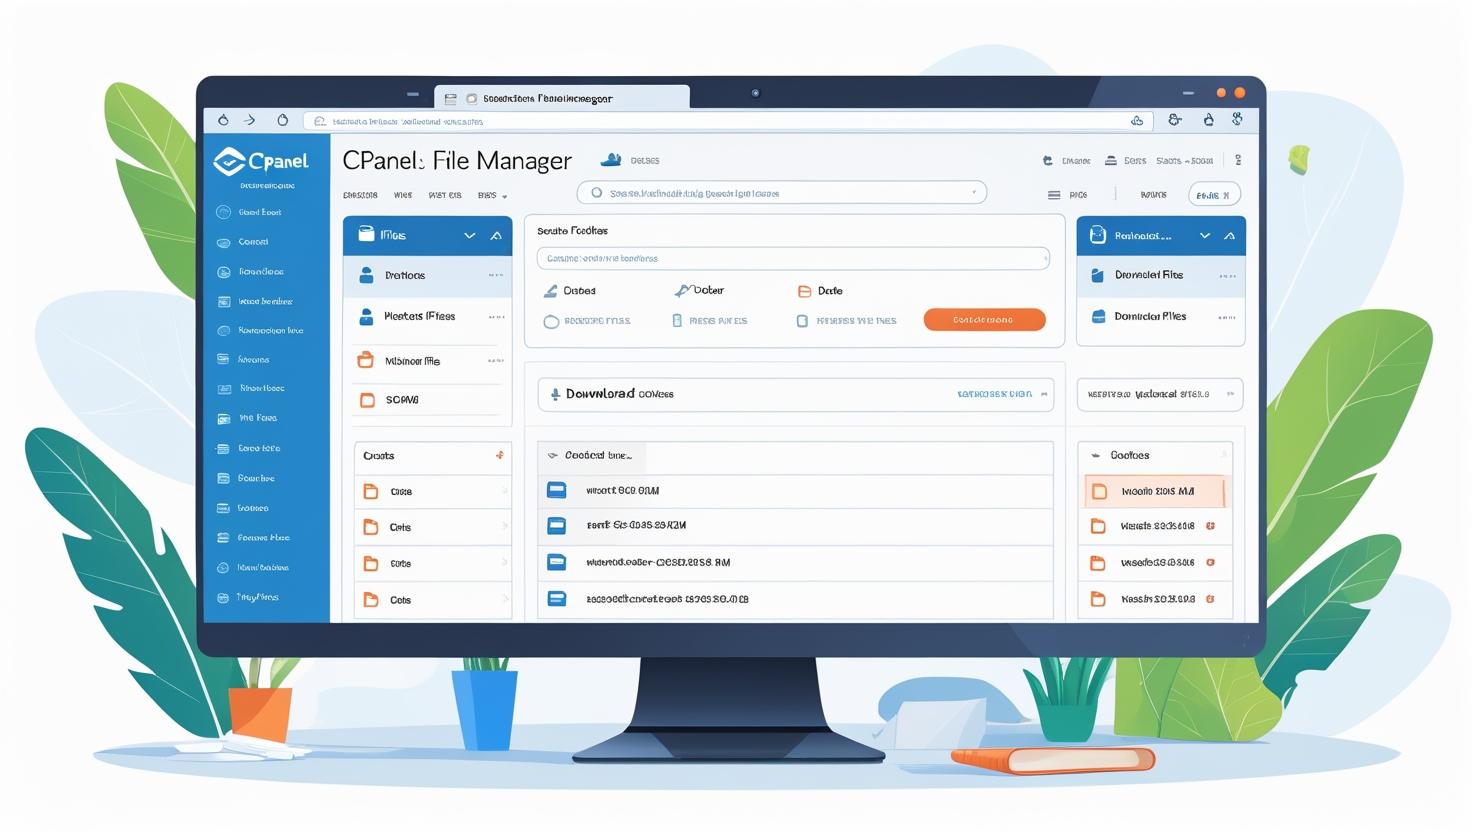
🗂️ Using the File Manager in cPanel to Upload and Manage Website Files
🗂️ Using the File Manager in cPanel to Upload and Manage Website Files
Learn how to upload, delete, edit, compress, and organize files — no FTP needed!
📥 Step 1: How to Access File Manager in cPanel
- Login to your cPanel account via your hosting dashboard or directly at
https://yourdomain.com/cpanel - Locate the Files section
- Click on File Manager
This opens a file browser where you can manage your website files easily.
📁 Step 2: Understanding the File Manager Interface
The File Manager has two main areas:
- Left panel: Directory/folder structure
- Right panel: File contents of the selected directory
Top toolbar options include:
- Upload
- Create File/Folder
- Edit / Code Edit
- Move / Copy / Rename / Delete
- Compress / Extract
- Change Permissions (CHMOD)
🔼 Step 3: Uploading Website Files
- Navigate to the desired folder (usually
public_html) - Click Upload
- Drag & drop files or browse to select them
- Wait for the upload to finish (100%)
Tip: Files inside public_html are publicly accessible.
✏️ Step 4: Editing Files Without FTP
- Select a file and click Edit or Code Editor
- Make your changes in the browser
- Click Save Changes
Use Code Editor for better formatting of HTML, PHP, or CSS files.
🧹 Step 5: Organizing Files
- Move: Select & click Move
- Copy: Select & click Copy
- Rename: Select & click Rename
- Create: Click + File or + Folder to keep your site structured
🗑️ Step 6: Deleting and Restoring Files
To delete:
- Select the file/folder
- Click Delete
- Choose to send to trash or permanently delete
To restore files, visit the Trash folder in the left pane.
🗜️ Step 7: Compressing and Extracting Files
To compress:
- Select items
- Click Compress
- Choose format (ZIP, GZIP, TAR)
- Click Compress Files
To extract: Select a .zip file and click Extract
🔐 Step 8: Setting File Permissions (CHMOD)
- Right-click a file or folder
- Select Permissions
- Set the numeric value (e.g. 755 for folders, 644 for files)
- Click Change Permissions
Warning: Incorrect permissions may break your site or expose it to security risks.
🧠 Best Practices for Using File Manager
- Always backup files before editing or deleting
- Organize with folders (scripts, images, backups)
- Use
public_htmlfor public files only - Regularly delete unused files to save space
- Compress before downloading large folders
❓ Frequently Asked Questions
Q: Can I upload multiple files?
Yes! Drag and drop multiple files into the upload window.
Q: Is File Manager secure?
Yes, it’s protected through your cPanel credentials and SSL.
Q: Why aren’t my files visible on the website?
Ensure they’re uploaded to the correct folder and clear your browser cache.
🤝 Need Help?
If you’re using Hiverift Hosting, support is available:
- 💬 Live chat at Hiverift.com
- 📩 Submit a ticket from your client dashboard
- 📚 Visit the knowledge base for more tutorials